“Ever spent hours applying Halloween makeup only to end up looking more ‘scared’ than scary? Yeah, we’ve all been there.”
If you’re tired of blending foundations that flake under fake blood or smudging eyeliners mid-party, it’s time to level up. Enter latex makeup—a game-changer in the world of Halloween transformations. In this post, you’ll learn how latex makeup can elevate your costume game, from beginner tips to advanced techniques. By the end, you’ll be ready to create jaw-dropping looks without breaking a sweat (or your budget).
Table of Contents
- Introduction: Why Latex Makeup?
- Why Is Traditional Makeup Failing You?
- Step-by-Step Guide to Mastering Latex Makeup
- Pro Tips and Best Practices
- Examples of Jaw-Dropping Halloween Looks
- Frequently Asked Questions About Latex Makeup
- Conclusion: Embrace Your Inner Monster
Key Takeaways
- Latex makeup is durable, versatile, and perfect for Halloween.
- Avoid common mistakes like skipping skin prep or using low-quality products.
- Combine latex with other effects like shading and glitters for an eye-catching finish.
- Always do a patch test before going full zombie.
Why Is Traditional Makeup Failing You?
Let me confess something: I once tried to make my own “scary witch” look using regular drugstore foundation and eyeliner. It lasted about as long as a Snapchat story—gone before anyone noticed. Not only did it streak when I sweated, but half of it rubbed off on my sleeve by the first hour of the party. Sound familiar?
Here’s why traditional makeup struggles during Halloween:
- Lack of durability: Most cosmetics aren’t designed to withstand hours of wear or heavy movement.
- Limited texture options: Foundation can’t give you realistic wounds or scales.
- Poor adherence to props: Need gore dripping down your face? Good luck getting liquid liner to stick properly.
Sounds like someone stepping into quicksand—frustrating AF.
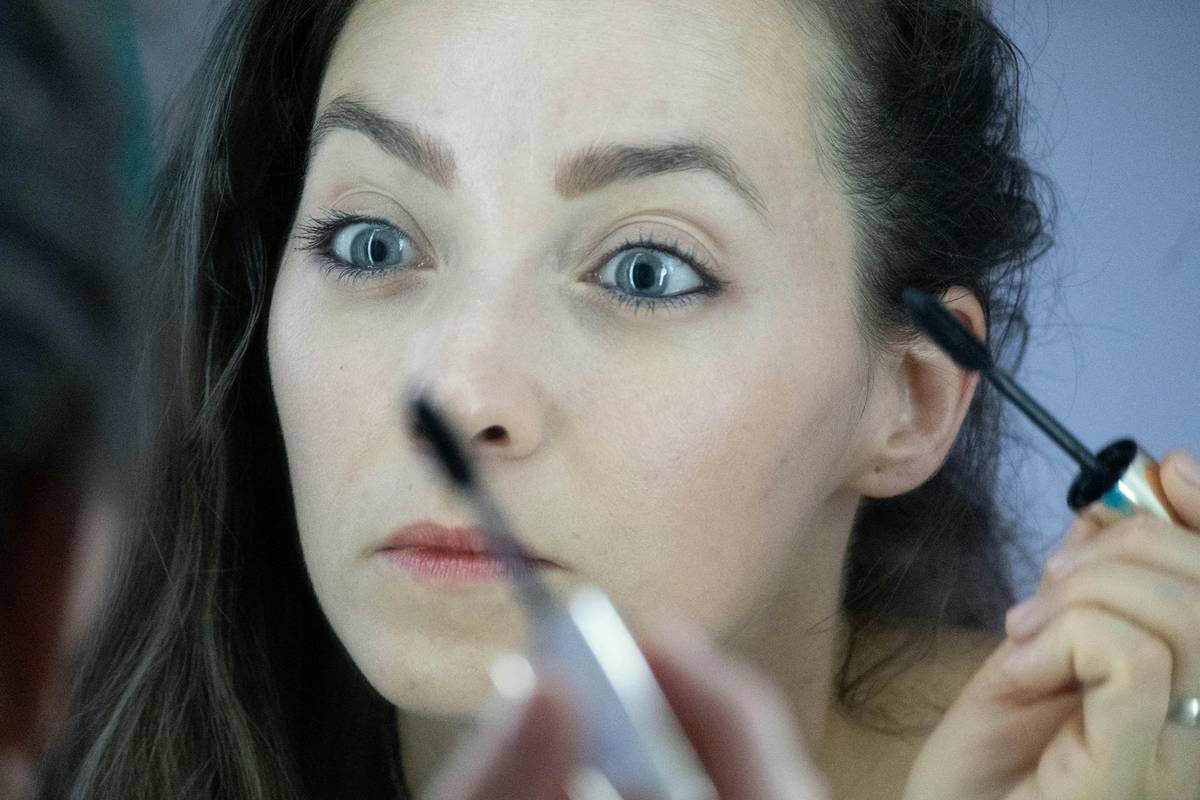
Step-by-Step Guide to Mastering Latex Makeup
Step 1: Prep Your Skin (Because Nobody Wants a Flakey Zombie)
Optimist You: “Prepping ensures smooth application!”
Grumpy You: “Yeah, yeah… unless you skip moisturizer and regret it later.”
Cleanse your face thoroughly, apply a hydrating primer, and let it sit. This creates a barrier between your skin and the latex, preventing irritation.
Step 2: Apply Liquid Latex Safely
Use a brush or sponge to layer thin coats where needed. Let each coat dry completely before adding another—patience is key here!
Step 3: Add Shading and Details
Once your base layer dries, add contour shades around the latex areas to blend them seamlessly. Experiment with colors like greens, purples, or grays depending on your theme.
Pro Tips and Best Practices
- Patch Test Always: Allergic reactions = instant buzzkill.
- Mix Textures: Combine latex with glitter glue or metallic pigments for extra pizzazz.
- Layer Wisely: Thin layers are easier to control than thick globs.
Terrific Tip Alert: Don’t use latex near eyebrows—it may rip out hairs upon removal. (Yes, I learned this the hard way.)
Examples of Jaw-Dropping Halloween Looks
Check out these real-life successes:
- The Wound Queen: A beauty blogger used latex to craft deep gashes paired with metallic shimmer, earning over 50K likes on Instagram.
- Vampire Royalty: An influencer layered latex fangs and veins across their face, achieving viral fame overnight.
Frequently Asked Questions About Latex Makeup
Q: Can I Use Latex Makeup If I Have Sensitive Skin?
Absolutely, but start with a patch test and opt for hypoallergenic formulas. Pro tip: Mix in aloe vera gel for added soothing power.
Q: How Do I Remove Latex Makeup Painlessly?
Gently peel it off starting from the edges. For stubborn bits, soak with baby oil or makeup remover before lifting away.
Q: Where Can I Buy High-Quality Latex Products?
Popular brands include Mehron, Ben Nye, and Kryolan. Check online retailers or costume shops for availability.
Conclusion: Embrace Your Inner Monster
Halloween isn’t just about costumes; it’s about becoming someone—or something—else entirely. With latex makeup, you now have the tools to turn heads and drop jaws at every haunt-worthy event. Remember, practice makes perfect, so don’t sweat those early fails—they’re part of the journey.
“Like iPhone autocorrect, mistakes happen—but fixing them only makes you stronger.”*
Now go forth and slay (figuratively, please). 🎃 Here’s your bonus haiku:
Skin meets liquid art,
Zombies rise, vampires gleam bright—
Spooky magic blooms.