Ever stared at your reflection after attempting bullet wound makeup and thought, “Is this supposed to look like an abstract art piece or a grisly crime scene?” Yeah, us too. Whether you’re aiming for bloody realism or just trying not to end up looking like a melted crayon, creating convincing special effects can be tricky—but we’ve got your back. In this post, you’ll learn step-by-step how to achieve jaw-dropping bullet wound makeup, including product recommendations, insider tips, and common mistakes to avoid.
Table of Contents
- Key Takeaways
- Why Bullet Wound Makeup Rocks (and Fails Hard Sometimes)
- Step-by-Step Guide to Nailing Your Look
- Pro Tips to Elevate Your Skills
- Real-Life Examples That’ll Inspire You
- Frequently Asked Questions About Bullet Wound Makeup
Key Takeaways:
- Creating realistic bullet wound makeup requires the right products—gelatin wax is non-negotiable.
- Avoid using cheap liquid latex unless you want to peel away half your face.
- Practice makes perfect: Don’t expect perfection on your first try.
- Mistakes happen—like accidentally making it look more unicorn than gore.
Why Bullet Wound Makeup Rocks (and Fails Hard Sometimes)
“Optimist You:” *’Bullet wound makeup will be so easy!’*
“Grumpy You:” *’Easy? Ha! More like chaotic magic with questionable results.’*
Let’s get real for a second. One year, I decided to go full-on zombie hunter for Halloween. Armed with my trusty palette of reds, browns, and whites, I dove into crafting what I hoped would be the most horrifying fake injury ever. Spoiler alert: It ended up resembling something closer to a poorly frosted cupcake than actual trauma.
The good news? With the right techniques—and maybe a bit less frosting—you can transform yourself into someone straight outta a horror flick. Plus, let’s admit it, there’s no better feeling than hearing someone shriek because they think you actually survived a shoot-out.
And hey, sensory overload doesn’t hurt either—it should smell faintly metallic from stage blood mixtures while having that sticky-but-satisfying texture under your fingers.
Step-by-Step Guide to Nailing Your Look
Step 1: Gather Your Tools
You wouldn’t bake without flour; similarly, don’t start without these items:
- Gelatin Wax
- Liquid Latex (be cautious if you’re allergic!)
- Fake Blood – Thick consistency works best.
- Highlighter Pencil + Dark Brown/Emergency Shadow Palette
Step 2: Prep Your Skin
Cleanse and moisturize! Then apply a translucent powder base layer so everything stays put.
Step 3: Sculpt the Wound
Warm some gelatin wax between your palms, then shape it onto where you envision the entry point of the hypothetical “bullet.” Blend edges carefully for seamless transitions.
Step 4: Enhance Depth & Texture
Apply thin layers of liquid latex around the perimeter before stippling deeper shades around its borders via sponge applicators or small brushes.
Step 5: Finish With Blood Effects
Splash on dark crimson paint followed by splatters of diluted filler fluid mimicking fresh drips oozing outwards. Add thickened streaks inside crevices for extra gory vibes!
Pro Tips to Elevate Your Skills
- Layer Gradually: Patience is key when building depth.
- Don’t Rush Cleanup: Remove excess buildup gently overnight post-event.
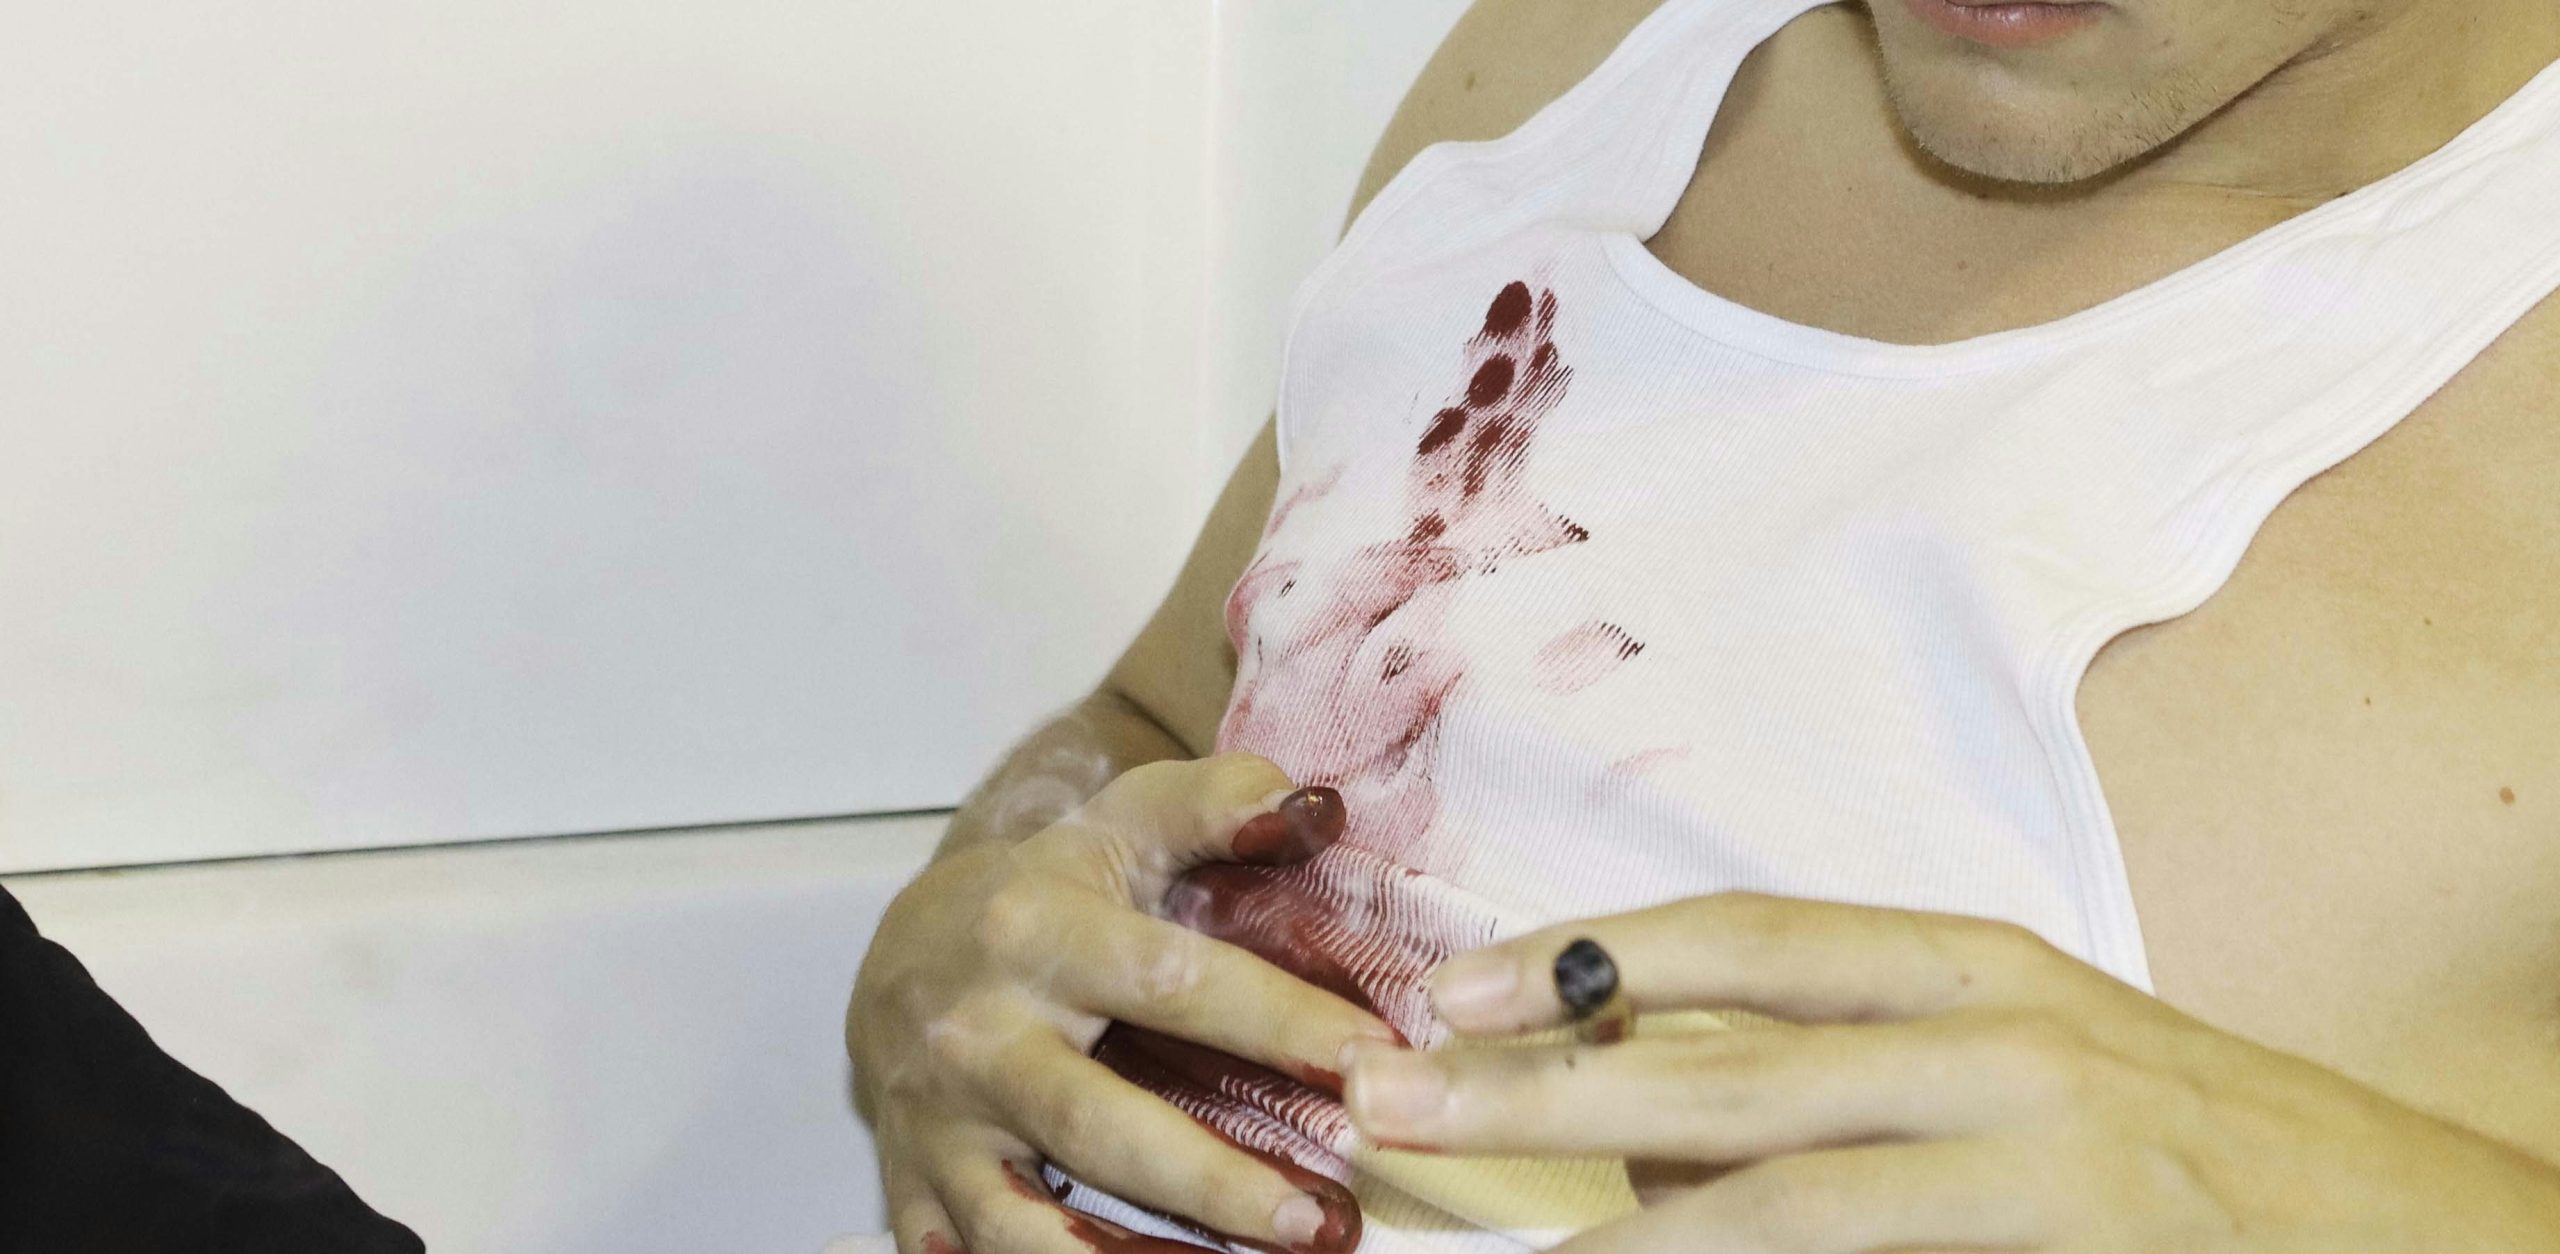
- Incorporate Clothing Details: A torn shirt fabric finishing touch enhances believability significantly.
Warning: Do NOT use glitter as makeshift shrapnel—it looks cute but undermines authenticity entirely. This terrible tip exists only as a cautionary tale.
Real-Life Examples That’ll Inspire You
Take inspiration from pros who’ve mastered their craft:
- Jessica R., SFX Maven – Her work has been featured widely across InstaStories showcasing flawless execution.
- David L., Freelancer Extraordinaire known for intricate designs often displayed at conventions.

Frequently Asked Questions About Bullet Wound Makeup
Q: Can beginners pull off professional-grade bullet wound effects?
A: Absolutely! While practice helps refine skills immensely, anyone willing to experiment can produce impressive outcomes.
Q: Is it safe to use household materials instead of store-bought kits?
A: Generally speaking, yes—but ensure any homemade concoctions are skin-safe tested beforehand due to potential irritants lurking within certain ingredients.
Q: What’s the biggest mistake people make?
A: Overdoing volume initially leads many astray causing overly exaggerated pieces rather than subtle yet believable injuries.
Conclusion
Mastering bullet wound makeup isn’t rocket science once broken down systematically. By following our guide religiously alongside sprinkling personal creativity throughout, even rookies can wow crowds come October 31st. Remember patience pays dividends here since rushing rarely produces desirable results consistently.
Now that you know all about bullet wounds, grab those supplies stat—because nothing screams ‘Halloween Horror Hero’ quite like walking undead royalty ready to spook responsibly yet fabulously.
Like dial-up internet, mastering SFX takes time but delivers sweet rewards.—Happy haunting!
