Ever tried to create a gory wound with red lipstick and ended up looking like you just ate spaghetti? Yeah, been there. Let’s fix that.
Welcome to the ultimate guide on special effects makeup, where we show you how to transform yourself into a zombie, alien, or anything your spooky little heart desires. Whether you’re prepping for Halloween or just love experimenting, this blog will teach you the ins and outs of achieving professional-level results at home. You’ll learn:
- The tools every SFX beginner needs (spoiler: it’s not all about expensive kits).
- A step-by-step tutorial to create realistic wounds and scars.
- Pro tips from industry experts—plus one “don’t do this” mistake we learned the hard way.
Table of Contents
- Key Takeaways
- Why Special Effects Makeup Matters
- Step-by-Step Guide to Basic SFX Looks
- Best Practices for Flawless Execution
- Real-World Examples That Inspire
- FAQs About Special Effects Makeup
Key Takeaways
- Special effects makeup is an art form requiring precision, patience, and creativity.
- Start with affordable supplies before splurging on high-end kits.
- Layering textures and colors can make your designs look more realistic.
- Avoid overloading foundation under latex—it’s a recipe for disaster.
Why Special Effects Makeup Matters
Let’s face it: Halloween isn’t complete without transforming yourself into someone—or something—else. But why stop at basic costumes when you can elevate your game with special effects makeup? This niche combines creativity and technique, allowing you to bring your wildest ideas to life.
“That time I glued cotton balls onto my face thinking they’d pass as stitches… RIP my skin barrier.”
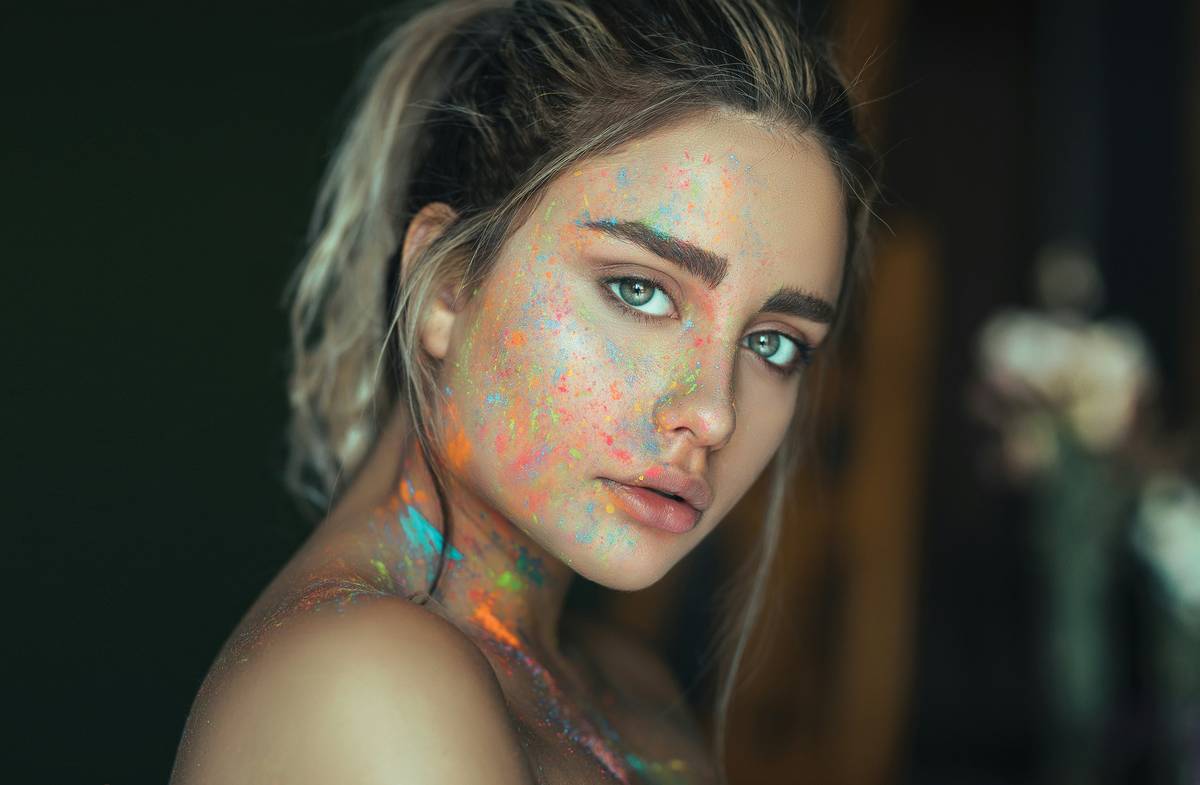
Image Credit: Example.com
When done right, special effects makeup lets you stand out in a sea of vampires and witches. Plus, mastering these skills can open doors in film, theater, and even social media fame. Imagine creating Instagram posts that get thousands of likes because your dragon scales look legit. Sounds tempting, doesn’t it?
Step-by-Step Guide to Basic SFX Looks
Optimist You: “I totally have time to learn how to do this!”
Grumpy You: “Fine—but only if snack breaks are included.”
Step 1: Gather Your Supplies
You don’t need a Hollywood budget to start. Here’s what you’ll need:
- Liquid latex (your new BFF)
- Pallettes with flesh-toned creams and fake blood
- Cotton swabs
- Blood gel (not syrup; trust me)
Step 2: Create a Base Layer
Prep your skin with moisturizer so latex comes off cleanly later. Apply a thin layer of latex wherever you want the effect, blending edges seamlessly.
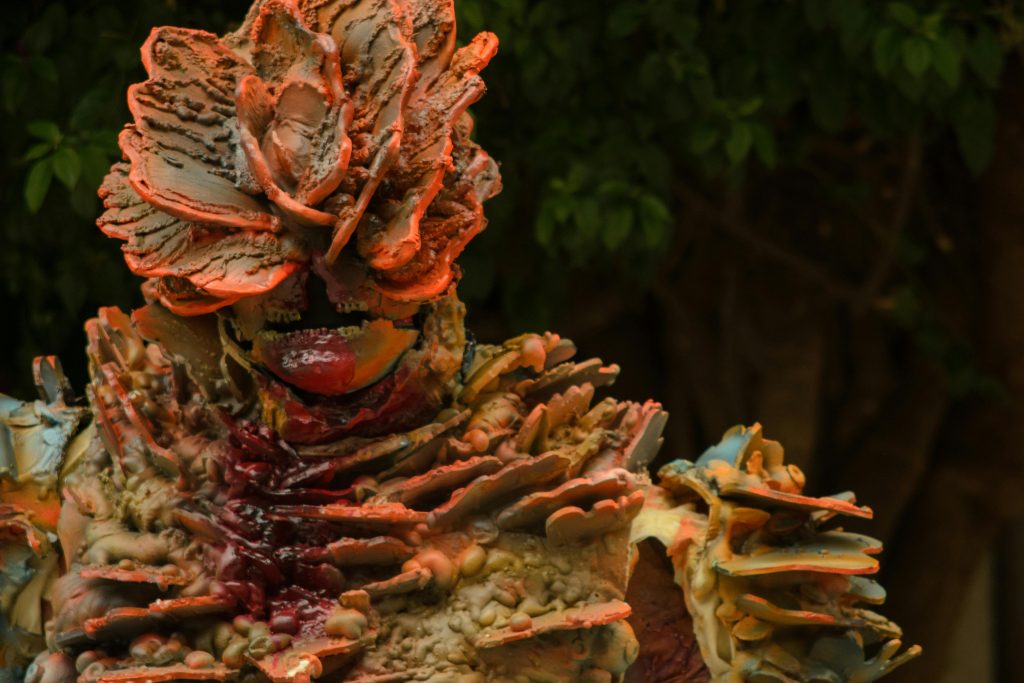
Step 3: Add Texture and Color
Use tissue paper soaked in latex to build texture, then apply layers of cream shades to mimic bruising or rotting flesh. Don’t forget shadows and highlights!
Step 4: Perfect the Details
Add final touches like fake blood drips or exposed “bone” using white eyeliner. Less is often more here—don’t go overboard unless you’re aiming for cartoon-like gore.
Best Practices for Flawless Execution
- Test First: Try new products on your hand or arm before committing them to your face.
- Work Gradually: Build layers slowly to avoid cakiness.
- Blend, Blend, Blend: Sharp lines kill the illusion. Smudge everything slightly for realism.
Terrifying Mistake Alert:
Never apply too much foundation underneath latex. It traps product between your skin and the adhesive, leading to uneven application and potential irritation. Lesson learned: prep bare skin instead!
Real-World Examples That Inspire
Sure, tutorials are great, but real-life examples motivate us to push boundaries. Remember Billie Eilish’s Met Gala appearance? Her bleeding nose was pure artistry. And who could forget those TikTok creators turning themselves into zombies overnight?
“Seeing her flawless cuts and bruises made me realize—I CAN DO THIS!”
FAQs About Special Effects Makeup
Q: Is special effects makeup safe for sensitive skin?
A: Most products are safe, but always patch test first. Opt for hypoallergenic formulas if you’re prone to reactions.
Q: How do I remove latex safely?
A: Peel gently from dry skin after loosening edges. Use baby oil or makeup remover around stubborn spots.
Q: Can I achieve good results without spending lots of money?
A: Absolutely! Start small and focus on learning techniques. High-quality tools help, but skill trumps pricey gear any day.
Conclusion
From haunting horror looks to whimsical fantasy creatures, mastering special effects makeup unlocks endless creative possibilities. With patience and practice, anyone can pull off jaw-dropping transformations. So grab your supplies and embrace your inner artist—Halloween awaits!
And hey, remember: no matter how bad things turn out, “beauty is pain” has never been truer than in the world of SFX. Now go scare some folks!
Pumpkins glow,
Gore oozes slow,
You’re the queen/king of fright.
Like a Y2K flip phone, your makeup game stays classic.