Ever stared at your face in the mirror, armed with black and white paint, only to end up looking like a melted Oreo? Yeah, us too. Skeleton face paint is one of those Halloween makeup techniques that’s equal parts fun and frustrating. Whether you’re prepping for a party or Instagram fame, getting those bone lines sharp can feel impossible. But don’t worry—we’ve got your back.
In this guide, we’ll walk you through everything from choosing the right products to creating jaw-droppingly realistic skeleton designs. By the time you’re done reading, you’ll know exactly how to transform yourself into the spooky star of any costume contest. Ready? Let’s dive in.
Table of Contents
- Key Takeaways
- The Struggle with Skeleton Face Paint Explained
- Step-by-Step Guide to Perfect Skeleton Face Paint
- Pro Tips to Elevate Your Look
- Real-World Examples You Can Copy
- FAQs About Skeleton Face Paint
Key Takeaways
- Skeleton face paint requires quality brushes and creamy makeup products for smooth application.
- A step-by-step approach ensures precision—don’t skip base layers!
- Avoid overloading on details; simplicity often looks more professional.
- Practice makes perfect—test your technique before the big night.
The Struggle with Skeleton Face Paint Explained
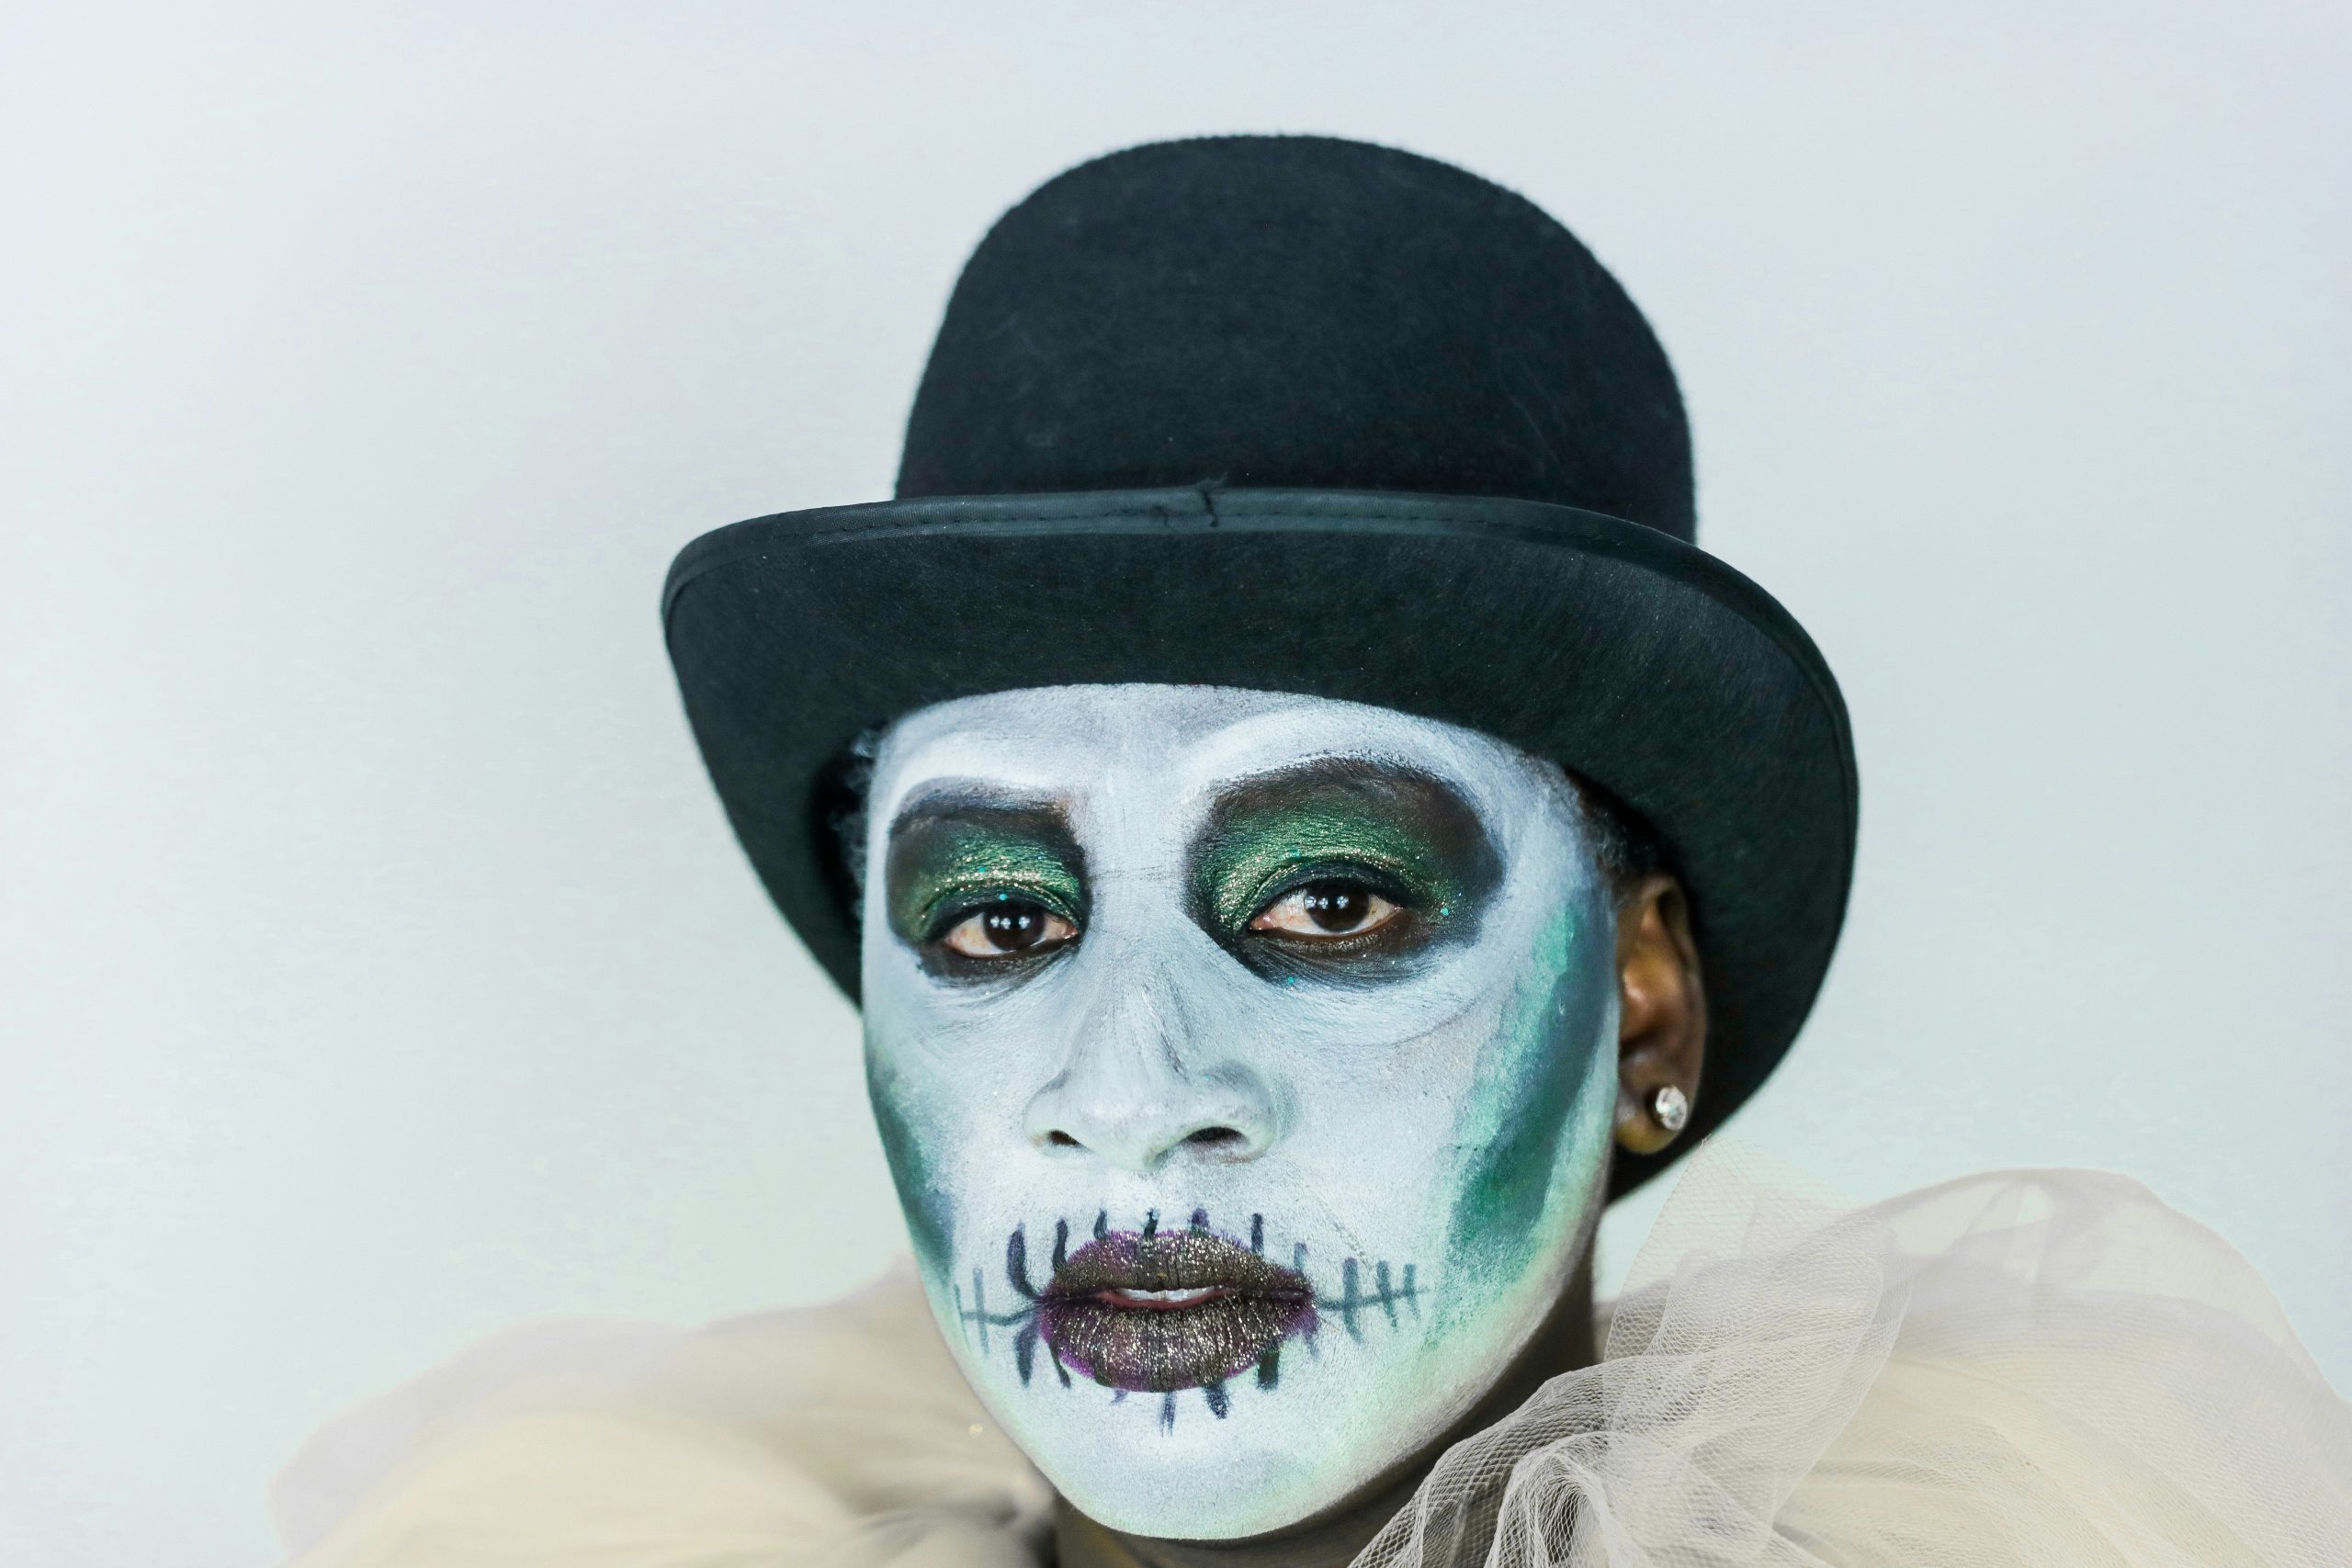
Let me tell you about my personal disaster moment. I once tried whipping up a skeleton design using cheap glitter glue leftover from an elementary school project. Not only did it refuse to dry properly, but I also ended up resembling Frosty the Snowman rather than something remotely spooky. Cue internal scream.
This kind of mess happens way too often when people jump into skeleton face painting without understanding two critical factors:
- Picking the wrong tools (hint: bristle brushes are a no-go).
- Rushing the process instead of building layers carefully.
Grumpy Me: “Ugh, why does everyone think they can wing this?”
Optimist Me: “Hey, relax—you CAN learn to do this well!”
And guess what? You’re about to uncover all the secrets so you never have another ‘Oreo face’ incident again.
Step-by-Step Guide to Perfect Skeleton Face Paint
If following tutorials feels overwhelming, here’s a foolproof breakdown. Grab your supplies—white face paint, black liquid liner, angled brushes, and setting powder—and let’s get started.
Step 1: Prep That Canvas (Your Face)
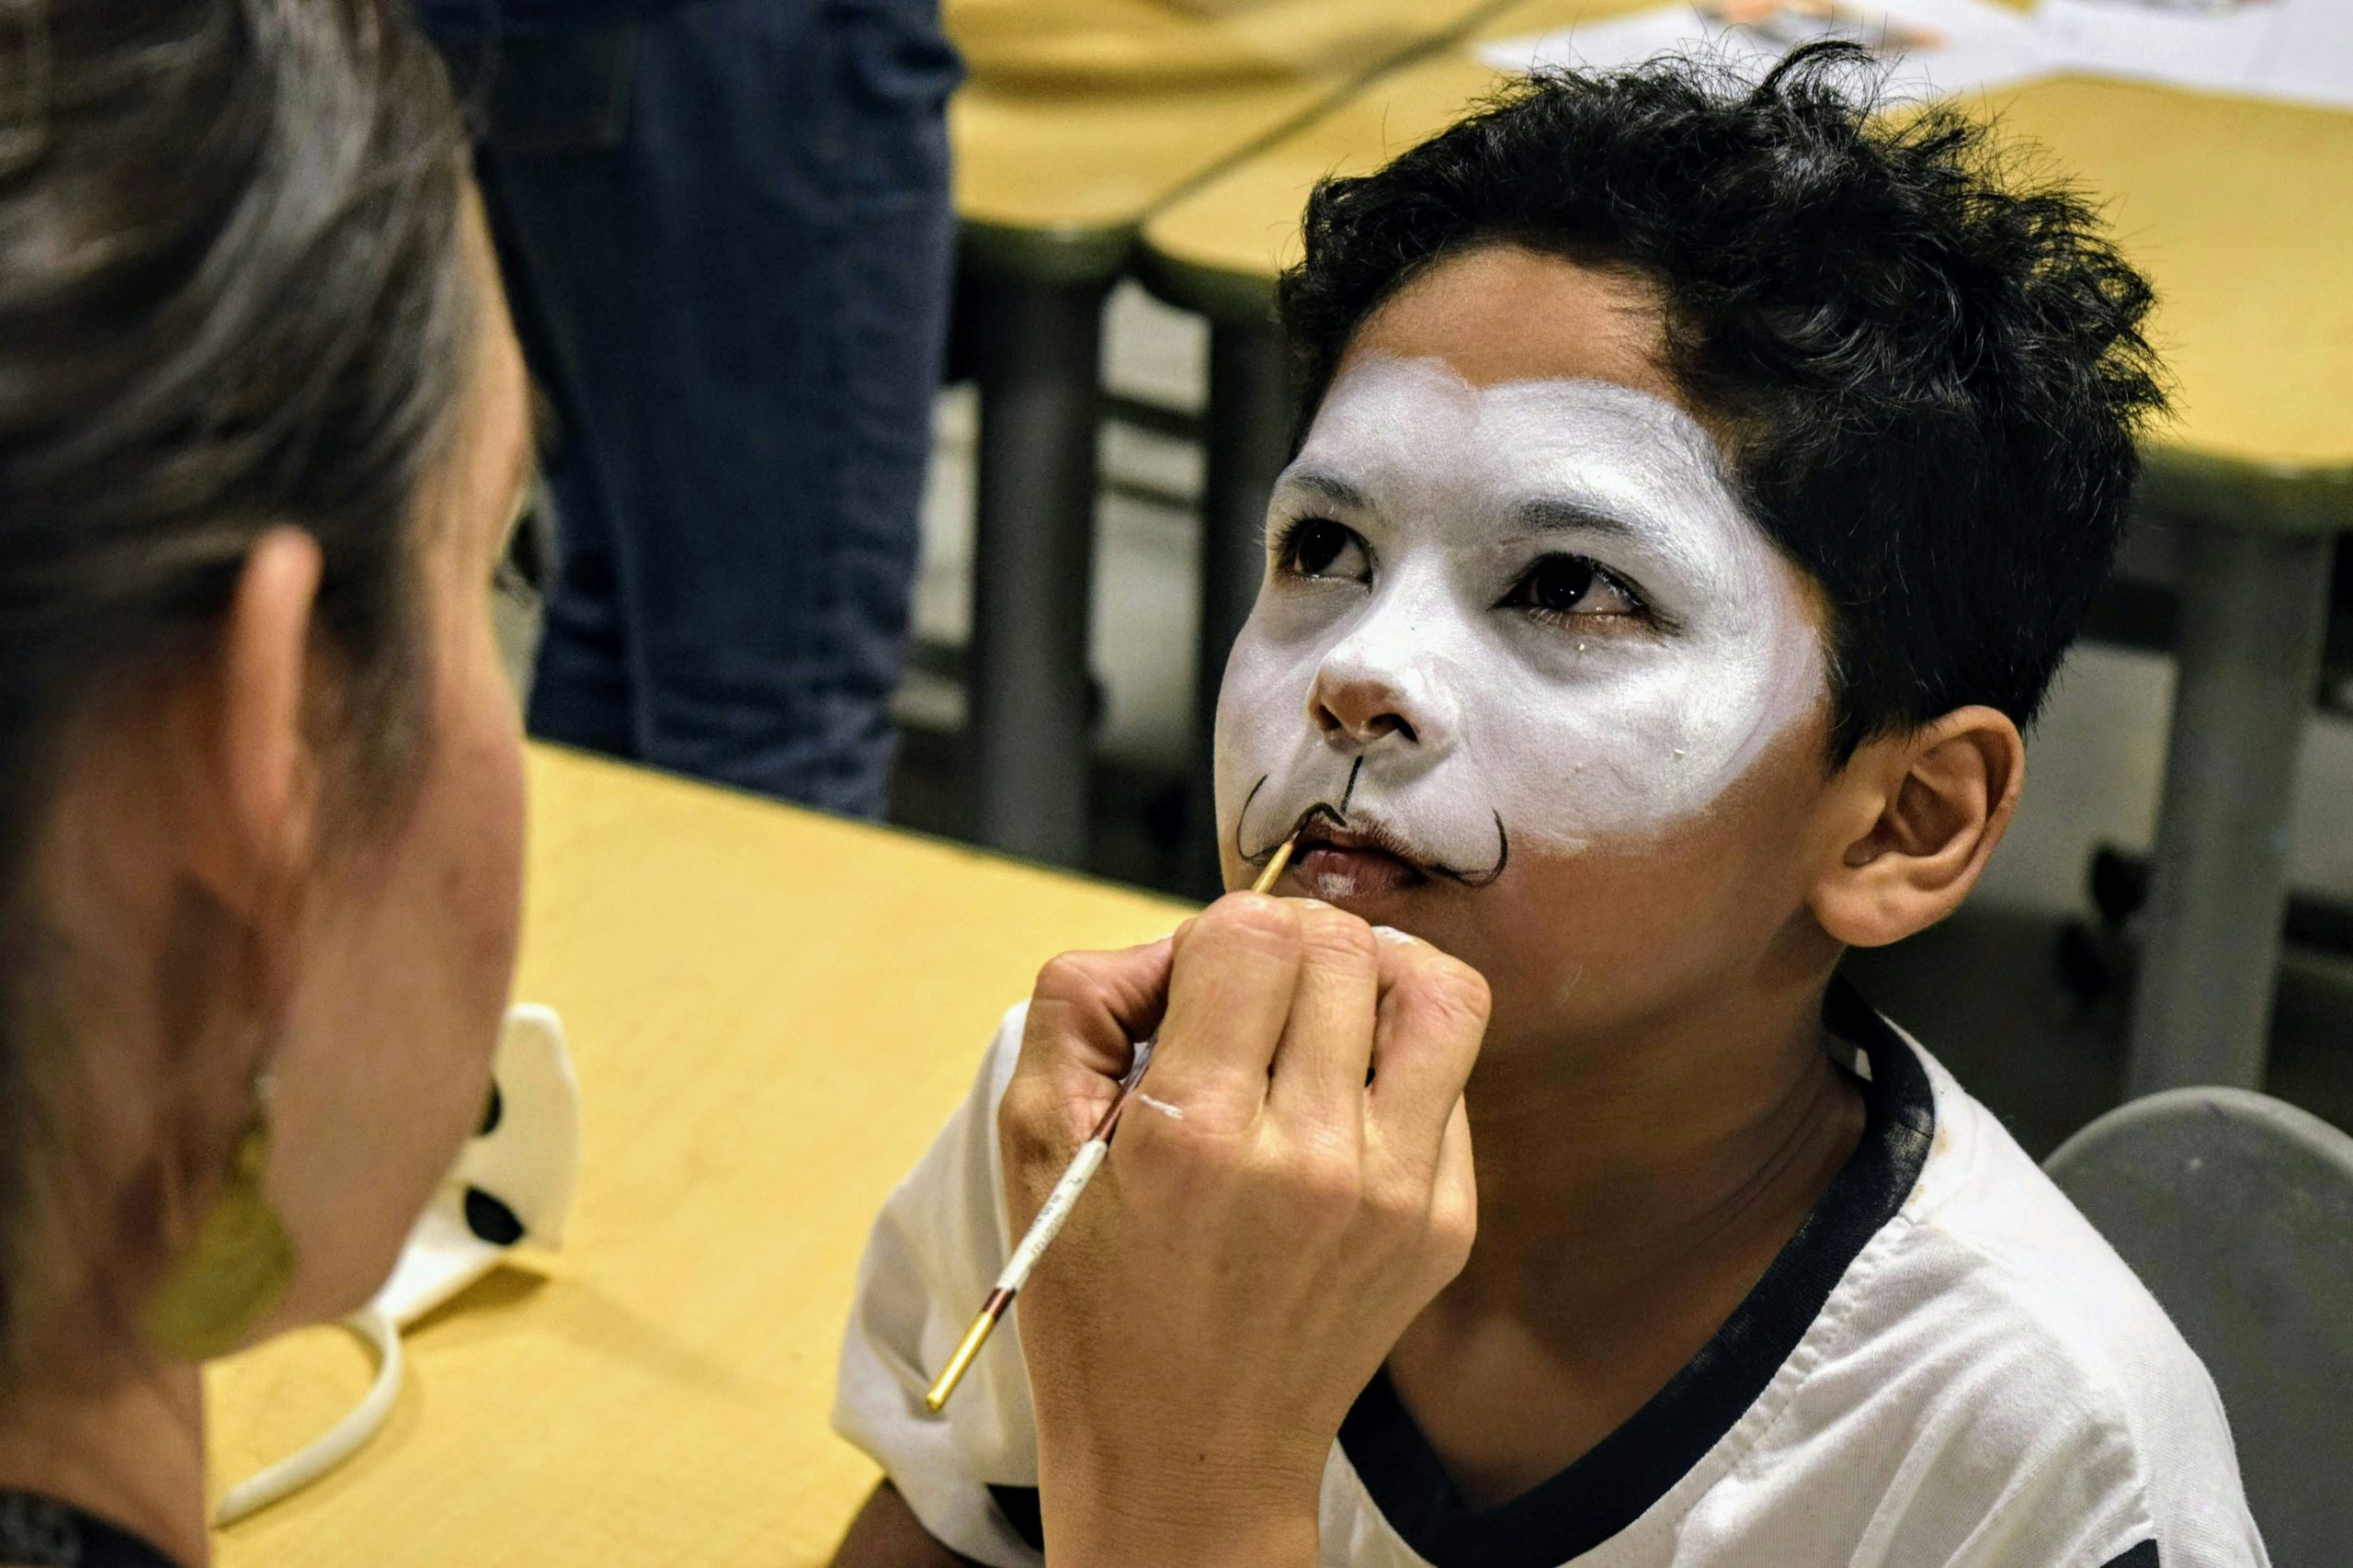
Start by cleansing and moisturizing your skin. Then apply a hydrating primer to ensure your skeleton face paint sticks without creasing. This step might seem boring, but trust me—it’s chef’s kiss for preventing patchiness later.
Step 2: Create the Base Layer
- Use a damp sponge to evenly spread white face paint across your entire face.
- Set the base with translucent powder to avoid smudging (and shiny T-zones).
Step 3: Define Bone Structure
Switch to a thin brush dipped in black paint. Outline your cheekbones, nasal cavities, and eye sockets. Pro tip: Less is more. Sharp lines look better than thick blobs.
Step 4: Add Details Like a Boss
Finish off with small touches—teeth, cracks, shadows around the jawline. Use reference images if needed; Pinterest is your friend here.
And voilà—you’re officially skeleton-ready!
Pro Tips to Elevate Your Look
Tip #1: Invest in Quality Products
No shame in skipping drugstore bargains. Brands like Mehron and Ben Nye deliver pigment-rich formulas that blend seamlessly.
Tip #2: Work Symmetrically
Keep glancing at both sides of your face as you go. Asymmetrical skeletons = instant horror movie villain vibes.
Terrible Tip Alert:
Don’t try freehand lettering unless you’re already Picasso-level skilled. Stick to stencils—they exist for a reason.
Tip #3: Light It Right
For photoshoots, use soft lighting to highlight contours. Harsh flash will flatten your masterpiece faster than you can say “Boo.”
Real-World Examples You Can Copy

We scoured social media to find inspiration-worthy skeleton face paint looks:
- Gothic Glamour: Deep red accents paired with classic skull outlines create a dramatic twist.
- Minimalist Chic: Focus just on the eyes and mouth area for subtle yet effective results.
- Nightmare Fuel: Incorporate dripping blood effects for extra creepiness (perfect for haunted house gigs).
FAQs About Skeleton Face Paint
Q: How long does skeleton face paint last?
A: With proper prep and setting powder, expect 6–8 hours of wear. Reapply lip-safe paints near the mouth after eating.
Q: What’s the biggest mistake to avoid?
A: Skipping blending stages. Hard edges ruin the illusion of real bones.
Q: Is skeleton face paint beginner-friendly?
A: Absolutely! Start simple with fewer elements, then grow into complex designs over time.
Conclusion
Congrats—you’re now equipped to rock some seriously spine-chilling skeleton face paint this Halloween season! Remember, practice is key, and patience pays off. So grab your brushes, channel your inner artist, and embrace the spookiest version of yourself.
Final thought: Like carving pumpkins, skeleton face paint gets easier every year. Now go slay that holiday glow-up game!
P.S. Here’s your bonus haiku:
Skeleton whispers,
Sharp lines frame your hollow gaze—
Spooky chic achieved.
