Ever spent hours perfecting bloody wounds only to realize it looked more “pink glitter” than “horror movie”? Yeah, us too.
Creating gory makeup that wows isn’t just about splashing red paint on your face—it’s an art form. Whether you’re aiming for zombie chic or a slasher flick victim, this guide will teach you everything from choosing the right products to nailing technique without looking like a Pinterest fail. By the end, you’ll know how to craft gory makeup so realistic even Freddy Krueger would approve.
Table of Contents
- Why Gory Makeup Fails (and How to Fix It)
- Step-by-Step Guide to Creating Gory Makeup
- Pro Tips for Perfectly Gruesome Effects
- Real-Life Inspiration: Gory Makeup Done Right
- FAQs About Gory Makeup
Key Takeaways
- Gory makeup requires high-quality products like liquid latex, fake blood, and color correctors.
- Layering textures adds realism; blending edges makes effects believable.
- Avoid overdoing details—the goal is chilling, not clownish.
Why Gory Makeup Fails (and How to Fix It)
I once tried creating a “deep wound” effect using ketchup and eyeshadow. Spoiler alert: It turned into a soggy mess before I could even Instagram it. Sound familiar?
The truth is, gory makeup can go wrong in countless ways:
- Poor product choices lead to smudging or melting.
- Rushed application results in uneven textures.
- Skipping base prep often means cracks and patchiness.
To avoid disaster, invest in quality tools (you don’t need much) and plan ahead. Trust me—no one wants their werewolf transformation turning into a melted wax figure mid-party.
Step-by-Step Guide to Creating Gory Makeup
Step 1: Prep Your Canvas
Optimist You:* “Start by cleansing and moisturizing!”
Grumpy You:* “Yeah, yeah—but skip the shea butter unless you want grease lighting.”
Clean skin ensures better adhesion of special effects products. Use a mattifying primer if you tend to get oily.
Step 2: Build Layers with Texture
- Base Layer: Apply foundation matching your skin tone as a smooth starting point.
- Fake Blood: Choose non-toxic formulas designed for cosmetics. Gel-based varieties stay put longer.
- Liquid Latex: This creates peelable wounds. Paint thin layers, then tear gently for dimension.
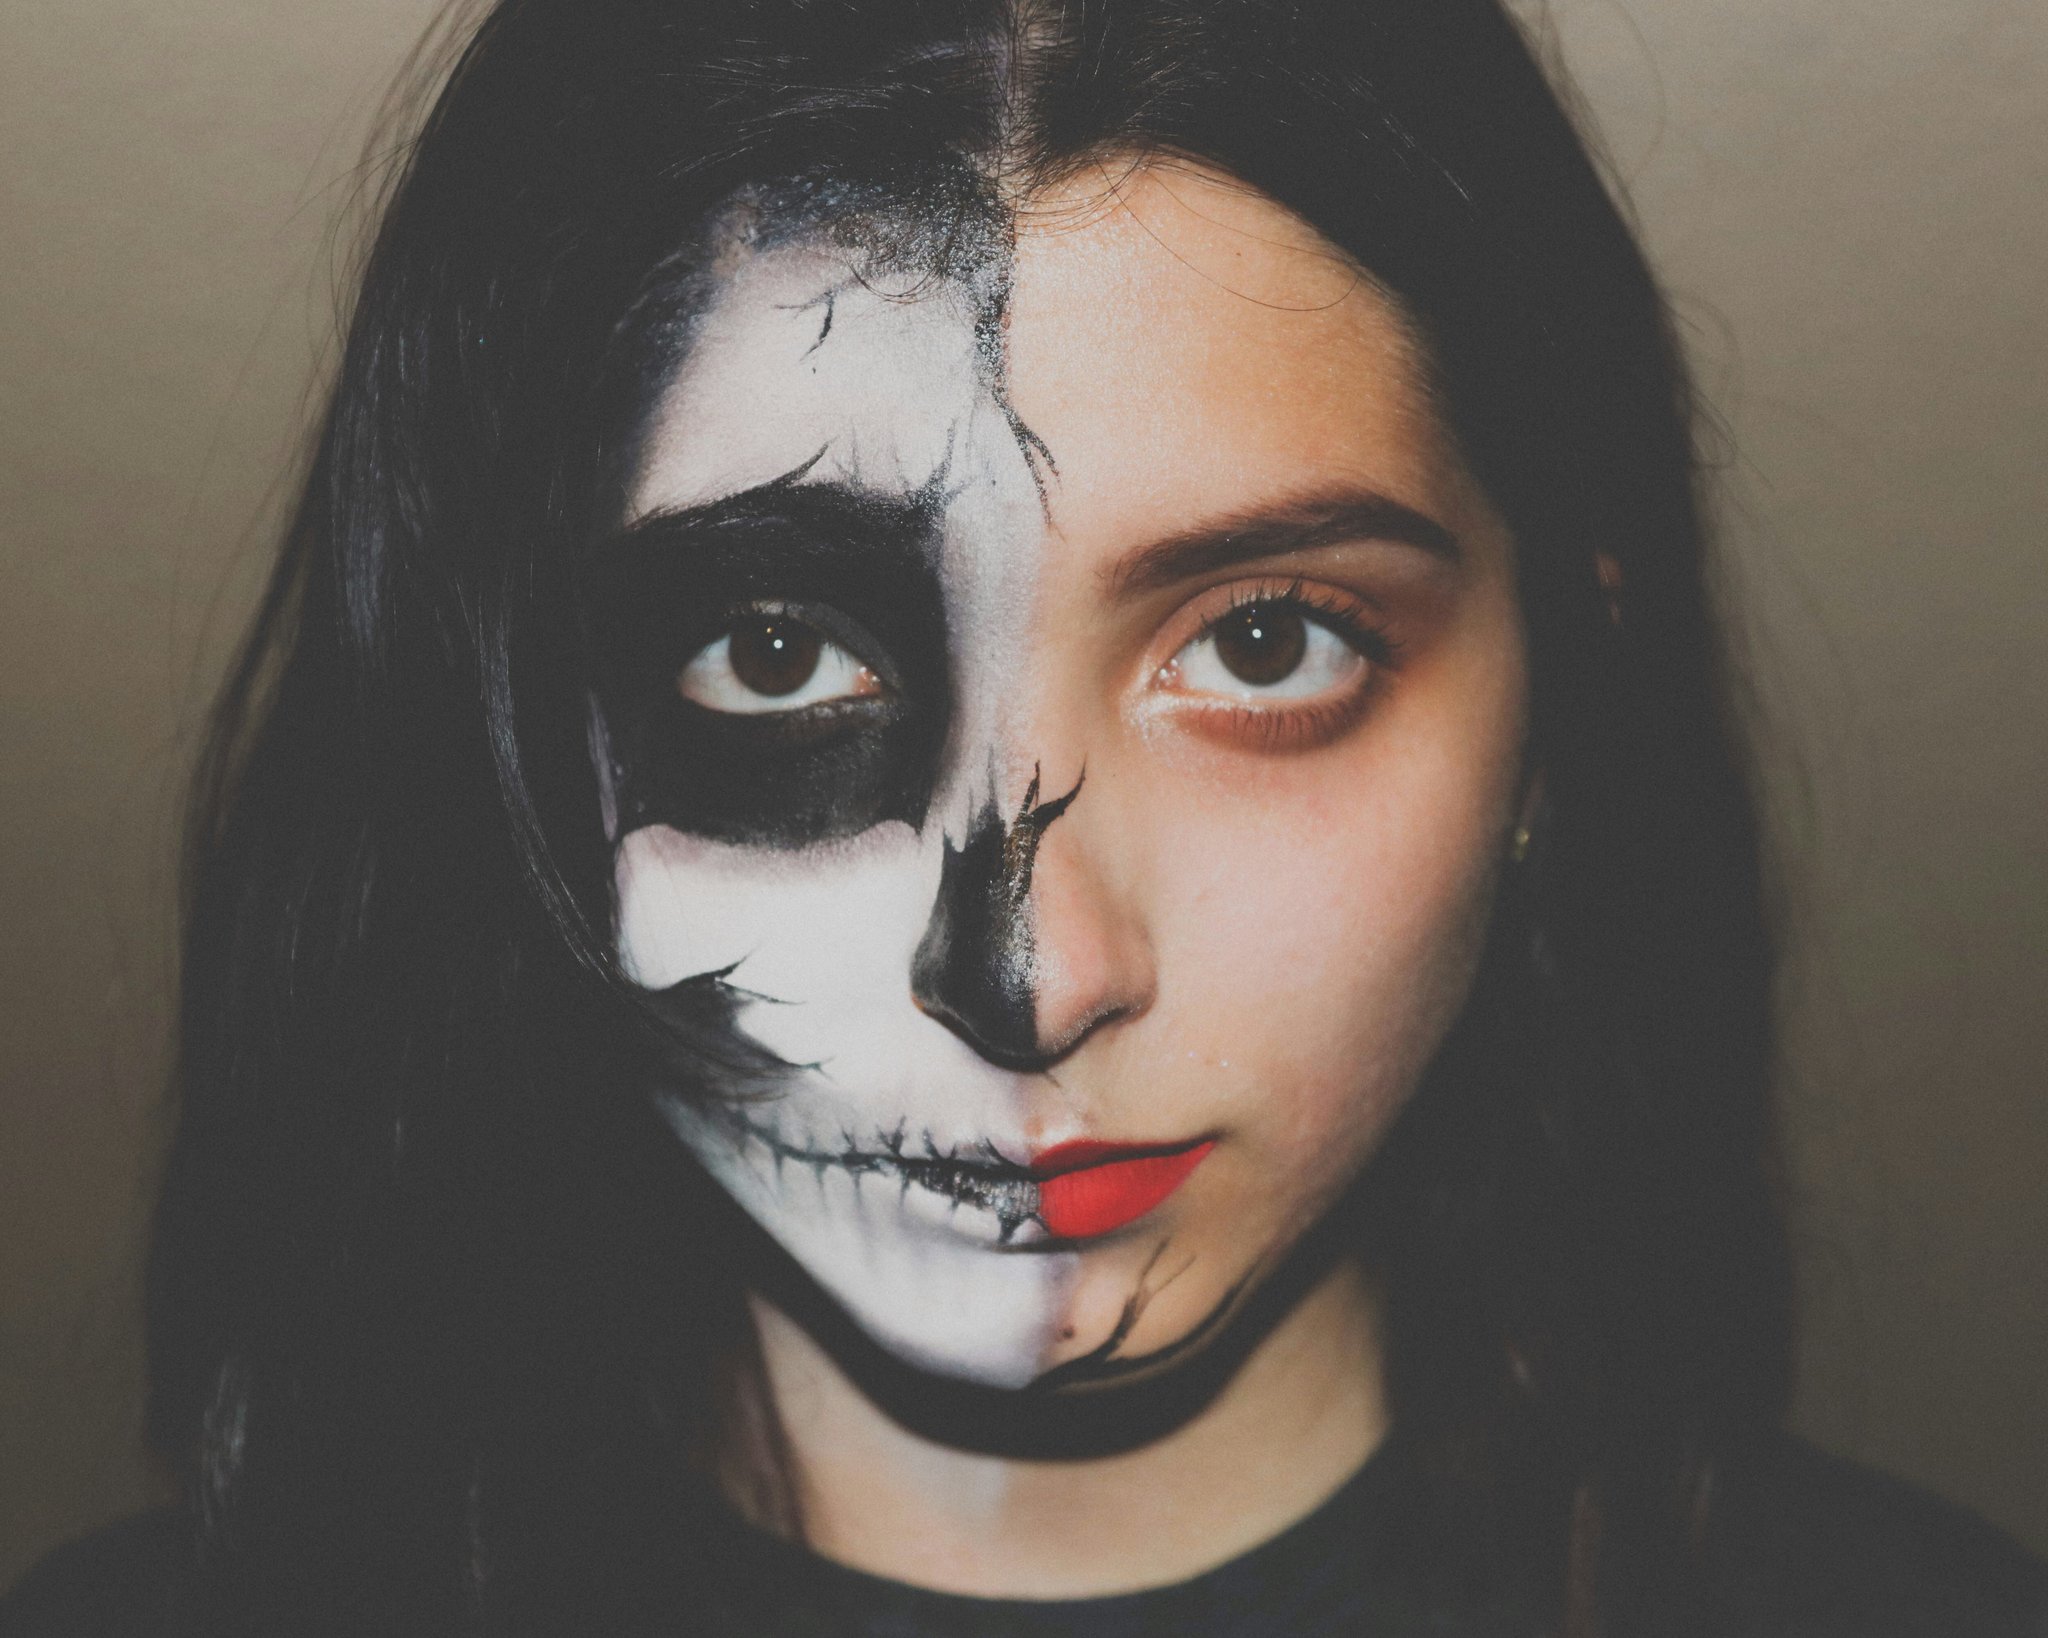
Step 3: Add Depth with Colors
Use bruise palettes to layer hues like purple, blue, and red for authentic-looking contusions. Blend carefully at the edges for a seamless transition.
Pro Tips for Perfectly Gruesome Effects
- Skip Cheap Blood – Go for edible-grade options; they look richer and are safe near mouths.
- Incorporate Props – Scissors? Knives? Fake shards embedded in wounds add drama.
- Mistakes Happen – If something goes awry, dab translucent powder to set mistakes while you regroup.
Brutal Honesty Alert:
Here’s where we admit our sins—a terrible tip someone actually suggested online: mixing corn syrup with food coloring. Sure, it sounds budget-friendly…until sticky syrup drips everywhere, ruining clothes and confidence alike. Avoid DIY shortcuts unless you’re prepared for sticky chaos.
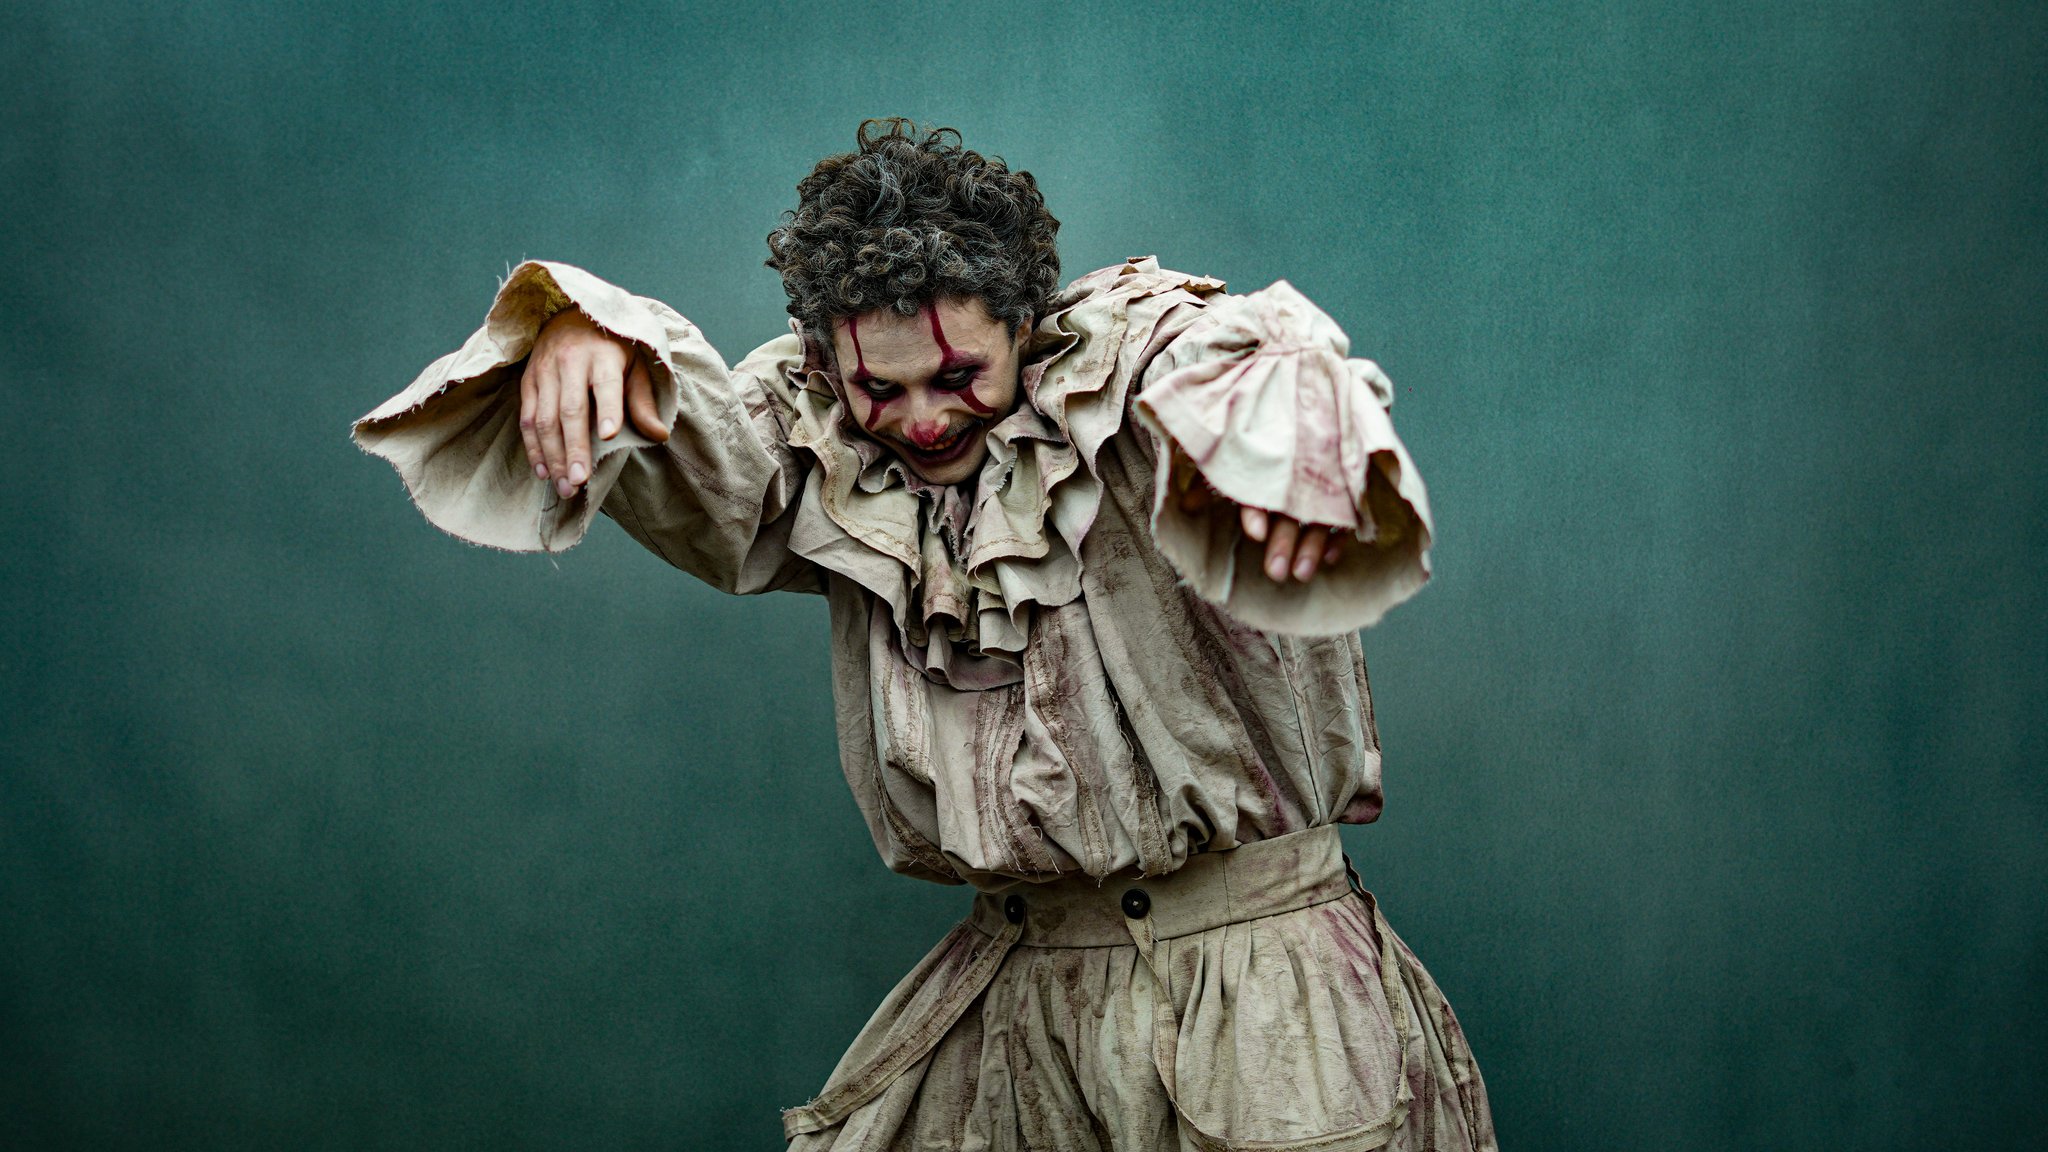
Real-Life Inspiration: Gory Makeup Done Right
Remember when Kylie Cosmetics launched its #HalloweenGore campaign? Fans showcased elaborate looks featuring hyper-realistic gashes and scars. One standout used silicone prosthetics combined with airbrushed shading—proof that practice really pays off.
Another viral success involved simple materials like toilet paper soaked in water and coated with latex. Sometimes creativity trumps cost!
FAQs About Gory Makeup
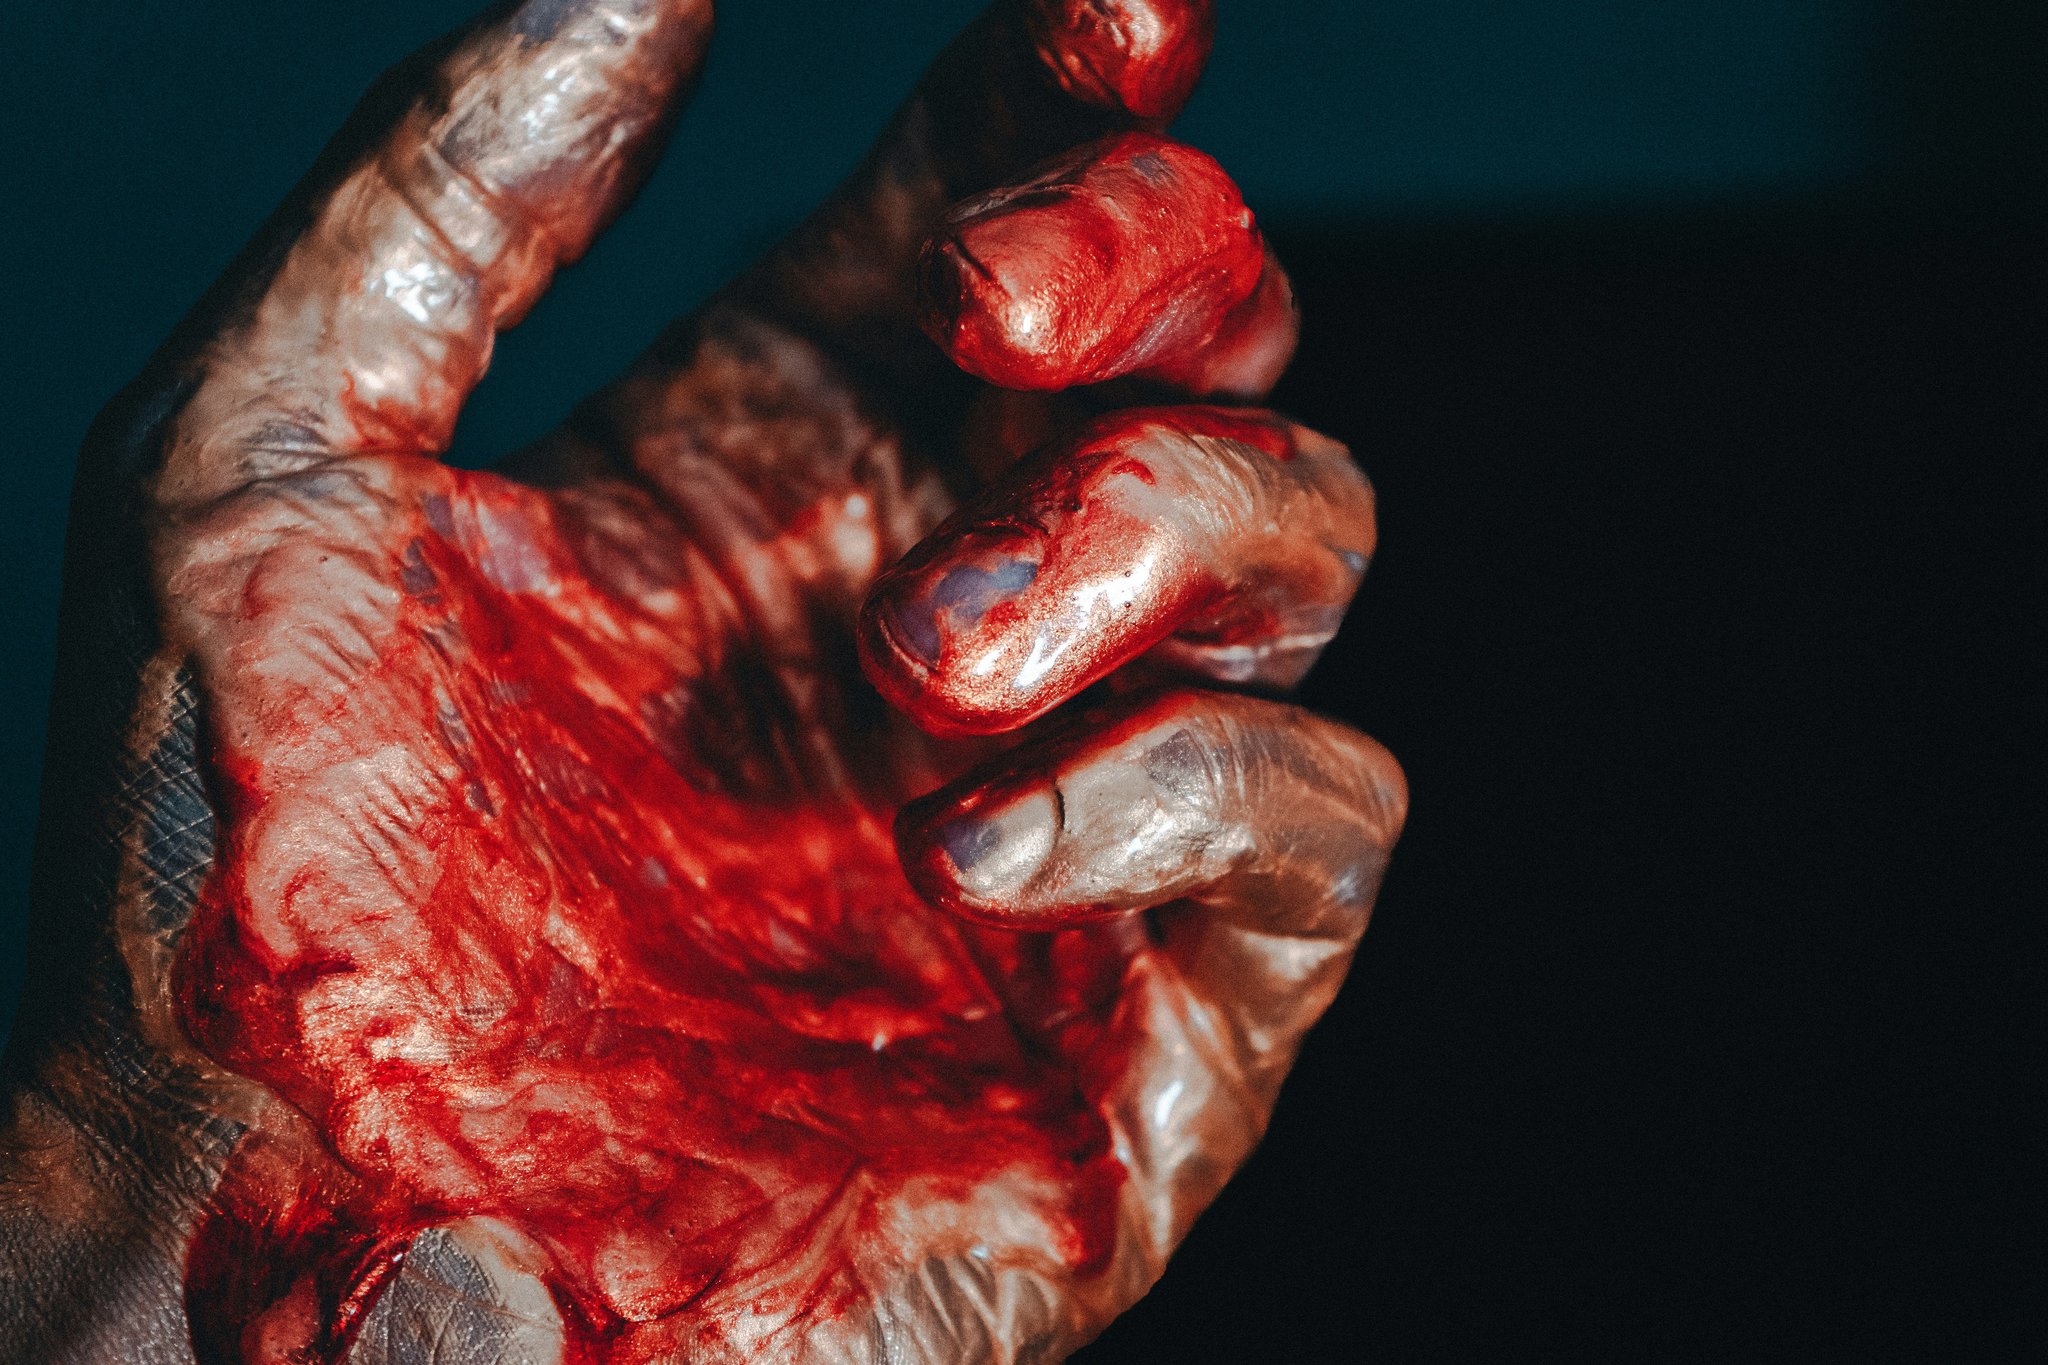
What makes fake blood look realistic?
Consistency matters. Thick gel-based blood mimics clotted veins, while thinner versions resemble fresh bleeding.
Can beginners achieve professional results?
Absolutely! Start small with basics like bruising kits before diving into prosthetics.
How do I remove gory makeup safely?
Peel off latex carefully, then follow up with gentle cleansers to dissolve any residue.
Conclusion
From planning your design to executing each step with precision, mastering gory makeup takes patience but delivers unparalleled thrills. Remember, every great piece starts with a solid base—and ends with a dash of theatrical flair.
Now grab your tools, channel your inner macabre artist, and let loose. Oh, and don’t forget coffee. Always coffee.
Like Frankie Stein said,
“Glitches on my phone screen,
But gore’s what makes us scream.”
—Somebody probably.