Table of Contents
- Introduction
- Key Takeaways
- Why 3D Wound Makeup Is Halloween’s Secret Weapon
- Step-by-Step Guide to Creating Realistic 3D Wounds
- Pro Tips for Perfecting Your 3D Wound Makeup
- Spine-Chilling Examples of 3D Wound Makeup Done Right
- FAQs About 3D Wound Makeup
- Conclusion
Introduction
Ever tried doing Halloween makeup only to end up looking more “cute kitten” than “chainsaw massacre”? Yeah, we’ve been there. But don’t worry—you’re not alone. Mastering 3D wound makeup can take your Halloween costume from basic to blood-curdlingly brilliant.
In this guide, you’ll learn the art of creating hyper-realistic wounds that will leave your friends (and maybe even yourself) screaming. From step-by-step instructions to pro tips and real-life examples, we’ve got the gory details covered. Grab your tools, because it’s about to get messy!
Key Takeaways
- 3D wound makeup is an essential skill for anyone aiming to elevate their Halloween game.
- You’ll need specific tools like liquid latex, fake blood, and sculpting gel for realistic results.
- The devil is in the details—perfect shading and texture make all the difference.
- Avoid common mistakes like overloading on products or skipping layering techniques.
Why 3D Wound Makeup Is Halloween’s Secret Weapon
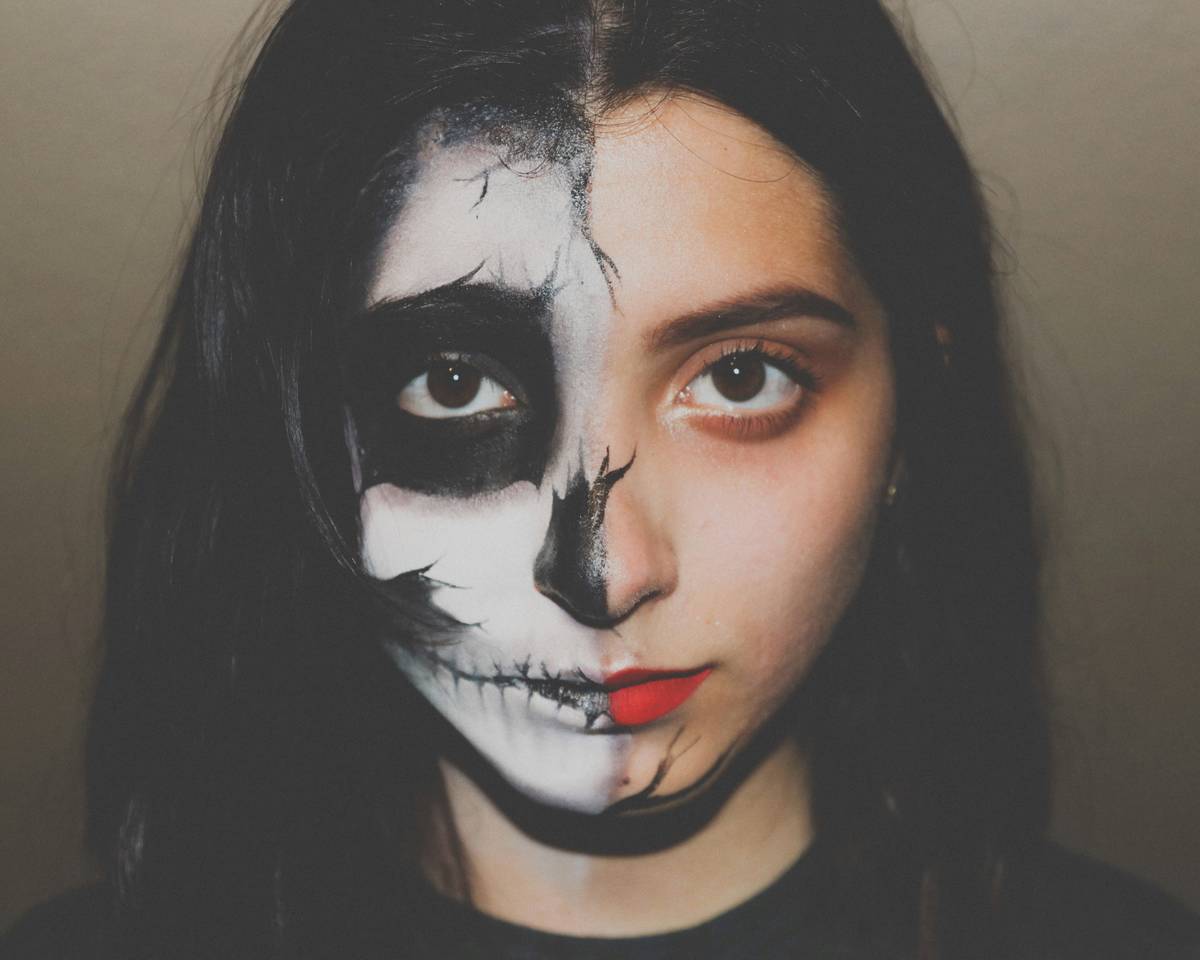
Let me tell you a story. Once upon a time, I decided to go as a zombie for Halloween. Armed with nothing but some cheap face paint and red lipstick, I thought I was ready. Spoiler alert: I wasn’t. My “wounds” looked more like smudged crayon drawings than anything remotely scary.
This is where 3D wound makeup comes in. Unlike flat makeup, 3D techniques add depth and dimension, making fake injuries look disturbingly real. Whether you’re channeling a slasher flick victim or just want to scare your neighbors, mastering this skill ensures you stand out in the sea of pumpkin spice costumes.
“Optimist You” might think, “This sounds easy enough!” Meanwhile, “Grumpy You” whispers, “Yeah, but do you really have three hours to sit still while someone layers latex on your face?” Fair point—but trust us, the payoff is worth it.
Step-by-Step Guide to Creating Realistic 3D Wounds

What Tools Do You Need?
Before diving into the nitty-gritty, gather these essentials:
- Liquid Latex: Creates raised textures for wounds.
- Fake Blood: Adds realism without actual gore.
- Sculpting Gel/Wax: For building deeper cuts and lacerations.
- Makeup Brushes/Sponges: Essential for blending and detailing.
- Setting Powder: Locks everything in place.
How to Create the Perfect Wound
- Prep Your Skin: Cleanse and moisturize before starting. This helps the makeup adhere better.
- Apply Liquid Latex: Use a brush to spread thin layers, shaping them into the desired wound size.
- Layer Sculpting Gel/Wax: Add more depth by filling gaps within the latex area.
- Blend Edges: Soften harsh lines using sponges or fingers dipped in setting powder.
- Shade and Highlight: Use darker shades around edges and lighter tones inside the wound to mimic shadows and highlights.
- Add Fake Blood: Dab generously for a fresh, bleeding effect—or sparingly for dried scabs.
“Pro Tip Chef’s Kiss Alert”: If you mess up, liquid latex erasers exist. Don’t panic; they work wonders.
Pro Tips for Perfecting Your 3D Wound Makeup
- Practice Makes Perfect: Test designs on paper or arms first to avoid last-minute disasters.
- Less Is More: Avoid going overboard with product—it can ruin the illusion.
- Layer Strategically: Start light, then build intensity gradually for natural-looking effects.
- Use High-Quality Products: Cheap fakes often smell weird and irritate skin. Invest wisely.
- Terrifying Texture Hack: Crushed cornflakes mixed with glue create ultra-realistic scabs.
Rant Section: Seriously, though, why do people insist on using ketchup as fake blood? It looks orange under lights and attracts bees. Just… no.
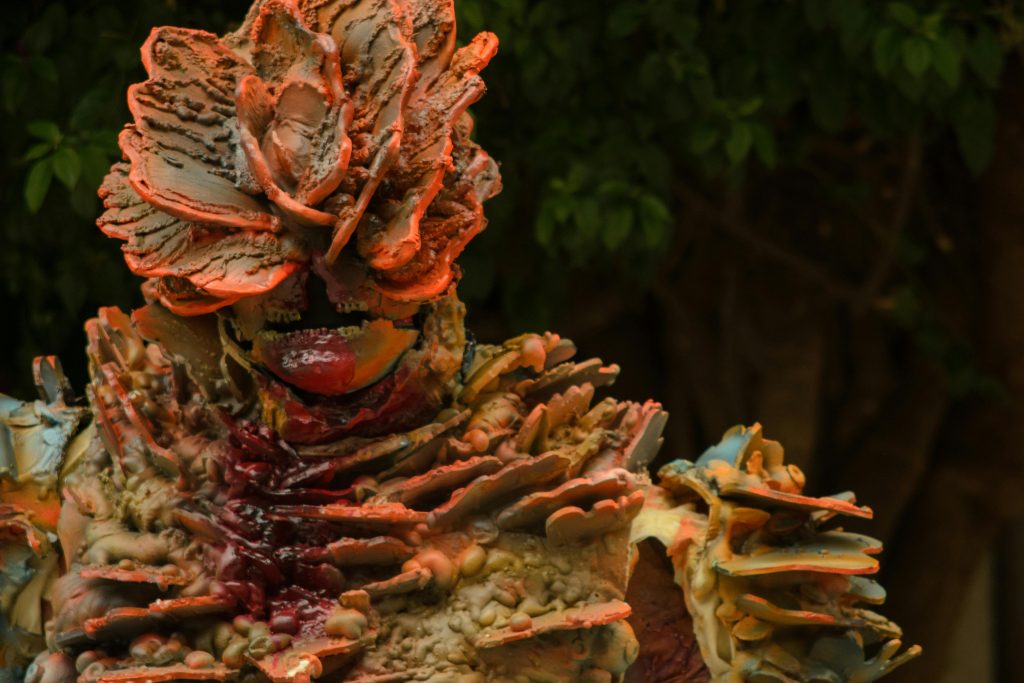
Spine-Chilling Examples of 3D Wound Makeup Done Right
We scoured Instagram for inspiration and found these jaw-droppers:
- Jessica’s Zombie Bride: Used liquid latex and sculpting wax to craft gaping wounds across her neck and cheekbones. Paired with tattered lace, she won every haunted house award.
- Mike’s Slashed Arm: A mix of latex, highlighters, and crimson blood made his severed hand prop look disgustingly authentic.
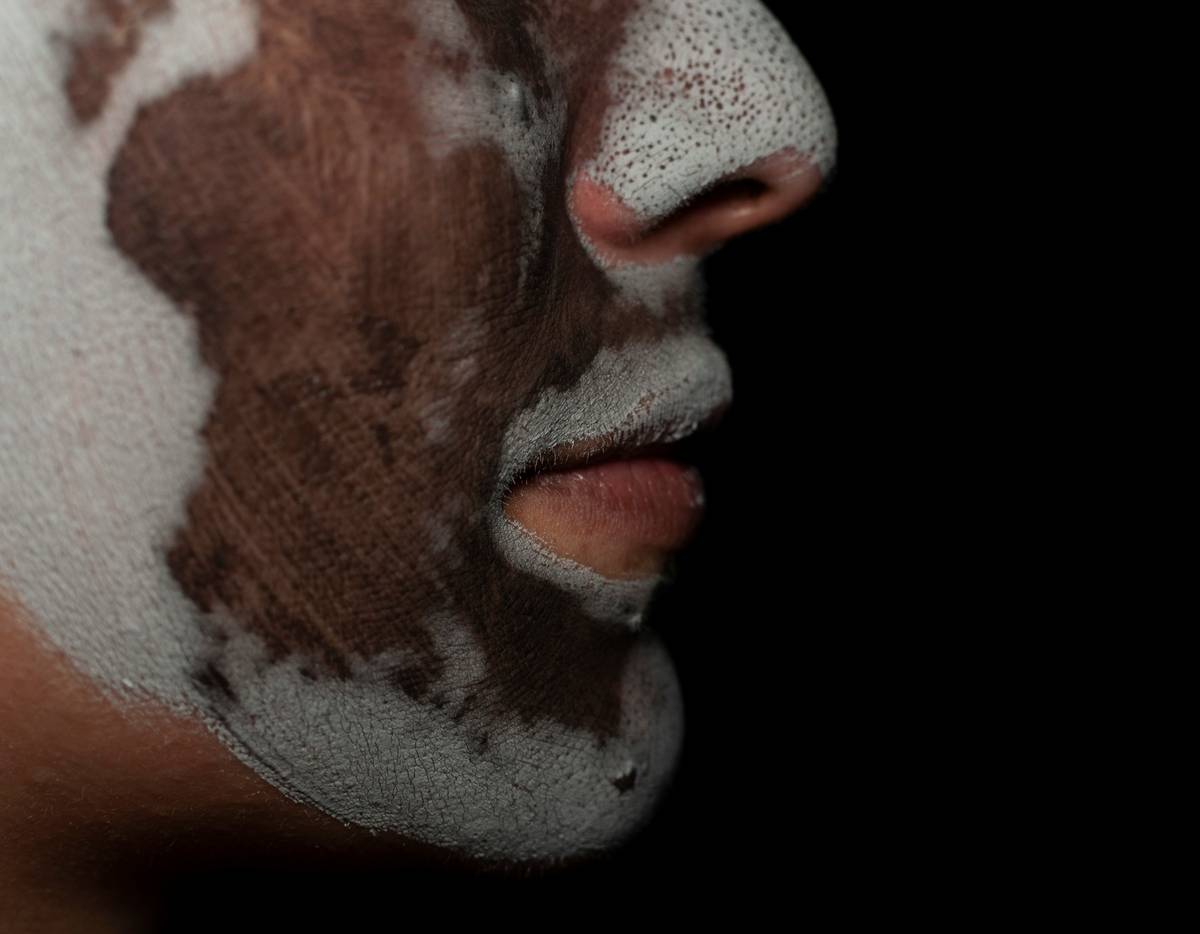
- Sarah’s Burn Victim: Blended foundation shades seamlessly to recreate charred flesh complete with bubbling sores (thank you, crushed cornflakes).
Talk about commitment to craft!
FAQs About 3D Wound Makeup
Is 3D Wound Makeup Suitable for Sensitive Skin?
Yes—if you patch-test beforehand and opt for hypoallergenic products.
Can Beginners Pull Off Complex Designs?
Absolutely! Start small and scale up as confidence grows. YouTube tutorials are lifesavers here.
How Long Does It Last?
With proper sealing sprays, your masterpiece should survive several hours—even through sweat and slight weather changes.
Conclusion
Congratulations! You now possess the secrets to creating show-stopping 3D wound makeup. Remember, practice makes perfect, and creativity knows no bounds. So grab those tools, embrace the chaos, and prepare to terrify everyone at your next Halloween bash.
And hey, here’s a little something extra:
Blood drips slow,
Latex tears grow,
Gore queens steal the show!