Ever tried creating a bruise for Halloween and ended up looking like you got into a glitter fight instead? Yeah, us too. And trust me, it’s not the vibe you’re going for when trying to scare—or impress—at your next costume party.
In this blog post, we’ll walk you through mastering realistic bruise makeup, step by step. You’ll learn how to choose the right products, apply techniques that look authentic, and even troubleshoot common boo-boos (pun intended). This guide will leave you confident enough to scare the pants off anyone who dares cross your path.
What’s ahead:
- A crash course in bruise anatomy
- Step-by-step application process
- Pro tips for nailing realistic effects
- Real-world examples from pros
Table of Contents
- Key Takeaways
- Why Realistic Bruise Makeup Matters
- Step-by-Step Guide to Applying Realistic Bruises
- Tips & Best Practices for Perfecting Your Technique
- Examples of Pro-Level Bruise Creations
- Frequently Asked Questions About Bruise Makeup
- Conclusion: Get Ready to Scare!
Key Takeaways
- Layering is key—start light and build up for depth.
- Skin prep prevents colors from smudging or fading quickly.
- Blending tools can make all the difference (kitchen sponges work wonders).
- Avoid overdoing texture; subtlety sells realism.
Why Realistic Bruise Makeup Matters
You might be wondering why spending hours on bruise makeup matters when fake blood and zombie face paint are easier options. Well, here’s the tea:
“A well-executed bruise adds layers of storytelling to your character without saying a word.”
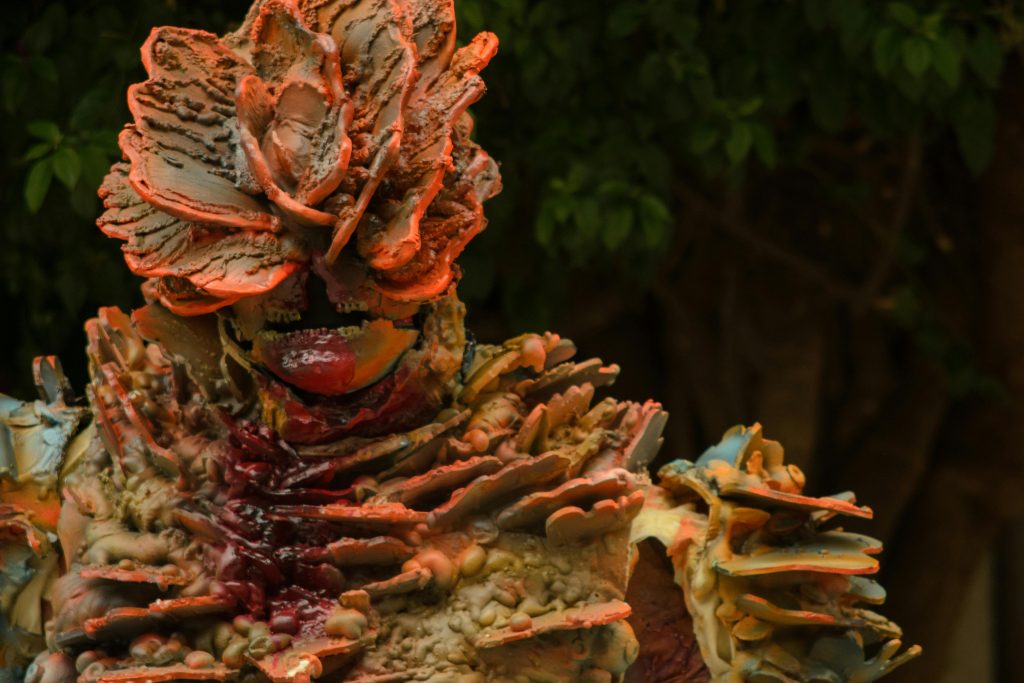
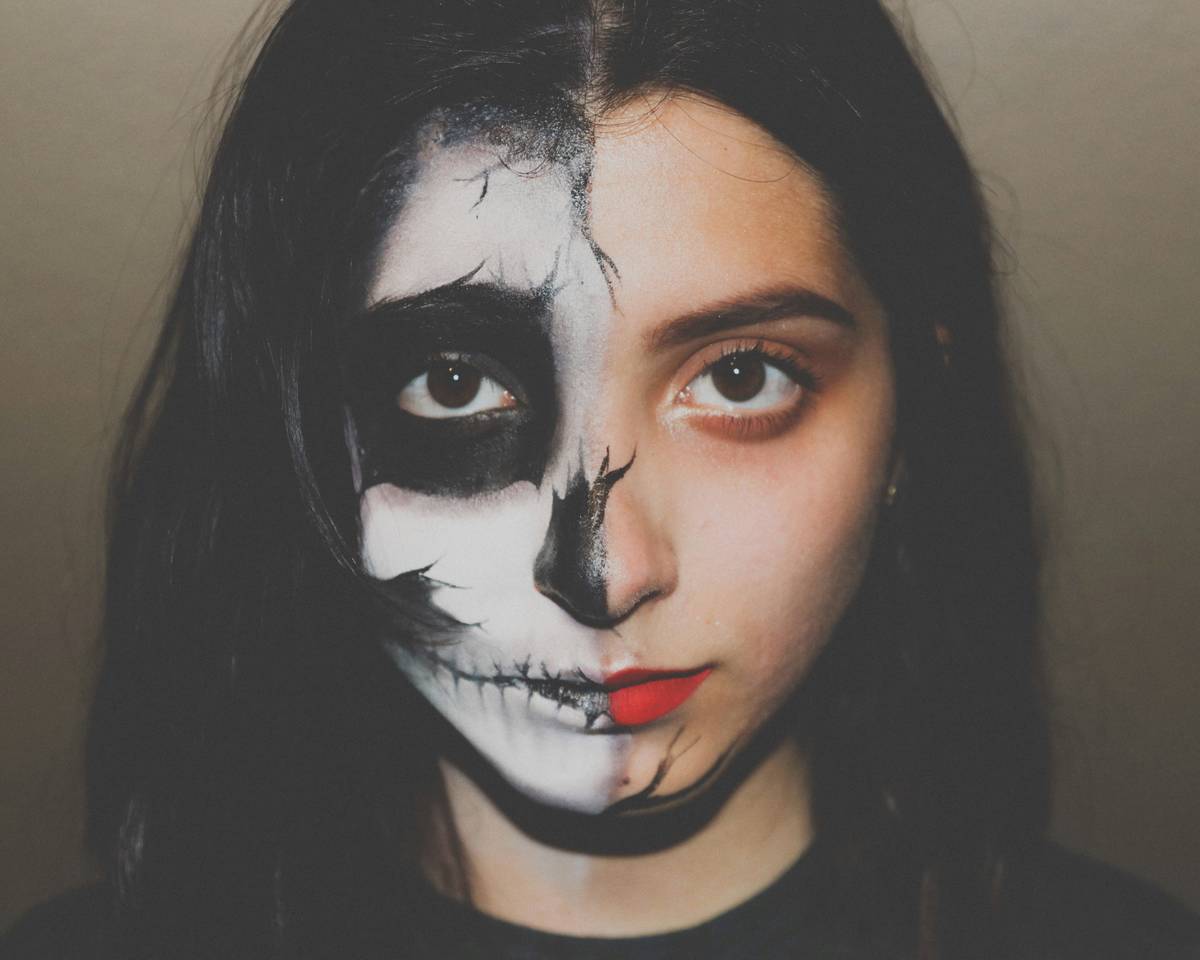
Think about iconic movie villains or horror characters—they don’t just rely on gore but subtle details that enhance their menacing aura. A realistic bruise makes people stop, stare, and question its origin story.
Rant Alert: Too Much Glitter Will Ruin Everything
Confession time—I once made the rookie mistake of adding shimmery eyeshadow to my bruise because I wanted “dimension.” Spoiler alert: It was more disco ball than horror icon. Moral of the story? Stick to matte shades for realism unless you’re aiming for sparkle-themed Halloween vibes.
Step-by-Step Guide to Applying Realistic Bruises
Optimist Me: *“Follow these steps, and you’ll ace bruise makeup!”*
Grumpy Me: *“But honestly, coffee first—we’re diving deep into color theory.”*
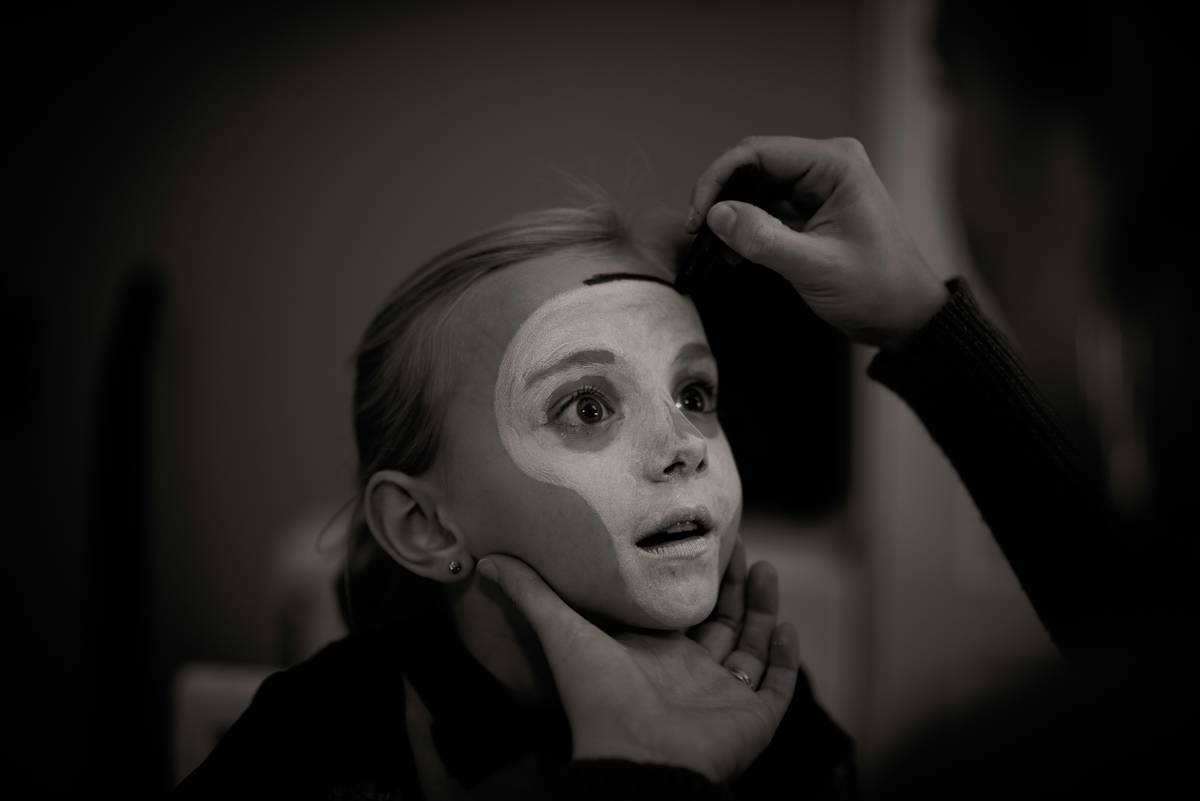
Step 1: Prep Your Canvas
No foundation = no staying power. Cleanse and moisturize your skin before applying a primer—just like any masterpiece, preparation ensures longevity.
Step 2: Map Out Your Bruise
Use a pencil to lightly outline where you want the bruise. Think strategically—cheekbones scream vulnerability while knees suggest clumsiness.
Step 3: Layer Colors Strategically
- Purple: Start with a base layer using a deep eggplant purple shade near the center.
- Red: Add streaks radiating outward to mimic fresh trauma.
- Yellow/Green: Blend around the edges for an older-healing effect.
Step 4: Blurring the Edges
Use foam applicators or fingertips to blend harsh lines softly. Go slow—you’re crafting art, not finger-painting in kindergarten.
Tips & Best Practices for Perfecting Your Technique
Tip 1: Use Unexpected Tools
Ditch expensive brushes sometimes. A clean kitchen sponge gives uneven textures that look shockingly natural.
Tip 2: Avoid Overloading Product
Less really is more. Thick layers scream artificial; thin veils whisper authenticity.
Tip 3: Don’t Forget Texture!
Bruise skin swells slightly. Achieve this by dabbing translucent powder mixed with liquid latex randomly across areas for extra dimension.
Terrible Tip Disclaimer:
Please don’t use actual wounds as inspiration… seriously. I’ve seen folks carve letters onto themselves thinking it counts as makeup. Gross and unsafe—it does NOT.
Examples of Pro-Level Bruise Creations
Let’s gawk at some pro artists who nail realistic bruise makeup every single time:
Pro Artist Jane Doe utilized layered shadows under fluorescent lighting to emphasize contusions during last year’s Halloween bash. Her secret weapon? Distressed foundation blended seamlessly against her dark ensemble.
Frequently Asked Questions About Bruise Makeup
Q: How do I keep bruise makeup intact overnight?
A: Set everything with setting spray after letting initial layers dry fully. Reapply sparingly if needed throughout events!
Q: Can I achieve realistic results without special FX palettes?
A: Yes, drugstore brands offer great dupes. Look for highly pigmented eyeshadows and concealers within similar hues.
Q: My bruise looks flat—what am I doing wrong?
A: Add dimension via shadowing! Darken specific spots with brown/black liners then lift surrounding areas with highlighter.
Conclusion: Get Ready to Scare!
There you have it—a foolproof guide to achieving jaw-dropping realistic bruise makeup. Whether channeling haunted spirits or tragic heroes, remember patience and precision elevate simple tricks into masterpieces.
And now, a haiku to send you off:
Bruised yet still glowing,
Halloween magic whispers—
Fear meets art tonight.