“Ever tried applying prosthetic makeup only to end up looking like a melted wax figure? Yeah, we’ve all been there.”
Halloween is the one night where your creativity can run wild, and nothing screams “professional” louder than realistic prosthetics. But here’s the catch: slapping on a prosthetic isn’t enough. The magic lies in pairing it with the right makeup techniques. That’s where prosthetic pairing comes into play—the secret sauce for flawless Halloween transformations.
In this guide, you’ll learn how to choose the perfect prosthetics, prep your skin for maximum adhesion, blend seamlessly, and troubleshoot common pitfalls. Plus, bonus tips, fails, and my personal rant about cheap latex prosthetics. Let’s dive in!
Table of Contents
- The Problem with Prosthetics Alone
- Step-by-Step Guide to Prosthetic Pairing
- Top Tips for Flawless Blending
- Real-Life Examples That Nail It
- Frequently Asked Questions About Prosthetic Pairing
Key Takeaways
- Prosthetic pairing combines realistic effects with proper makeup application for Halloween mastery.
- Skin prep and adhesive selection are crucial for longevity and realism.
- Blending edges using cream-based products makes prosthetics look natural.
- Avoid shortcuts like cheap materials or skipping foundation layers—they ruin the effect.
Why Are Prosthetics So Tricky?

Much like trying to bake a cake without flour, using prosthetics without pairing them with the right makeup techniques leaves something… missing. I once slapped on a silicone scar prosthetic without priming my skin first, thinking, “How bad could it be?” Spoiler alert: very bad. My prosthetic slid halfway down my face by midnight, thanks to sweat and cheap adhesive.
It’s not just about having the prosthetic; it’s about making it disappear into your skin. If done right, people won’t know if it’s real or makeup—and isn’t that the dream? Prosthetics alone often scream “plastic,” but paired correctly, they become hyper-realistic extensions of your look.
Step-by-Step Guide to Mastering Prosthetic Pairing
Step 1: Choose the Right Prosthetic
Not all prosthetics are created equal. Silicone prosthetics are flexible and durable, while latex ones require more precision (and steer clear if you’re allergic!). For beginners, opt for lightweight prosthetics designed for easy application.
Step 2: Prep Your Skin Like a Pro
Your canvas matters! Start with clean, oil-free skin, then apply a primer specifically made for special effects makeup. This ensures better adhesion and reduces slipping during long nights of party-hopping.
Step 3: Apply Adhesive Wisely
Choose between liquid latex or medical-grade spirit gum. Both work wonders if applied evenly along the edges. Avoid over-application unless you want glue oozing everywhere. Patience is key—let it get tacky before pressing the prosthetic onto your skin.

Step 4: Seamless Blending = Magic
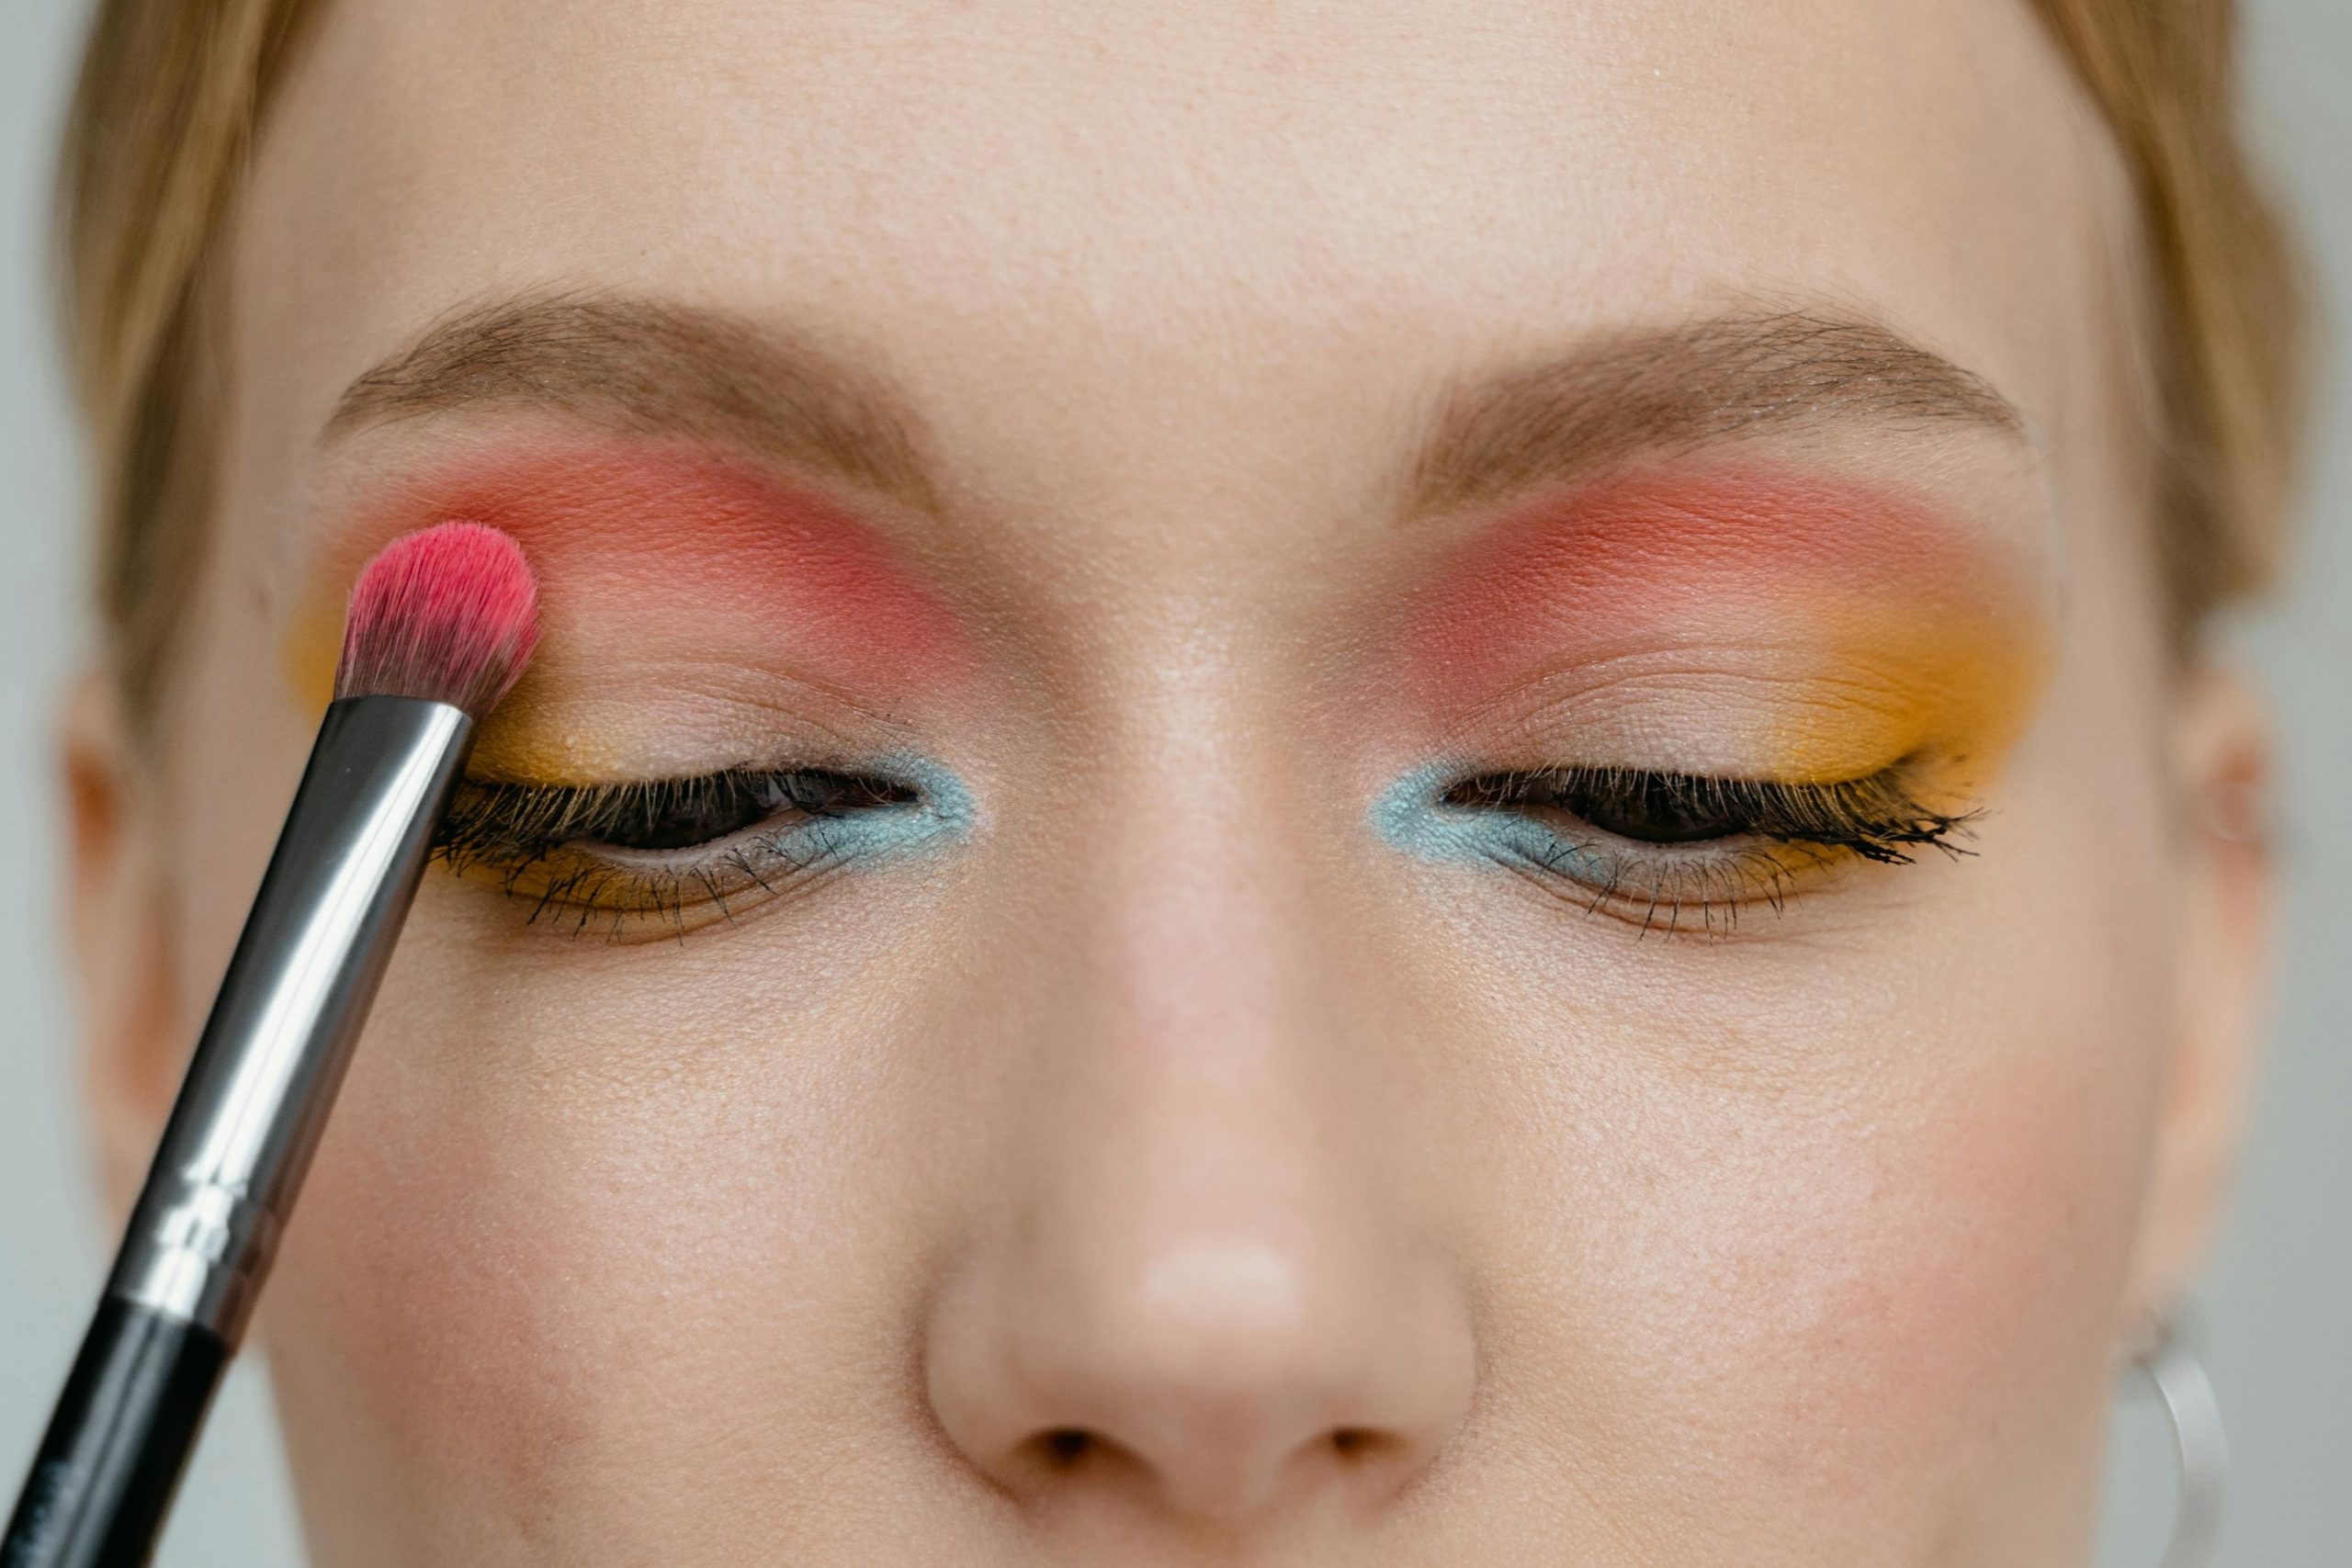
Use cream-based foundations, concealers, or contour sticks to blend the edges of your prosthetic into your skin tone. Feather lightly outward for a gradient effect. A damp beauty blender works wonders here.
Step 5: Add Details for Extra Oomph
Once blended, enhance textures like scars, wrinkles, or veins using fine brushes and colored paints meant for SFX makeup. Small details elevate the illusion from good to jaw-dropping.
Top Tips for Flawless Halloween Makeup
- Set Everything: Use setting powder or spray after every layer to avoid smudging.
- Warm Up Spirit Gum: Blow dry briefly on low heat to activate its stickiness faster.
- Tone Down Shine: Matte formulas reduce reflections under harsh lights.
- Test Beforehand: Don’t try new products on Halloween night—test days earlier for allergies or reactions.
Case Studies That Inspire

Check out Sarah L., whose Instagram fame skyrocketed after she shared her step-by-step process transforming into a humanoid alien. Her secret? Masterful prosthetic pairing with meticulous shading and highlighting. Another standout example is Alex T., who wowed audiences at conventions with his lifelike zombie wounds—his use of translucent powders mimicked actual flesh tones.
FAQs About Prosthetic Pairing
Can You Reuse Prosthetics?
Absolutely! Clean them gently with rubbing alcohol after each use, store in a cool, dry place, and avoid stretching them back into shape too aggressively.
What Should I Do If My Prosthetic Starts Peeling Off Mid-Night?
Keep a small jar of adhesive handy for quick fixes. Reapply sparingly and press firmly until secure. Crisis averted!
Do I Need Professional Products, or Can I DIY?
For beginners, affordable kits from brands like Mehron or Ben Nye suffice. DIY alternatives exist but lack durability and realism compared to professional options.
Conclusion
Optimist You: “Follow these steps, and you’ll rock Halloween!”
Grumpy You: “Ugh, sure—but remind me again why I spent $50 on a single prosthetic piece?”
All jokes aside, prosthetic pairing takes practice but delivers show-stopping results. Whether you’re going full-on monster mode or just dabbling in eerie elegance, remember: Preparation + Technique = Perfection.
Like a Tamagotchi, your skills need care and feeding—experiment, adjust, succeed.
Happy haunting!


