Ever tried to create a gruesome wound with makeup but ended up looking like you just lost a fight with glitter glue? Yeah, us too. The good news is that realistic wound makeup doesn’t need Hollywood-level skills—just the right products and techniques.
Table of Contents
- Why Is Wound Makeup Essential for Halloween?
- Step-by-Step Guide to Creating Wound Makeup
- Tips & Best Practices for Perfect Wound Makeup
- Examples of Scary Good Wound Looks
- FAQs About Wound Makeup
Key Takeaways
- Wound makeup can elevate any Halloween costume without breaking the bank.
- You don’t need professional-grade tools; drugstore products work wonders if applied correctly.
- Layering textures and using shading tricks creates depth for ultra-realistic effects.
- Mistakes happen—like when we once used petroleum jelly instead of fake blood (spoiler: it got everywhere!).
Why Is Wound Makeup Essential for Halloween?
Halloween isn’t complete without at least one person showing off their gory masterpiece—and let’s be honest, everyone wants to be *that* person this year. But why does wound makeup stand out so much compared to other makeup styles?
For starters, nothing screams “horror” quite like dripping red blood or oozing pus. It’s visceral and shocking—which makes it memorable. Plus, mastering wound makeup opens doors to endless creative possibilities: zombie bites, battle scars, even severed limbs!
“Optimist You: ‘This will make my Instagram pop!’ Grumpy You: ‘Ugh, fine—but only if there’s enough coffee left in the pot.’”
Step-by-Step Guide to Creating Wound Makeup
What You’ll Need
To get started, grab these essentials:
- Foundation that matches your skin tone.
- Red and black cream or liquid makeup.
- Gelatin or latex for texture.
- Cotton swabs, brushes, and sponges.
- Fake blood (store-bought works better than homemade).
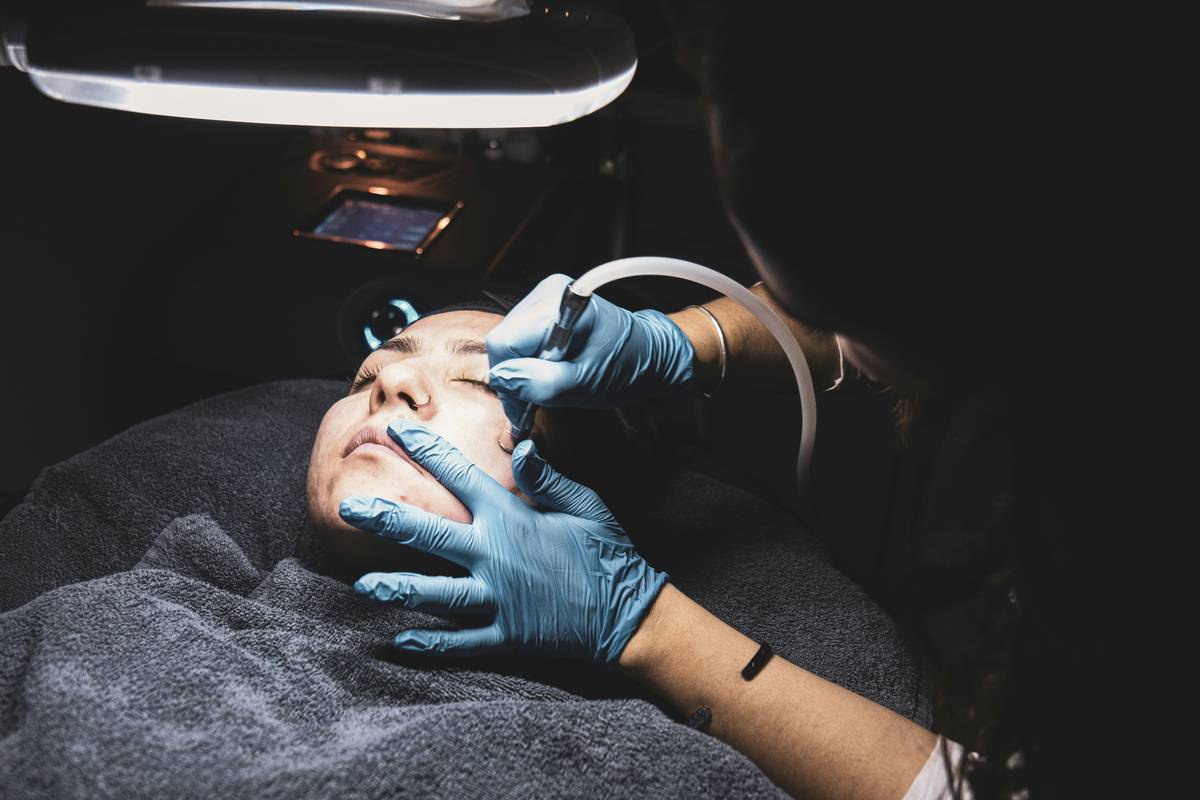
Step 1: Prep Your Skin
Start by cleaning and moisturizing your skin. Then apply foundation as usual—this acts as your base layer.
Step 2: Build Texture
Apply a thin layer of gelatin over the area where the wound should appear. Let it dry slightly before ripping small sections apart gently to create torn edges.
Step 3: Add Color
Use red makeup to fill in the center of the wound. Blend outward with darker shades like purple or black around the edges for shadowing.
Step 4: Fake Blood Time!
Dribble some fake blood into the wound and surrounding areas for that extra wow factor. Pro tip: Avoid shiny finishes unless you want people mistaking your masterpiece for Kool-Aid spills.
Tips & Best Practices for Perfect Wound Makeup
- Layer Like a Pro: Use multiple thin layers rather than one thick application—it avoids cakey results.
- Blend Strategically: Blurring colors together gives a natural appearance while sharp lines scream “amateur.”
- Pick Quality Products: While budget-friendly options exist, cheap ingredients may irritate sensitive skin.
Confession Alert:
One rookie mistake I made? Applying glitter near open “wounds.” Spoiler alert: Sparkles do not belong anywhere near gore—they ruin the illusion entirely.
Rant Corner:
Why are tutorials online always skipping crucial details like “don’t use edible materials near eyes”? Food-safe items aren’t designed for cosmetics—headline-worthy disaster waiting to happen!
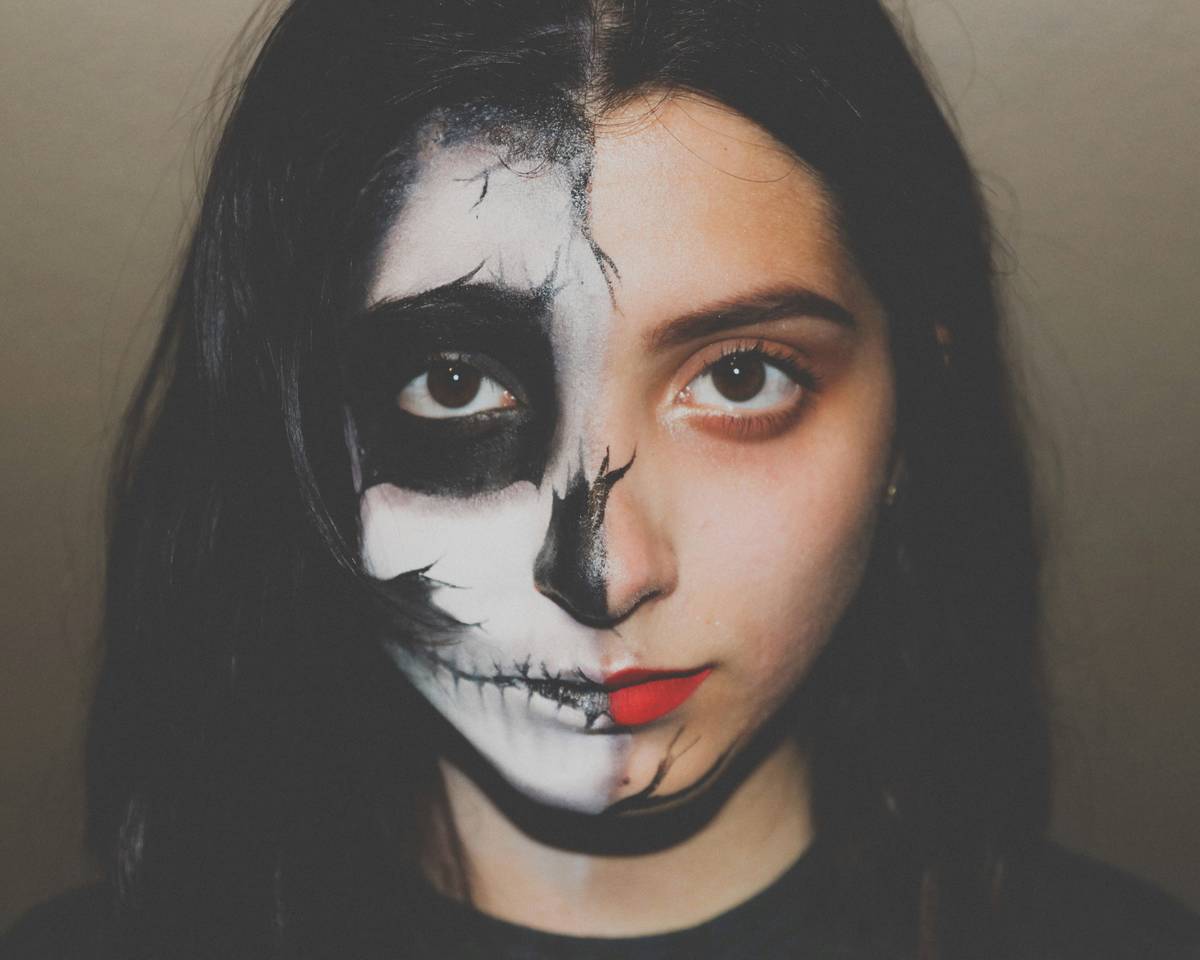
Examples of Scary Good Wound Looks
Want inspiration? Check out social media influencers known for spooky transformations. For instance, user @GoreQueen93 gained 10K followers overnight after posting her zombie bride look featuring life-like wounds across her face.
FAQs About Wound Makeup
Q: Can I use household items for wound makeup?
Absolutely! Items like flour mixed with water mimic gelatin texture, though they lack durability. Still, proceed carefully, especially on sensitive skin.
Q: How long does wound makeup last?
Most setups survive several hours depending on environmental conditions. Setting spray helps prolong wear time significantly.
Q: Is latex safe for all skin types?
Nope. Latex allergies abound, so perform patch tests first. Alternatives include silicone-based products.
Conclusion
There you have it—a crash course in crafting unforgettable wound makeup. From understanding its psychological impact during Halloween festivities to meticulously building hyper-realistic textures, you’re now equipped to scare (and impress) anyone who crosses your path.
Go forth and terrify responsibly!
Here’s a haiku for the road:
Fangs drip crimson streams,
Latex tears tell haunted tales,
Halloween triumphs.