Ever wondered how those gory slit throat makeup looks on Instagram are so eerily realistic? You know the ones—where it genuinely takes a second glance to realize no one’s actually hurt. Yeah, us too. Turns out, creating this chilling effect doesn’t have to involve actual blood (or tears)! Whether you’re a Halloween newbie or a gore-makeup veteran, mastering slit throat makeup can take your costume game from “meh” to “magnetic.”
In this guide, we’ll walk you through everything you need to know about achieving jaw-dropping slit throat makeup—from beginner-friendly tools to advanced techniques that scream “horror film director.” Ready? Grab your coffee (and maybe some tissues) as we dive in.
Table of Contents
- Why Slit Throat Makeup Rocks Every Costume
- Step-by-Step Guide to Creating Slit Throat Makeup
- Pro Tips for Flawless Effects
- Real-Life Inspiration: Horror Look Examples
- Frequently Asked Questions About Slit Throat Makeup
Key Takeaways
- Slit throat makeup is easier than you think when using the right tools and techniques.
- Special effects makeup products like liquid latex and fake blood elevate realism.
- Blending and shading create depth and enhance believability.
- Practice makes perfect—test your design before the big night!
Why Slit Throat Makeup Rocks Every Costume
Let’s get real: slitting an imaginary throat sounds intense. But here’s the deal—it’s not just shock value; it’s craftsmanship at its finest. The detail-oriented artistry behind these looks taps into viewers’ primal instincts, creating stunning reactions…and sometimes awkward compliments at parties.
“Optimist You: ‘Halloween costumes are all about fun!’ Grumpy You: ‘Yeah, but only if my wrists don’t cramp mid-application.'”*
Imagine walking into a room where everyone stops dead in their tracks—not because they’re grossed out but because they’re genuinely impressed by your creativity. This kind of impact requires preparation, patience, and perhaps a touch of theatrical flair.
A well-executed slit throat look leaves observers questioning reality.
Step-by-Step Guide to Creating Slit Throat Makeup
What You’ll Need:
- Liquid latex
- Fake blood (gel-based works best)
- Powdered foundation or setting powder
- Eyeshadow palette (black, reds, purples)
- Makeup sponge and brushes
Step 1: Prep Your Canvas
Cleanse and moisturize your neck area to ensure smooth application. Apply a base layer of foundation to even out skin tone.
Step 2: Create Texture with Liquid Latex
Apply thin layers of liquid latex along the neckline using a cotton swab. Gently stretch the latex while wet to mimic torn flesh.
Step 3: Add Depth with Shadows
Use black eyeshadow around the edges of the latex strips. Blend outward softly to simulate bruising and decay.
Step 4: Pour on the Blood
Dot gel-based fake blood over the latex patches. Use darker shades near the center and lighter hues toward the outer parts for dimension.
Step 5: Set Everything in Place
Dust lightly with translucent powder to prevent smudging during wear. Voila! Your spooky masterpiece awaits.
Pro Tips for Flawless Effects
- Blend Is King: Always focus on blending edges seamlessly to avoid harsh lines.
- Layer Wisely: Build texture slowly rather than applying too much product at once.
- Fake It ‘Til You Make It: If unsure about certain steps, watch tutorials online until confident.
(Note: Using glitter anywhere near open wounds—even fake ones—is tacky AF. Please refrain.)
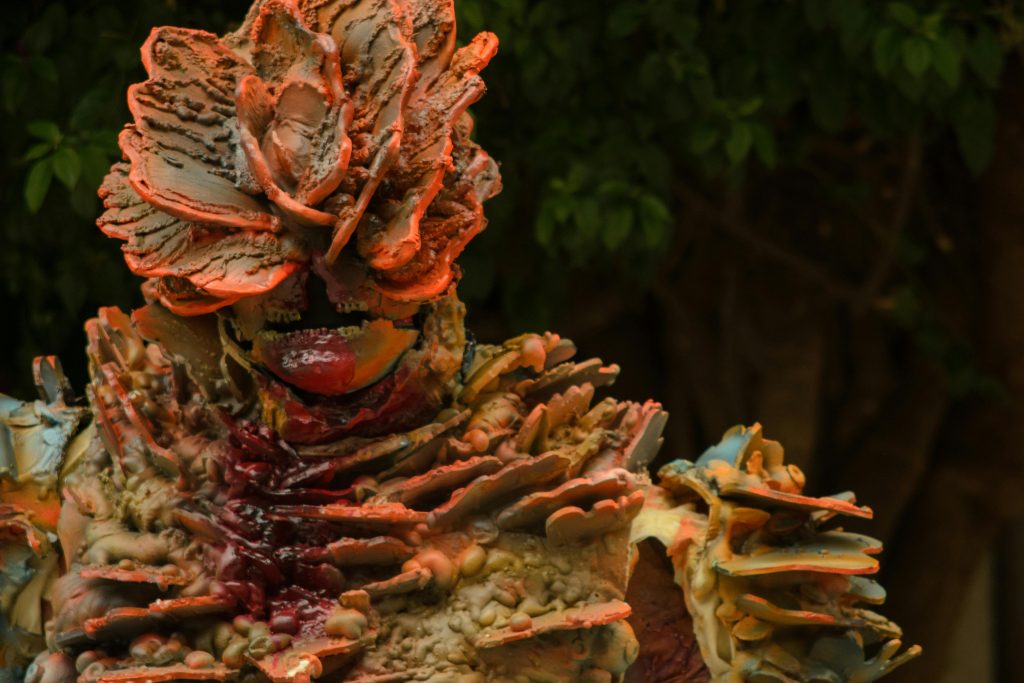
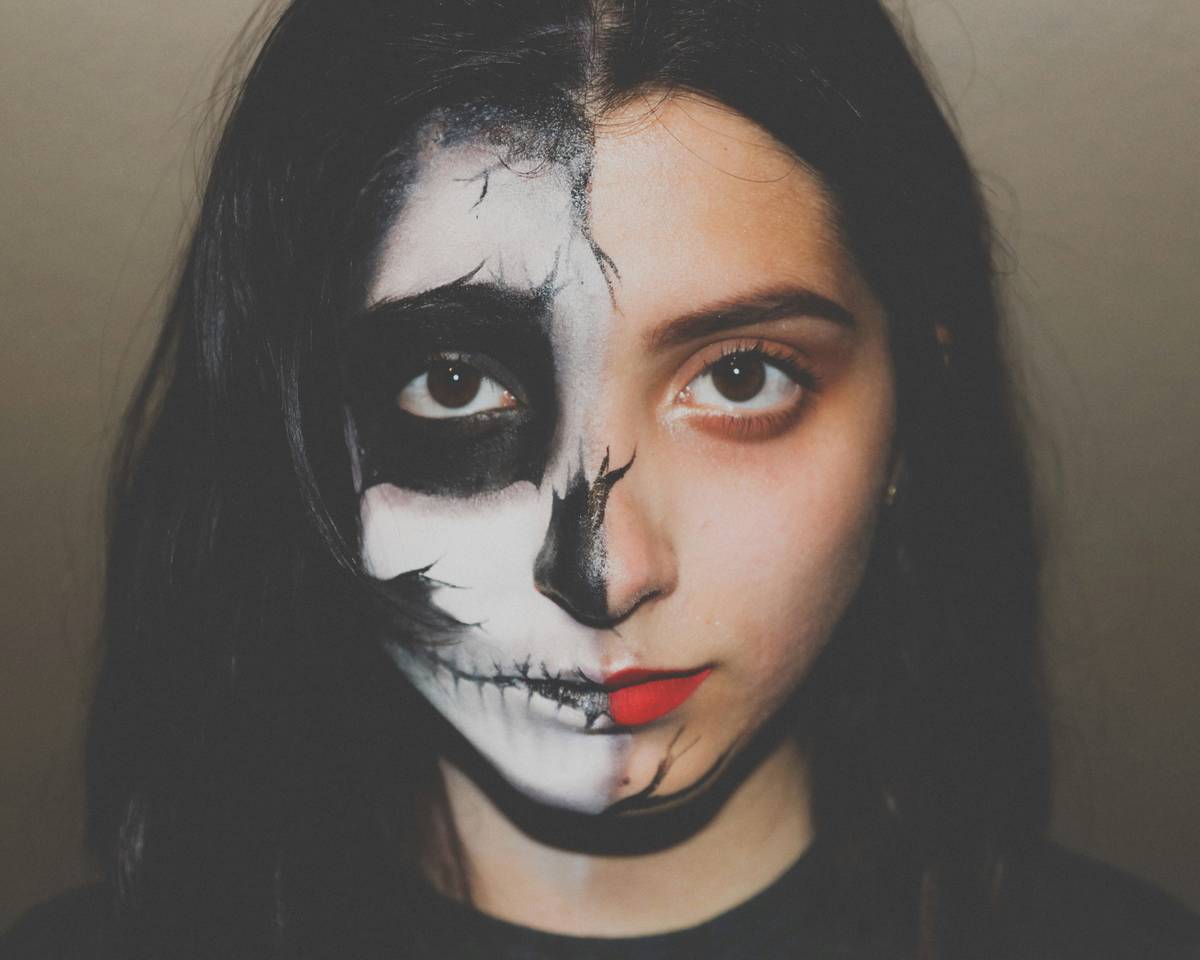
Real-Life Inspiration: Horror Look Examples
Check out social media influencers who’ve mastered the craft, such as @ScaryGlamBeauty and @CreepyMakeupQueen. Their work showcases both subtle tweaks and full-blown horror transformations—all achievable with practice!
Frequently Asked Questions About Slit Throat Makeup
Do I Really Need Special Effects Products?
While possible without them, investing in quality SFX supplies adds dramatic authenticity.
Can Anyone Do This?
Absolutely! With guidance, anyone can achieve impressive results.
Conclusion
Congratulations! By now, you’re equipped with the knowledge and confidence to rock slit throat makeup. From essential tools to step-by-step execution, remember that practice builds perfection—and caffeine fuels ambition. So grab your kit, channel your inner scream queen, and prepare to terrify (and wow) your friends this Halloween season.
Like every classic horror flick ending: Stay safe, stay spooky. Oh, and keep practicing—that next-level look could star in next year’s hit festival feature.*insert ghost emoji* 🎃
Haiku Easter Egg:
Red streaks on pale skin,
Shadows dance in candlelight,
Halloween screams win.