Table of Contents
- Introduction
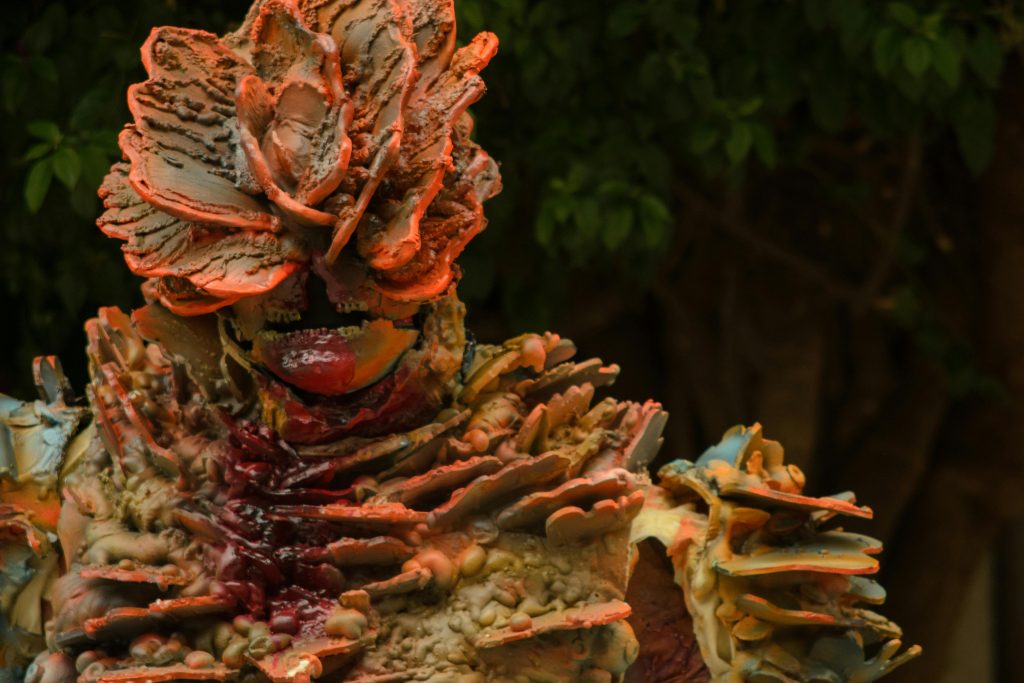
- Why the Bleeding Makeup Effect is a Halloween Must
- Step-by-Step Guide to Achieving the Bleeding Makeup Effect
- Tips and Best Practices for Flawless Application
- Examples and Inspiration: Nail the Look Like a Pro
- Frequently Asked Questions About the Bleeding Makeup Effect
- Conclusion
Ever tried to create a bleeding makeup effect only to end up looking like you got into a ketchup fight? Yeah, been there. It’s equal parts frustrating and hilarious when your “scary” Halloween look turns into an unintentional food festival disaster. But what if we told you that mastering the bleeding makeup effect isn’t just for special effects pros? Spoiler alert: it’s not!
In this guide, you’ll learn exactly how to achieve the perfect bleeding makeup effect with step-by-step instructions, tips, and examples. Get ready to scare (and impress) everyone at your next Halloween party!
Key Takeaways
- The bleeding makeup effect adds drama and realism to any Halloween costume.
- Achieving the look requires minimal supplies—think lipstick, face paint, and some creativity.
- We’ll break down the method in easy, foolproof steps so even beginners can nail it.
Why the Bleeding Makeup Effect is a Halloween Must
Halloween makeup trends come and go, but the bleeding makeup effect has stood the test of time. Why? Because blood sells. Okay, maybe that sounded morbid, but hear me out—it’s dramatic, versatile, and surprisingly simple to pull off once you know the tricks.
*Optimist You: “This sounds fun—I bet I can do it!”
Grumpy You: “Unless you screw it up like I did last year. Remember that glitter glue incident?” Oof.
Step-by-Step Guide to Achieving the Bleeding Makeup Effect
If you’re ready to dive in, follow these detailed steps to master the bleeding makeup effect:
Step 1: Prep Your Skin
Start by moisturizing your skin and applying a light foundation or primer. Think of your face as a blank canvas—you don’t want flakes ruining your masterpiece.
Step 2: Choose the Wound Location
Decide where the fake wound will be placed. Common spots include the forehead, cheekbone, or lip area. Use concealer around the edges of your intended “wound” to make the bleeding effect pop later.
Step 3: Create the Wound Base
Using white eyeliner or concealer, draw the outline of your cut or gash. Fill it with red and black face paint to mimic exposed tissue. Blend lightly to soften harsh lines.
Step 4: Add Realistic Blood Effects
Time for the pièce de résistance—the blood! Drip liquid latex mixed with red gel or theatrical blood from the wound. Use a fine brush to smudge downward for a dripping effect.

Tips and Best Practices for Flawless Application
Now that you have the basics, let’s talk about optimizing your technique:
- Invest in Quality Products: Cheap blood alternatives can stain clothes or irritate your skin. Go for professional-grade FX makeup whenever possible.
- Practice Makes Perfect: Do a trial run before the big day to avoid panic mode.
- Terrific Tip Disclaimer: Avoid using syrup or jam as blood—they attract ants. Seriously. Save yourself the horror story.
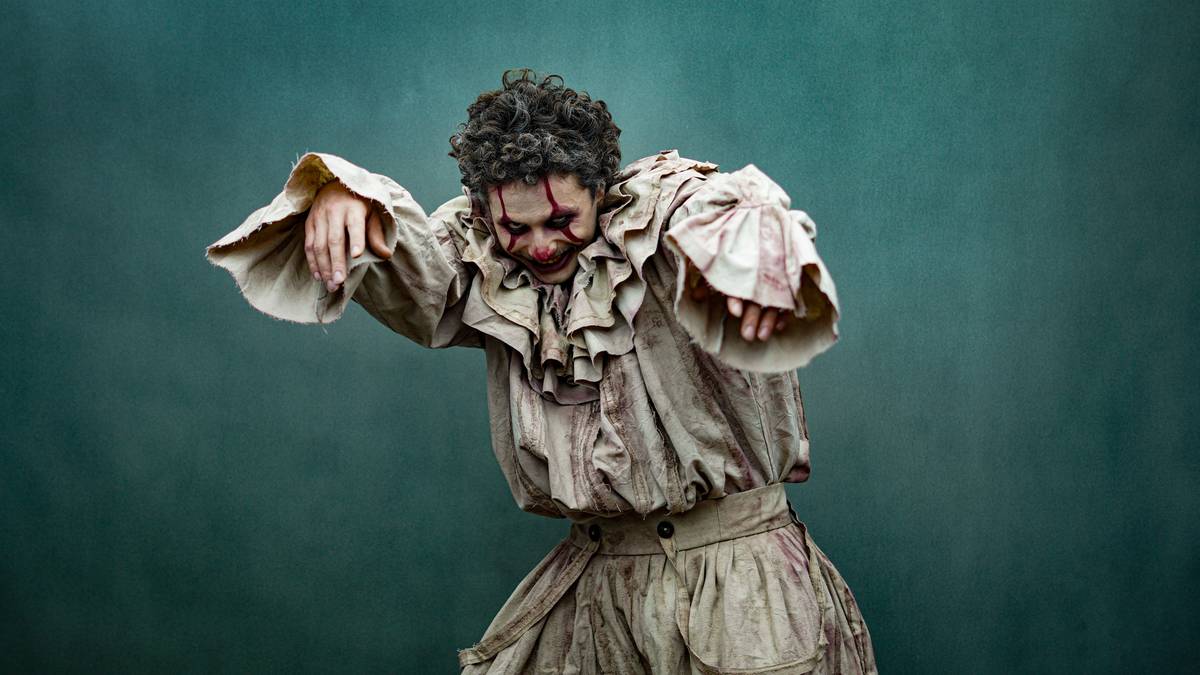
Examples and Inspiration: Nail the Look Like a Pro
Ready to take inspiration to the next level? Check out these ideas:
- Zombie Bride: Pair pale foundation with deep red lips that drip ominously.
- Injured Superhero: Add battle wounds to your cape-wearing character for extra grit.
- Creepy Clown: Combine exaggerated smiles with eerie tears of blood for maximum creep factor.
Frequently Asked Questions About the Bleeding Makeup Effect
Q: Can I use regular makeup products for this effect?
Nope. Regular cosmetics won’t give the desired intensity or realism. Stick to theater-quality products designed for special effects.
Q: How do I remove heavy makeup without damaging my skin?
Use micellar water followed by a gentle cleanser and moisturizer. Never scrub aggressively—it’ll strip your skin!
Q: Is the bleeding makeup effect safe for sensitive skin?
It depends on the products. Always patch-test new items beforehand to ensure no allergic reactions occur.
Conclusion
You made it through our ultimate guide to pulling off the bleeding makeup effect—and you’re officially armed with all the knowledge you need to terrify friends and family this Halloween. Whether you’re going full-on horror queen or injured antihero, remember: practice makes progress, and confidence is key.
So grab your brushes, your courage, and get ready to slay (pun totally intended). And hey, if you mess up… just tell them it’s part of the act. 😉
*Final Haiku Bonus:*
Blood drips artfully,
Halloween screams echo loud,
Queen of the night reigns.