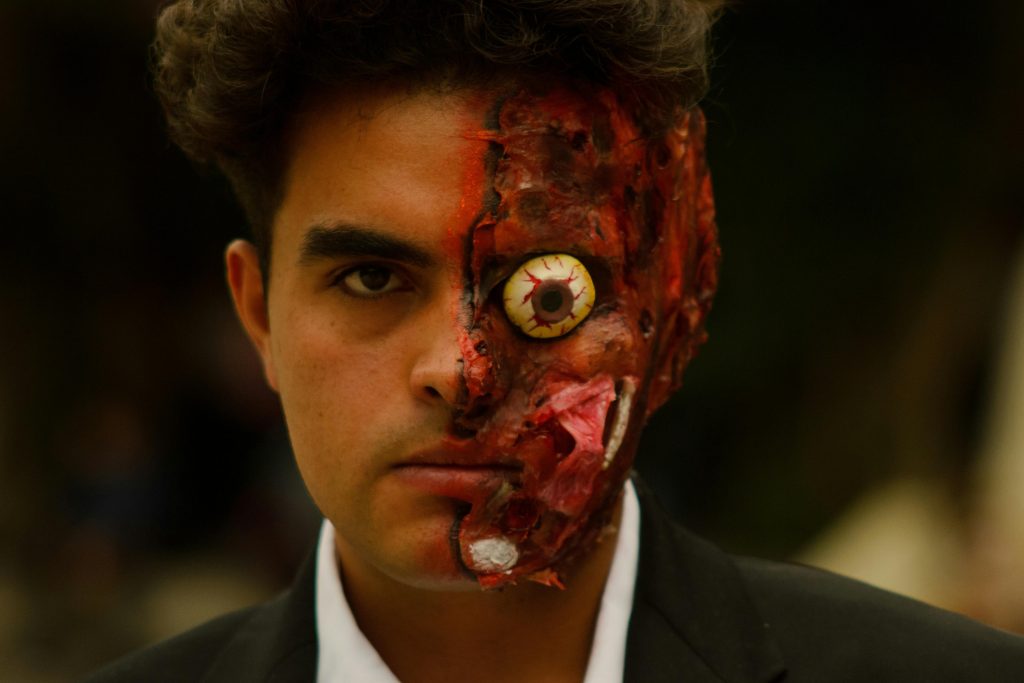
Ever tried rocking a skull makeup look for Halloween, only to end up resembling more of a smudged raccoon? Yeah, we’ve all been there. Whether you’re aiming for Instagram-worthy glam or simply trying not to scare yourself in the mirror, mastering skull makeup is no small feat—but it *is* totally doable.
In this post, we’ll break down everything you need to know about creating flawless skull makeup for Halloween. From step-by-step instructions to pro tips and real-life examples, consider this your ultimate guide. By the time you’re done reading, you’ll be ready to slay (pun intended).
You’ll learn:
- Why skull makeup is THE trend for Halloween 2023
- Step-by-step instructions for pulling off the perfect look
- Tips from expert makeup artists
- Rant-worthy pet peeves to avoid
Table of Contents
- Key Takeaways
- Why Skull Makeup for Halloween?
- Step-by-Step Guide to Skull Makeup
- Tips & Best Practices
- Real-Life Examples
- FAQs
Key Takeaways
- Start with a clean canvas using primer and foundation.
- Use sharp lines for definition—precision is key!
- Layer translucent powder over white paint for an eerie finish.
- Blending is essential for realistic shadows and depth.
- Don’t overdo glitter—it’s Halloween, not Coachella.
Why Skull Makeup for Halloween?
Let’s face it: Halloween isn’t just about costumes anymore; it’s about nailing that one jaw-dropping photo op. And what better way than with skull makeup? It’s dramatic, versatile, and surprisingly easy to customize once you get the hang of the basics.
Intricate skull makeup has become a go-to choice for Halloween enthusiasts.
Here’s the tea: I once attempted skull makeup without a base coat of foundation, thinking my skin tone would “blend naturally.” Spoiler alert: It didn’t. My nose ended up looking like Rudolph after a bad sunburn. Lesson learned? Base layers matter. Always start with a smooth, even canvas.
Optimist You: “This year will be different!”
Grumpy You: “Ugh, fine—but only if coffee’s involved.”
How to Create Flawless Skull Makeup for Halloween
Step 1: Prep Your Canvas
Start by cleansing and moisturizing your face. Follow up with a matte foundation or primer to create a smooth surface. If you have oily skin, opt for a mattifying primer to prevent shine from ruining your spooky vibes.
Step 2: Apply Base Colors
Using white face paint or cream, cover areas where the skull structure would naturally protrude—like your forehead, cheekbones, and jawline. Hint: Use a damp sponge for seamless application.
Step 3: Add Shadows for Dimension
This part can make or break your look. With a blending brush, apply gray or black eyeshadow along the hollows of your cheeks, temples, and eye sockets. Think contouring on steroids.
Step 4: Define with Sharp Lines
A thin eyeliner brush dipped in black gel liner works wonders here. Draw cracks, fractures, or swirls across your face for added texture. Pro tip: Practice these designs on paper first if freehand drawing isn’t your thing.
Step 5: Set Everything in Place
Dust translucent setting powder lightly over your masterpiece to keep it intact through hours of Halloween festivities.
Top Tips to Elevate Your Skull Makeup Game
- Invest in Quality Brushes: Cheap brushes = streaky results. Trust me, spending $15 extra is worth it.
- Work Slowly: Precision takes time. Don’t rush unless you want asymmetrical disaster zones.
- Experiment with Themes: Sugar skulls, pirate skeletons, or gothic vibes? Go wild!
- Bad Tip Alert!: Avoid liquid latex directly on sensitive skin unless you enjoy red, angry patches.
- Nail the Lighting: Good lighting ensures even coverage. Natural light during practice helps a ton.
Real-Life Inspiration: Case Studies
Need proof that anyone can rock skull makeup? Check out @HalloweenQueen89 on Instagram who went viral last year with her Dia de los Muertos-inspired design. She used neon colors and metallic accents—a bold twist on traditional skull makeup.
Sugar skull inspiration with vibrant hues for a playful yet spooky vibe.
Frequently Asked Questions About Skull Makeup Halloween
Q1: Can beginners pull off skull makeup?
Absolutely! Start simple with basic shapes and build complexity as you gain confidence.
Q2: How long does skull makeup usually take?
Plan for 1-2 hours, depending on how detailed you want to get.
Q3: What products work best for skull makeup?
Highly pigmented face paints, gel liners, and creamy eyeshadows are your new BFFs.
Q4: Is skull makeup suitable for kids?
Definitely! Just swap harsh chemicals for kid-friendly face paint.
Conclusion
Halloween wouldn’t be complete without a show-stopping makeup look—and trust us, skull makeup delivers every time. With these steps and tips, you’re well-equipped to turn heads while avoiding rookie mistakes.
So grab your brushes, hit play on some spooky tunes, and let your creativity run wild. Oh, and remember…
“Like a Tamagotchi, your Halloween makeup needs daily care. Okay, maybe not daily—but close enough!”
