Ever stared at a mirror trying to perfect gory Halloween makeup only to end up looking like you got into an epic glitter battle instead? Yeah, us too. Creating realistic fake wounds can feel more complicated than quantum physics if you don’t know where to start. Fear not—this guide is your golden ticket to mastering fake wounds makeup, whether you’re going for zombie chic or horror movie star vibes.
Table of Contents
- Key Takeaways
- Why Fake Wounds Are the Heartbeat of Horror
- Step-by-Step Guide to Nailing Realistic Fake Wounds
- Pro Tips & Best Practices for Flawless Wounds
- Real-Life Inspiration: The Best Fake Wound Creations
- Frequently Asked Questions About Fake Wounds Makeup
Key Takeaways
- Fake wounds makeup elevates any Halloween costume, making it unforgettable and Instagram-worthy.
- You need just a few affordable tools (like liquid latex and foundation) to create professional-grade effects.
- Mistakes happen—overdoing textures or using wrong shades can ruin the illusion.
- Practicing beforehand ensures perfection on the big night.
Why Fake Wounds Are the Heartbeat of Horror
Picture this: It’s Halloween night, and everyone’s dressed to impress. Amidst all those skeleton dresses and vampire capes, what makes someone stop mid-sentence and gasp? That’s right—it’s a jaw-dropping set of realistic-looking fake wounds. These gruesome details transform ordinary costumes into show-stopping spectacles.
But here’s the tea: fake wounds aren’t just for gore enthusiasts. Even subtle cuts and bruises can add depth and drama to characters like witches, werewolves, or warriors. Think of them as the cherry on top—a finishing touch that screams creativity.
Step-by-Step Guide to Nailing Realistic Fake Wounds
Optimist You: “With these steps, anyone can nail their fake wounds makeup!”
Grumpy You: “Yeah, but let me grab another coffee first.”
Step 1: Gather Your Tools
Before diving in, assemble your toolkit:
- Liquid latex
- Palette knife or spatula
- Cream-based foundations and concealers
- Fake blood (gels work best)
- Small brushes for detail work
- Powdered pigments (reds, purples, browns)
Step 2: Prep the Skin
Cleanse and moisturize your skin thoroughly to avoid irritation from latex or adhesives. Apply a primer to help everything stay put.
Step 3: Sculpt the Wound
This is where the magic happens! Use liquid latex to build texture—apply thin layers, letting each one dry before adding more. Shape it into slashes, gashes, or even bullet holes depending on your theme.
Step 4: Blend and Color
Use cream foundations to blend the edges seamlessly into your skin tone. Add shadows with purple and brown pigments to mimic bruising. Finally, dab on some red gel for fresh blood and ooze.
Pro Tips & Best Practices for Flawless Wounds
Terrible Tip Disclaimer: Do NOT use regular household glue as a substitute for liquid latex—it will sting like heck. Trust us; we tried once and regretted it instantly.
- Less Is More When Applying Blood Gels: Overdoing it looks cartoonish rather than realistic. A little goes a long way!
- Test Products Ahead of Time: Allergies are no joke. Try out latex and pigments days before the event to ensure they won’t irritate your skin.
- Layer Colors Strategically: Bruises often have multiple hues, so layer pinks, yellows, and purples subtly for authenticity.
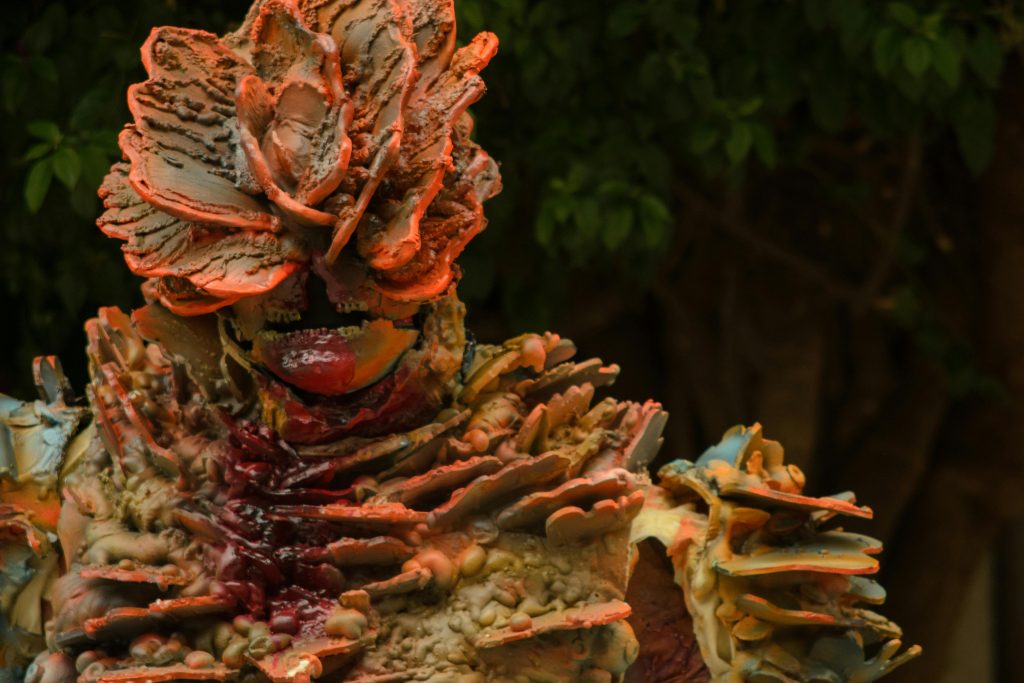
Real-Life Inspiration: The Best Fake Wound Creations
Let’s dive into some jaw-dropping examples:
The Zombie Bride
A bride dress paired with drippy fake wounds and dark veins running down her arms equals pure spooky elegance.
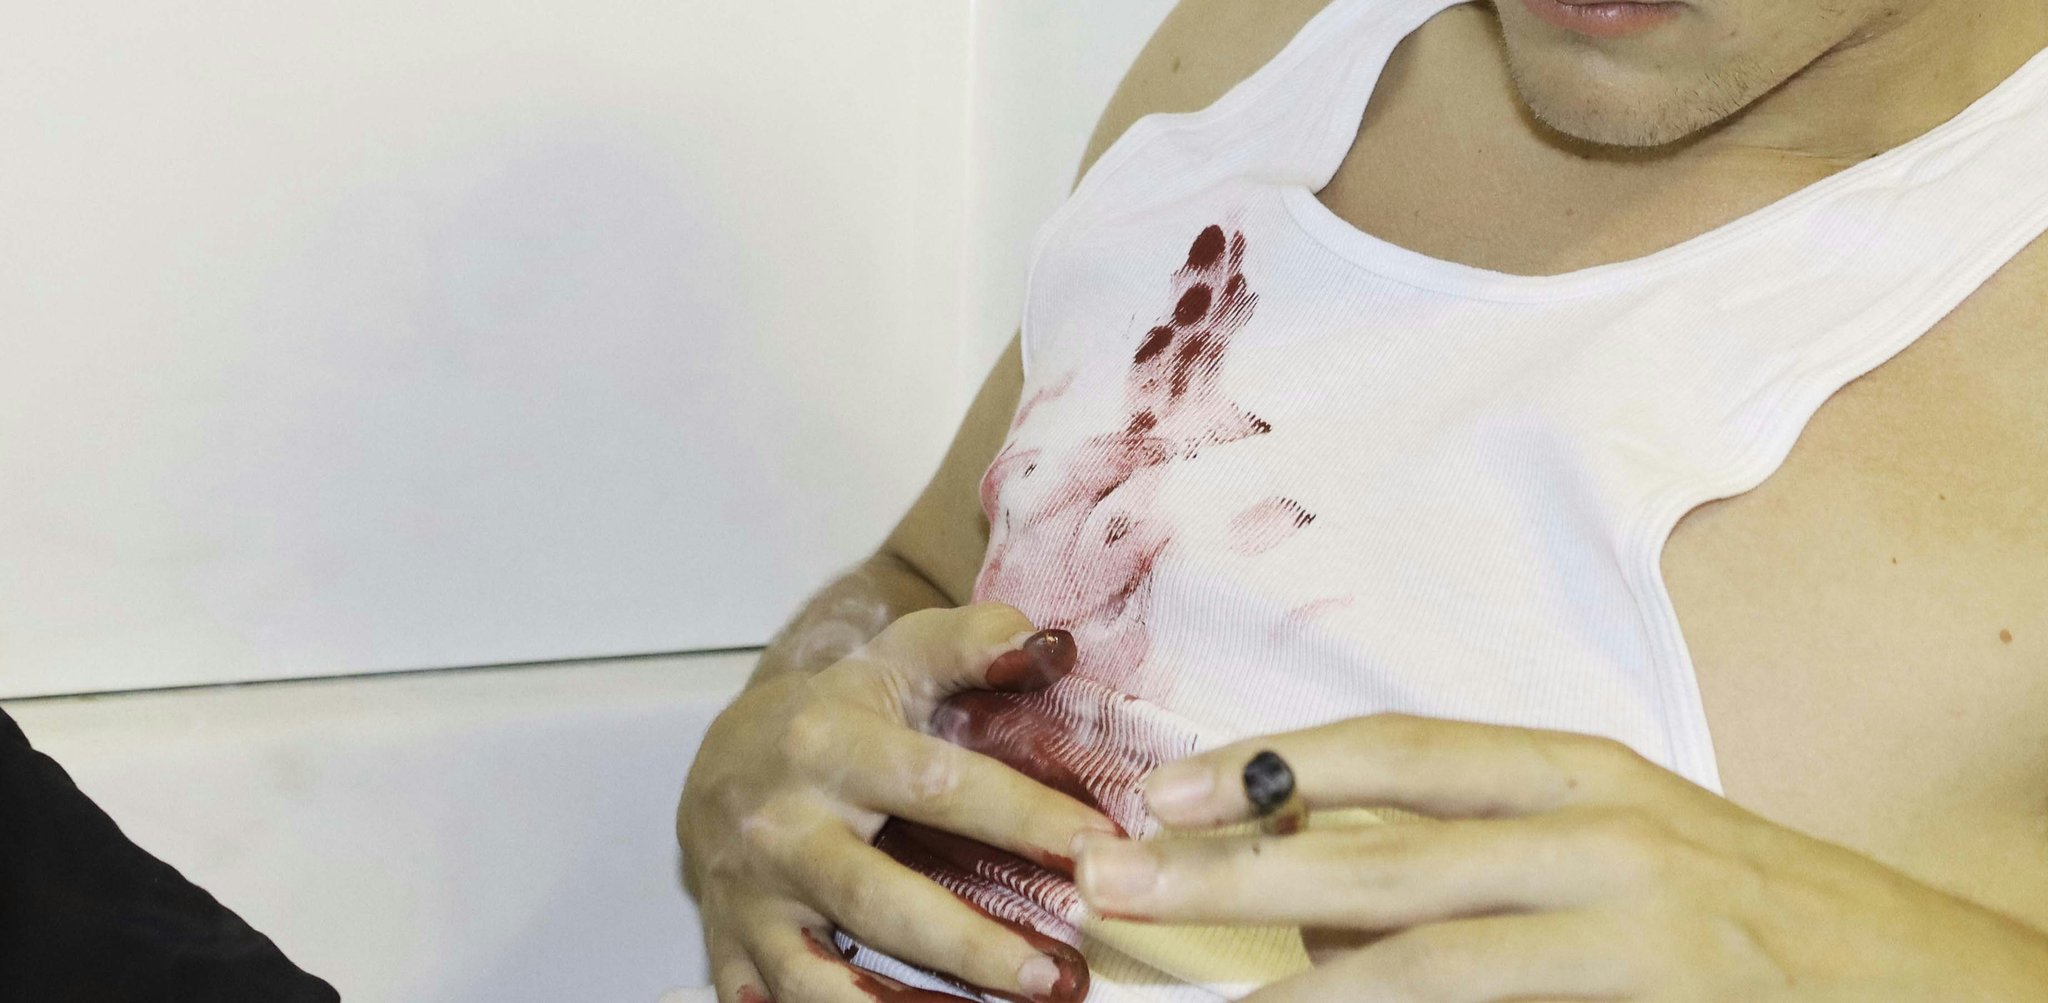
The Severed Arm Illusion
Using prosthetics combined with expert shading techniques creates the ultimate severed limb effect.
Frequently Asked Questions About Fake Wounds Makeup
Q: Can I achieve good results without expensive supplies?
Absolutely! While high-end kits offer convenience, basic items like liquid latex and drugstore foundation can still yield fantastic results.
Q: How do I remove fake wounds safely?
Use oil-based makeup remover to dissolve latex, then wash your face gently with cleanser.
Q: What’s the biggest mistake people make?
Skipping blending! Uneven transitions between natural skin and prosthetic pieces scream “DIY fail.”
Conclusion
There you have it—the ultimate blueprint for crafting stunning fake wounds makeup that’ll leave your friends screaming (in admiration). From prepping your skin to nailing the color palette, every step brings you closer to Halloween glory. So practice hard, prep smart, and remember: sometimes less bloody *is* better.
And now, because nostalgia heals all wounds (even fake ones):
Blood runs cold,
Latex dries fast,
Halloween makeup lasts.