“Ever stared at your face in the mirror five hours before a Halloween party and thought, ‘How am I supposed to pull this off without professional help?’ Yeah, we’ve all been there.”
But what if you had a secret weapon? A trove of DIY ideas that’ll transform you into everything from a gory zombie to an ethereal fairy with just a few tools from your makeup kit? Spoiler alert: You don’t need to raid Sephora or hire a glam squad. In this guide, we’re breaking down how to conquer your Halloween look on your own—and trust me, it’s way more fun.
You’ll learn:
- Why DIY Halloween makeup is the ultimate game-changer
- A step-by-step guide to creating three stunning looks
- Tips to avoid disaster (yes, like glitter EVERYWHERE)
- Inspiration via jaw-dropping real-life transformations
Table of Contents
- Key Takeaways
- Why Are DIY Halloween Makeup Ideas So Popular?
- Step-by-Step Guide to Three Must-Try Looks
- Best Practices for Flawless Execution
- Examples That Prove Anyone Can Be Creative
- Frequently Asked Questions
- Conclusion
Key Takeaways
- DIY Halloween makeup empowers creativity without breaking the bank.
- You only need basic supplies—foundation, eyeliner, and imagination!
- Mistakes are inevitable but fixable; patience is key.
- Real-world examples show even beginners can shine.
Why Are DIY Halloween Makeup Ideas So Popular?
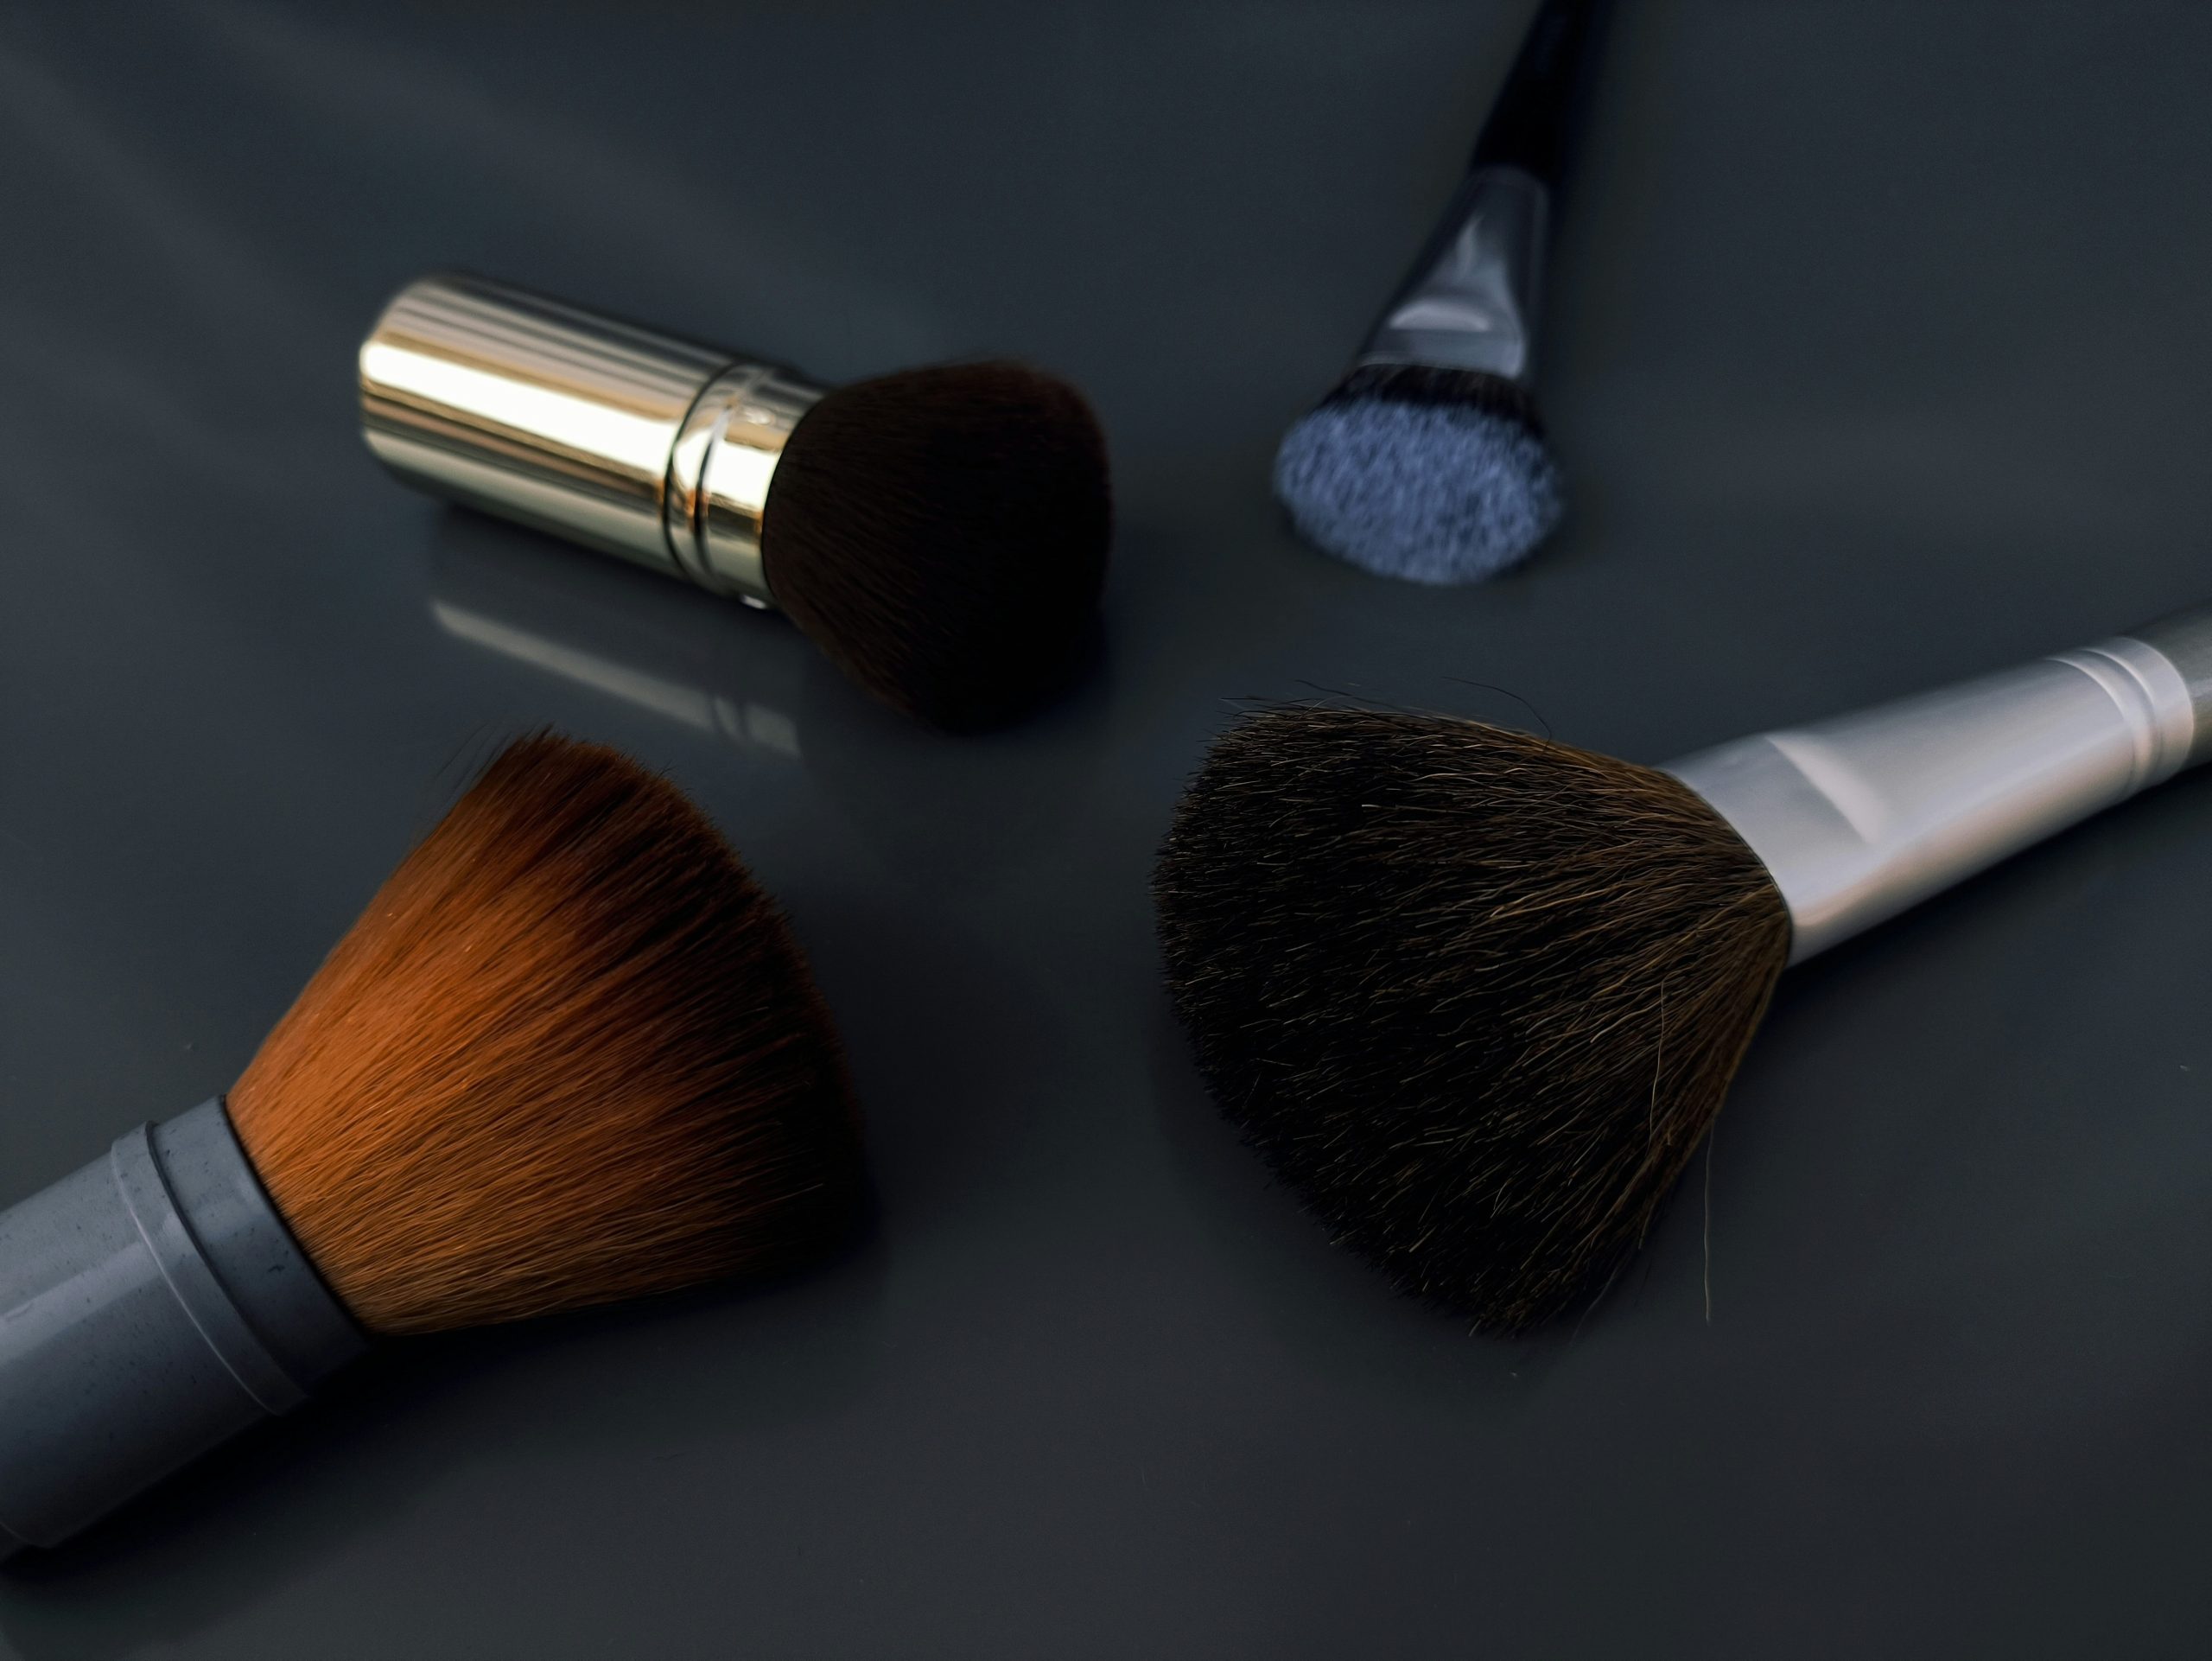
Halloween is no longer just about costumes—it’s about making a statement. Professional makeup artists charge hefty sums, and store-bought masks often look… eh, underwhelming. Enter DIY Halloween makeup—a trend fueled by TikTok tutorials, Pinterest boards, and good old-fashioned trial-and-error.
The beauty of DIY? It puts YOU in control. Want to add fangs and fake blood? Go wild. Prefer something chic yet spooky? Totally doable. The freedom of customization is unmatched. But let’s not sugarcoat it—there’s a learning curve. I once tried turning myself into Poison Ivy using neon green eyeshadow and wound up looking less “villainous seductress” and more “radioactive avocado.” Lesson learned? Start small, and don’t overcomplicate.
Step-by-Step Guide to Three Must-Try Looks
Look #1: Glowing Ghost Bride
- Base: Apply white foundation generously for a ghostly pallor.
- Eyes: Use black liquid liner to create dramatic tears streaming down your cheeks.
- Lips: Outline lips in dark purple or grayish-blue for an undead vibe.
- Details: Add translucent powder strategically for extra eeriness.
Look #2: Scary Clown
- Foundation: Go pale with heavy coverage.
- Smile Line: Draw exaggerated red lines curving upward.
- Eyes: Smudge dark colors around eyes for depth and intensity.
- Faux Teeth: Use temporary caps or paint teeth yellow with food coloring.
Look #3: Mystical Mermaid
- Skin: Dust shimmer highlighter across cheekbones and forehead.
- Scales: Dab multicolored pigments in fish scale patterns along your arms.
- Hair: Twist strands into braids adorned with pearls or shells.
- Finishing Touch: Spritz hairspray infused with glitter for oceanic sparkle.
Best Practices for Flawless Execution
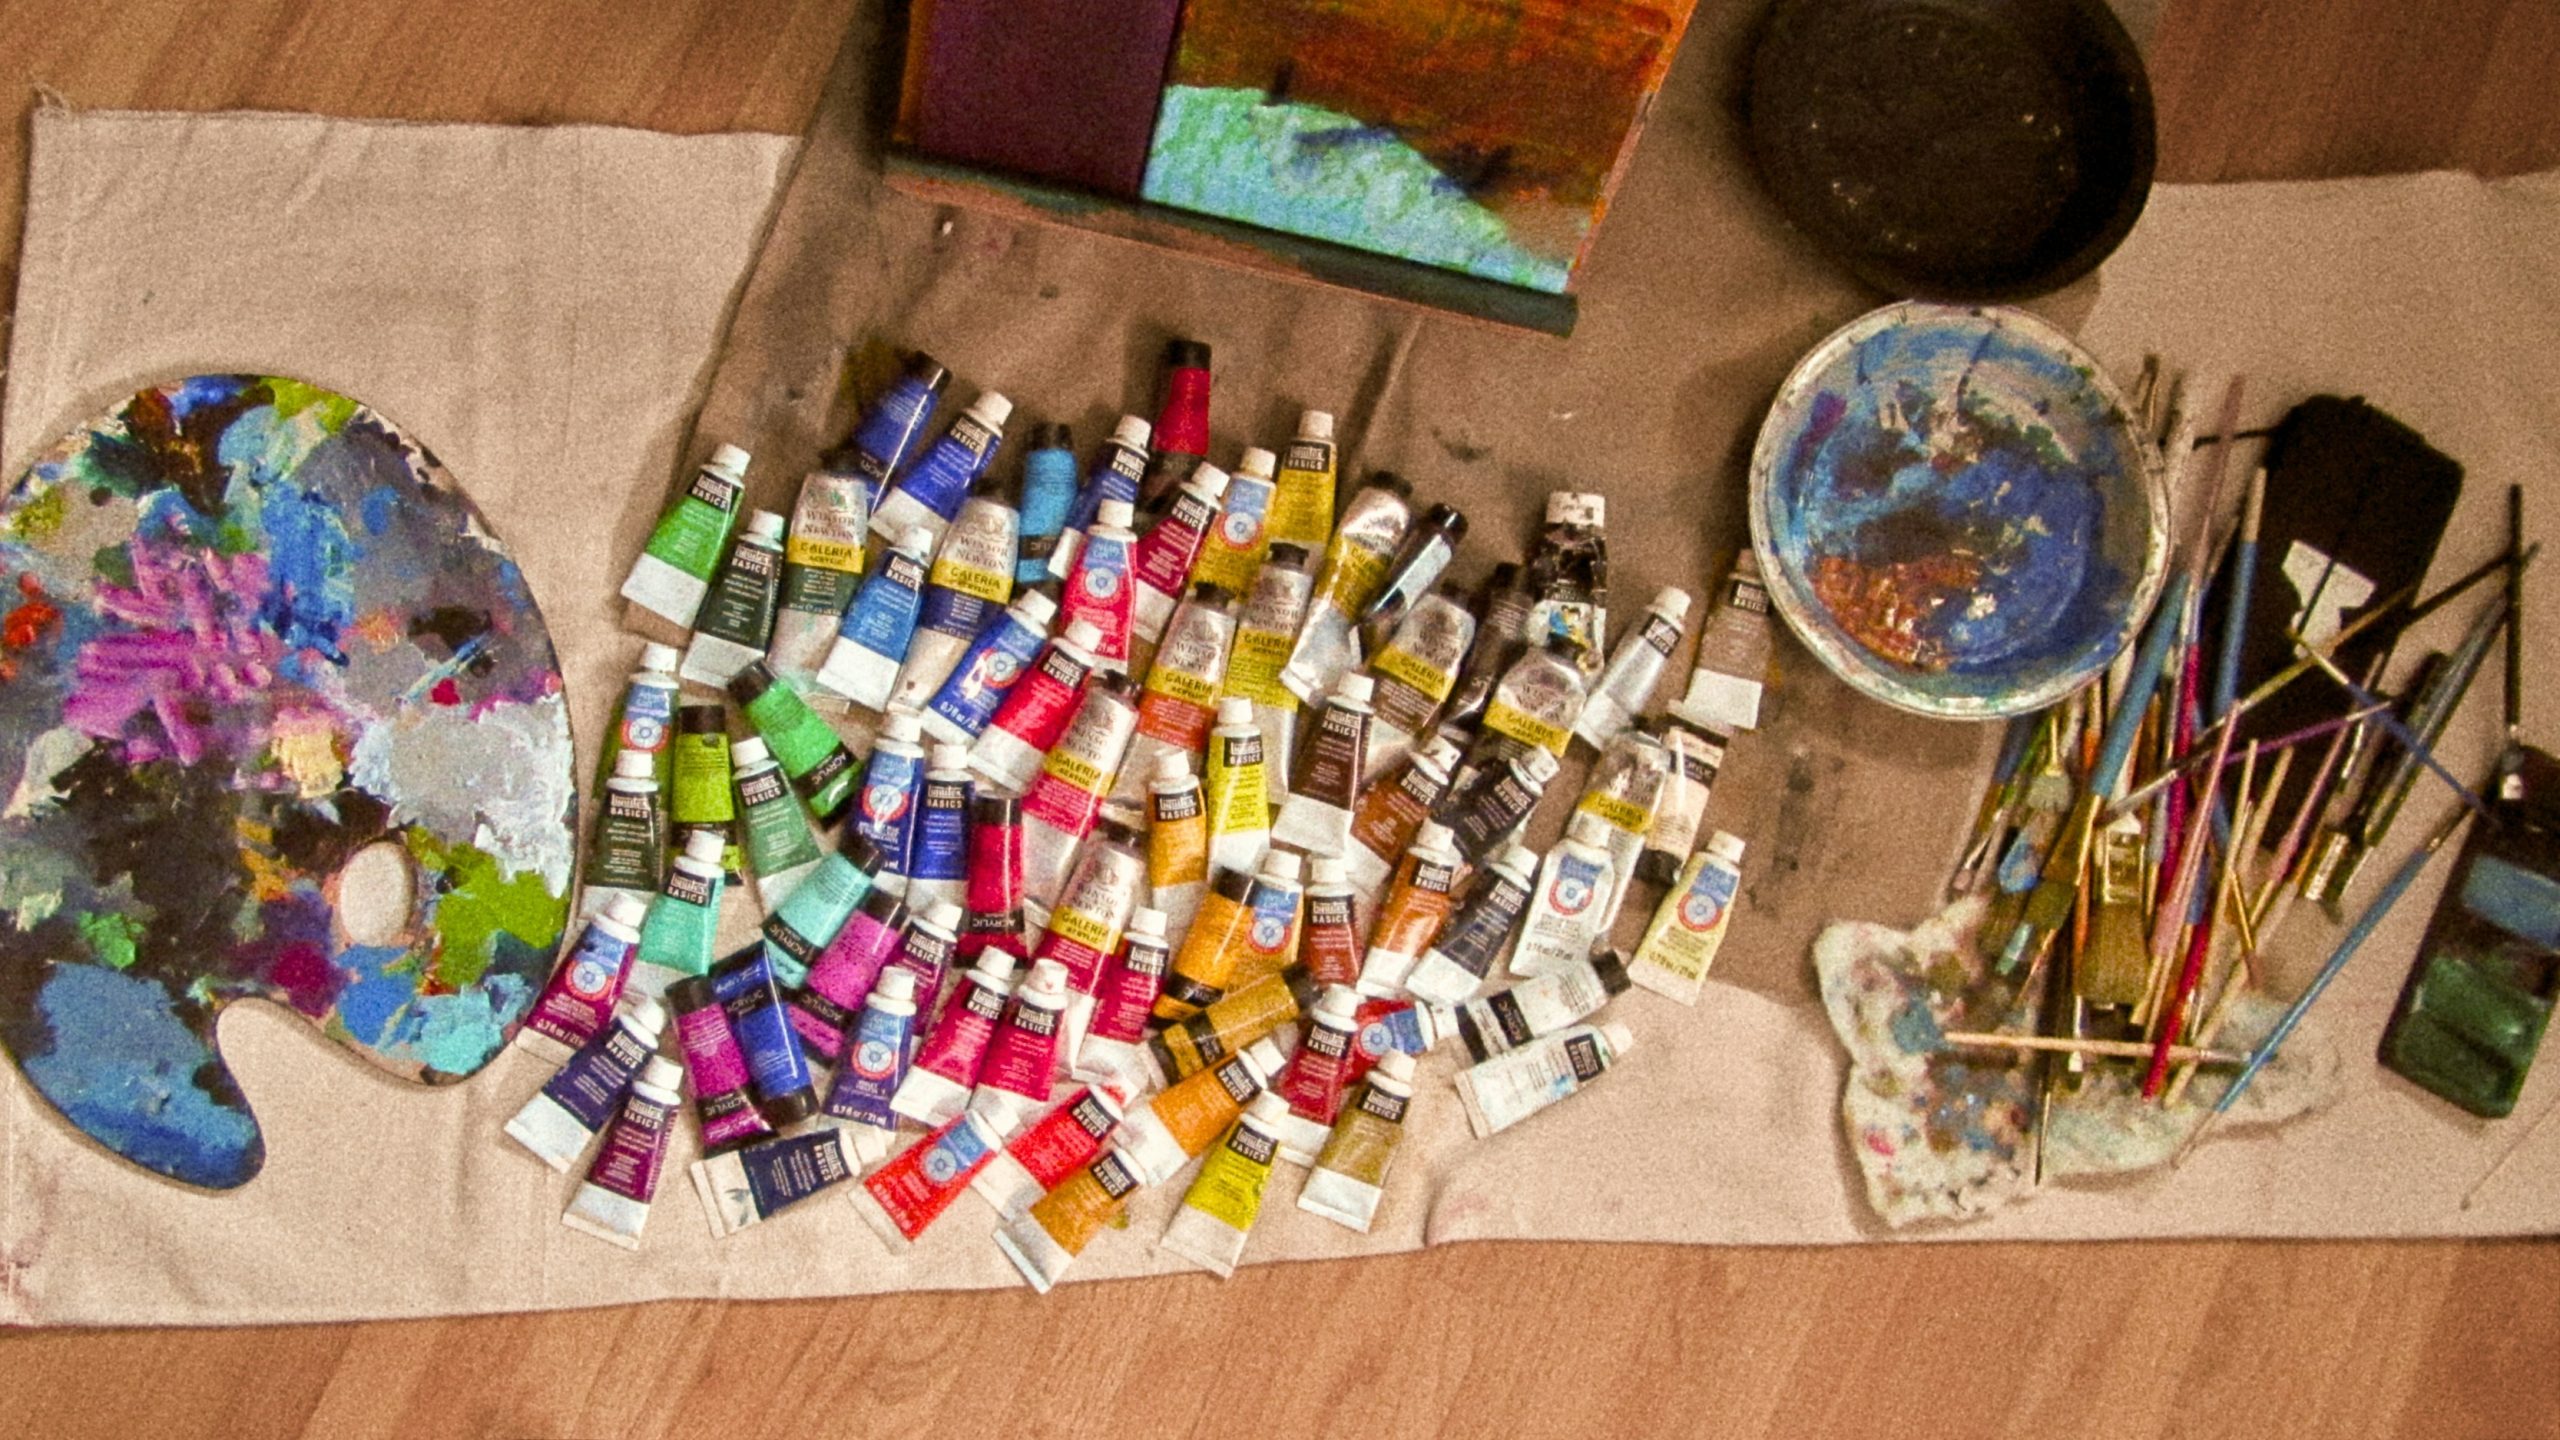
Tip #1: Prep Your Skin
Hydrated skin = smoother application. Don’t skip moisturizer!
Tip #2: Practice Makes Progress
Trying a complicated design? Do a dry run days before.
Tip #3: Avoid Overloading Products
Less really IS more when layering foundation and powders.
Rant Moment:
Glitter. Oh sweet chaos. If you’ve ever spilled it anywhere, you know why this stuff should come with its own warning label. Tip: Use biodegradable glitter instead—it sticks BETTER. Trust me.
Examples That Prove Anyone Can Be Creative
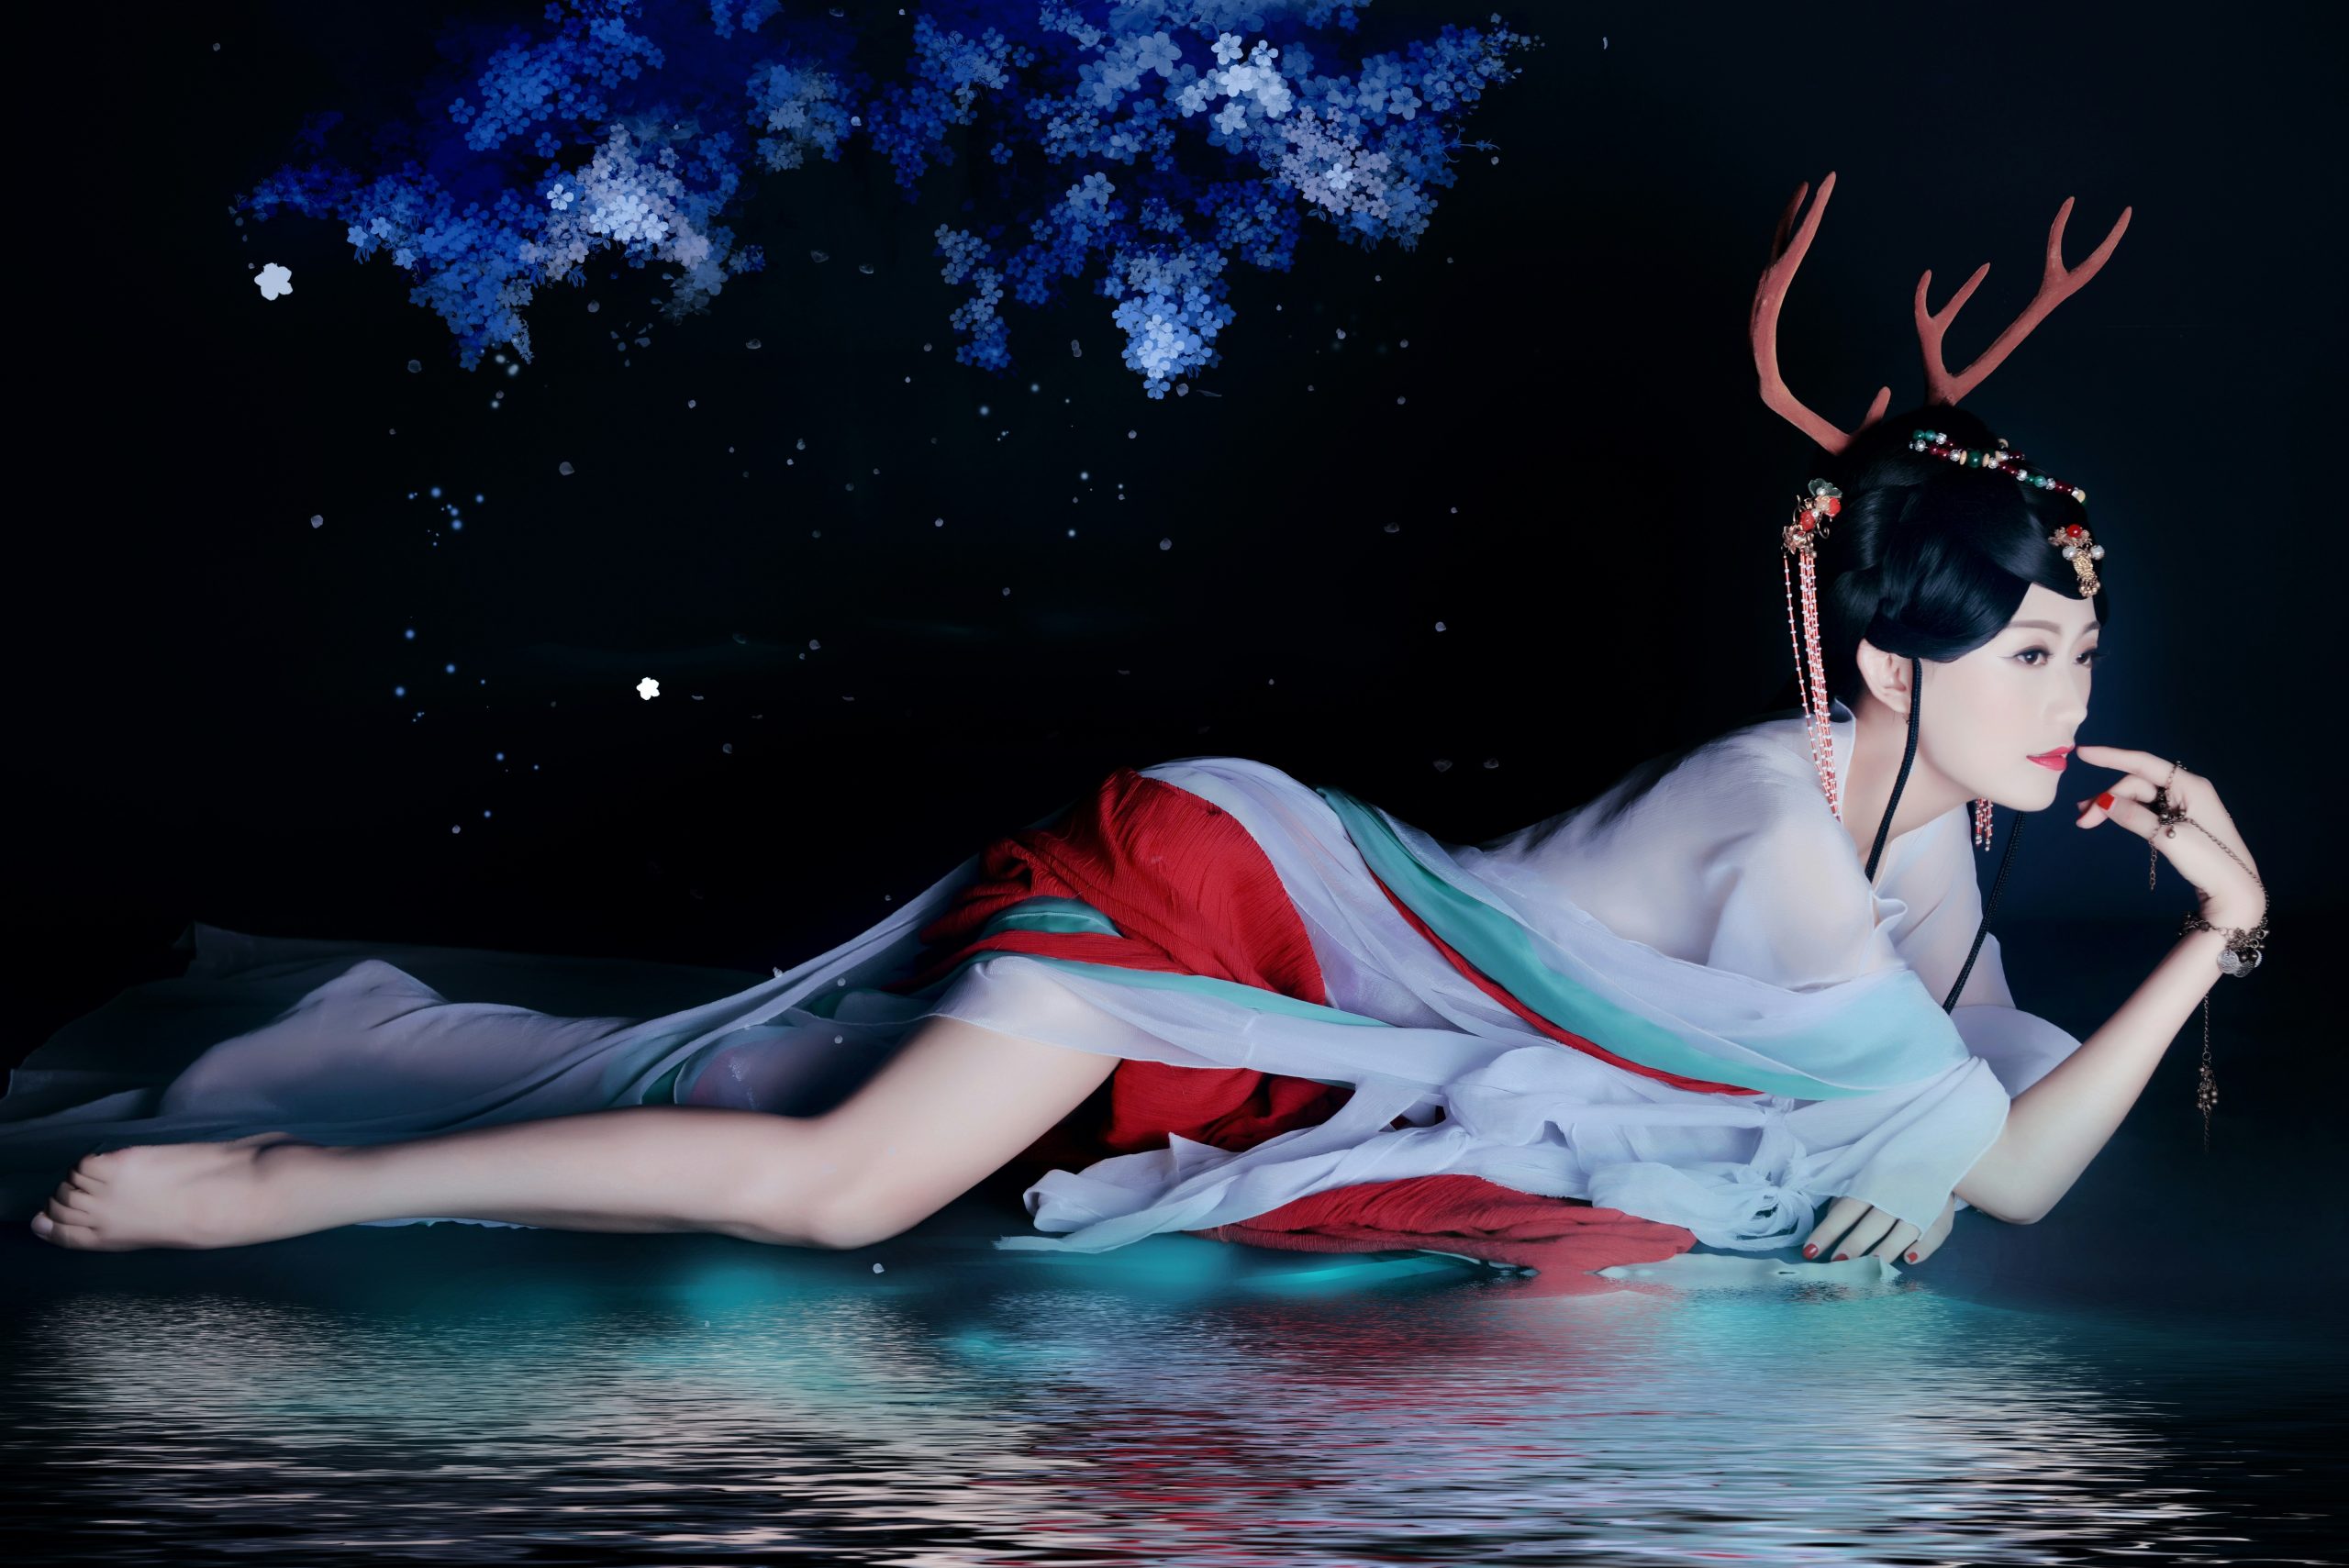
Take Sarah, who went from Instagram newbie to viral sensation after posting her first-ever DIY werewolf transformation last October. Her secret? Watching five tutorial videos and practicing twice before the big night. Or Jake, whose Joker-inspired makeup earned him Best Costume at his office party—all created using items already in his bathroom cabinet.
Frequently Asked Questions
Q: What if my skin reacts to the products?
A: Always patch test new items beforehand. Stick to hypoallergenic formulas whenever possible.
Q: Can I achieve pro-level results without buying expensive gear?
A: Absolutely! Drugstore brands work wonders too.
Q: How long does DIY makeup usually last?
A: With proper setting sprays and minimal touching, expect 4–6 hours of wear.
Conclusion
With these DIY ideas, Halloween makeup becomes less daunting and more exhilarating. Whether you opt for glowing elegance or spine-chilling horror, remember—flaws make the final product uniquely yours. Ready to give it a shot? Now go grab that palette because greatness awaits.
P.S. Like a Tamagotchi, your creativity needs daily care. Keep experimenting, keep failing, and most importantly, keep having fun!
